


There are some juicy files in RE's newest iteration!
Resident Evil Village is out now and this guide is all about tracking down each of its 47 files for the Bookworm Achievement or Bookworm Trophy.
Needless to say, there are spoilers within, so use this guide as your own risk!
Apart from the sequence in which the game’s first four files are found, you’ll be able to hit Triangle (PlayStation) or Y (Xbox) to get into the in-game menu to look at the files you’ve collected. We’ve listed all files below, chronologically from when they can be obtained… and that happens to be the same order that the Files section of the menu does too.
Files – Ethan and Mia’s House
The following four files are missable from the point where you approach Mia in the kitchen after putting Rose to bed. As long as you don’t go near Mia, you can grab the files after putting Rose down, meaning Ethan can move faster. You also can’t get into the menu at this point, so there are no map references.
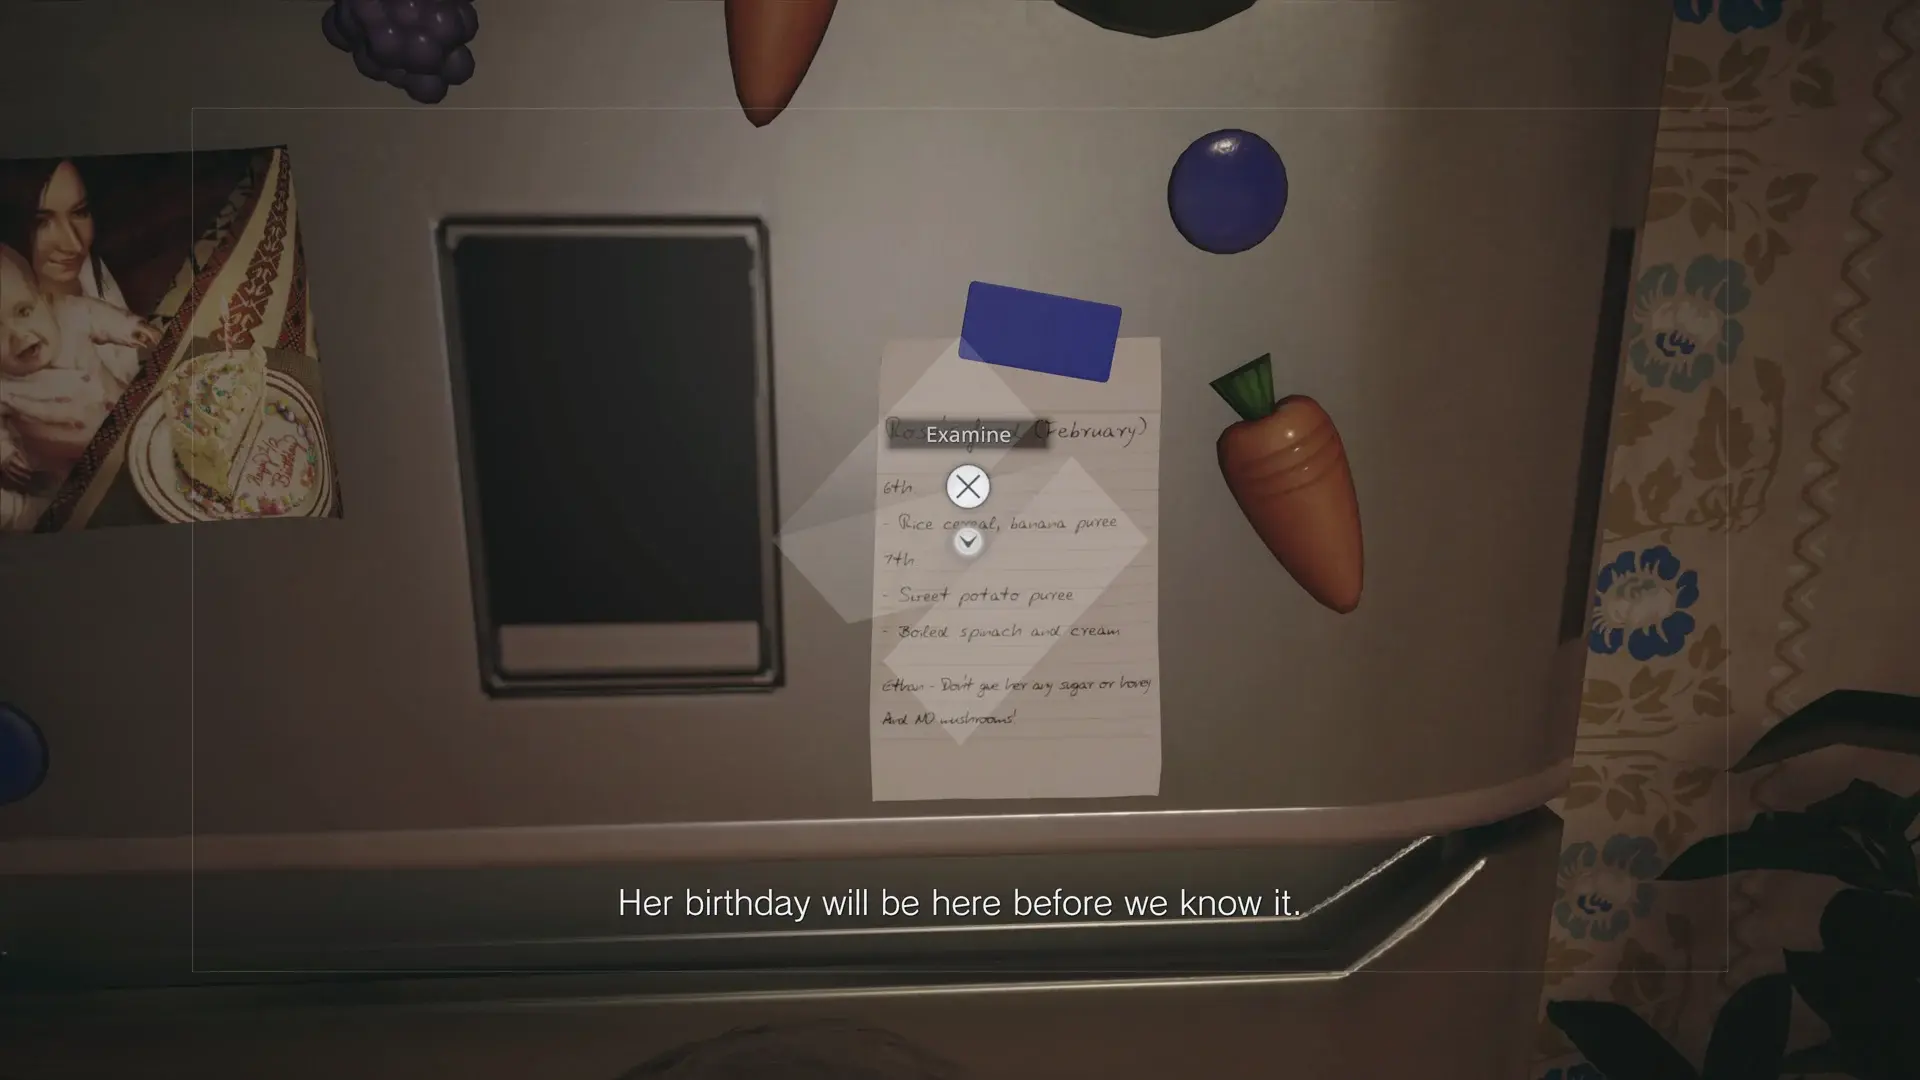
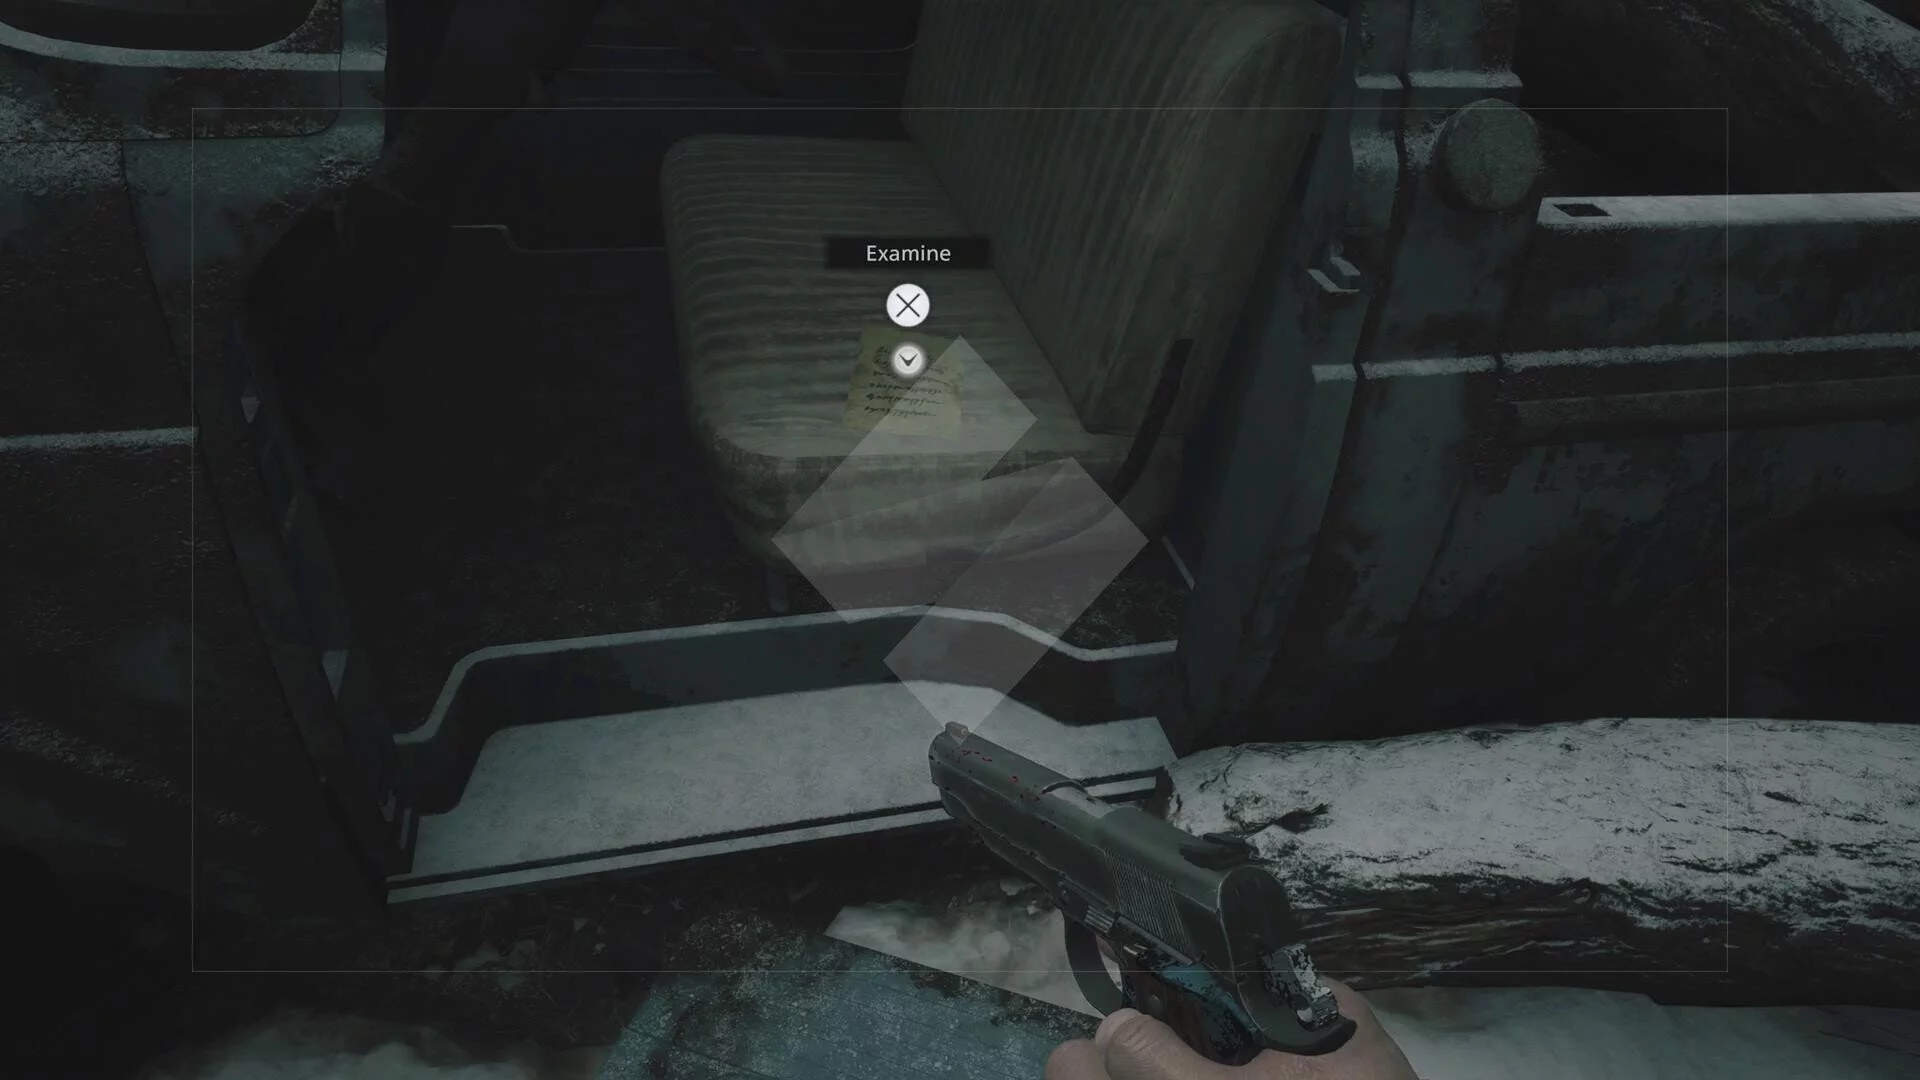
- Fridge Memo: On the Fridge in Ethan and Mia’s home.
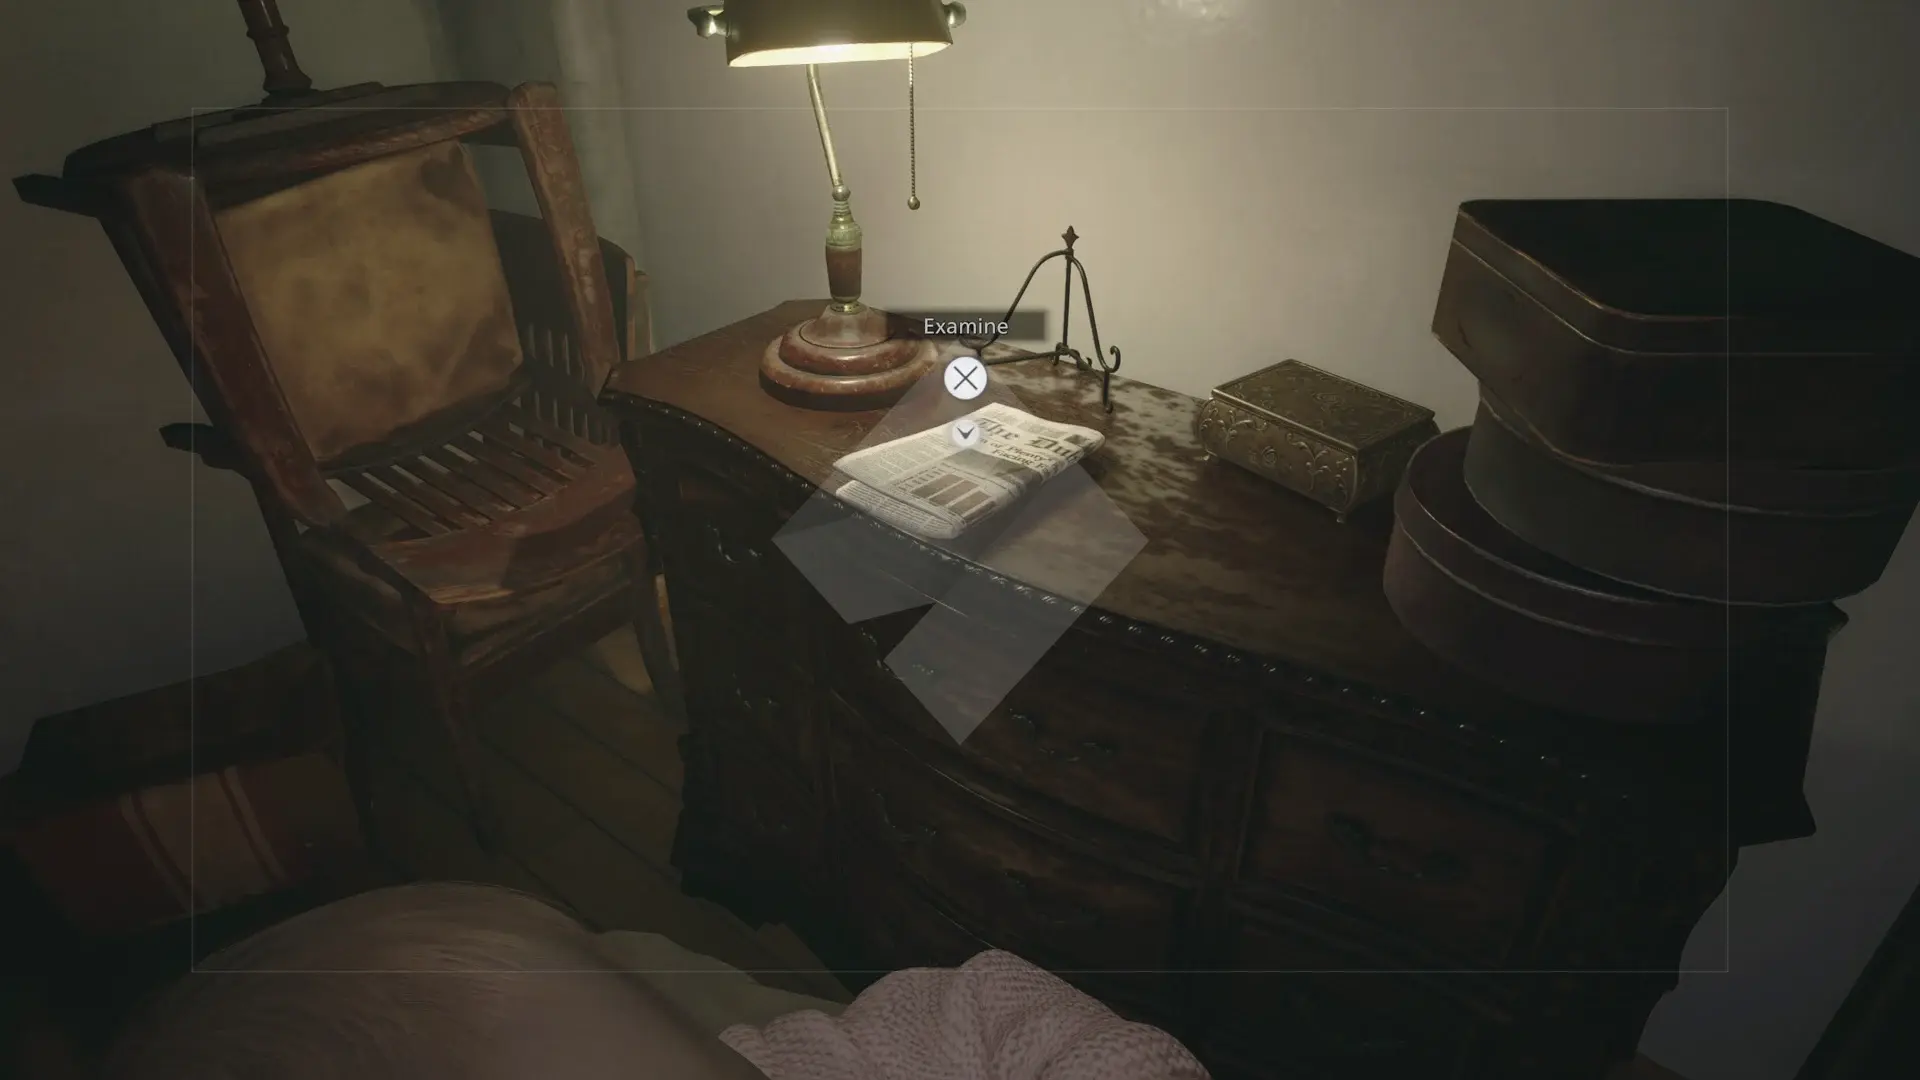
- Old News Clipping: Go upstairs and then head into the spare room (to the left as you climb the stairs). The newspaper is on a shelf in this room.
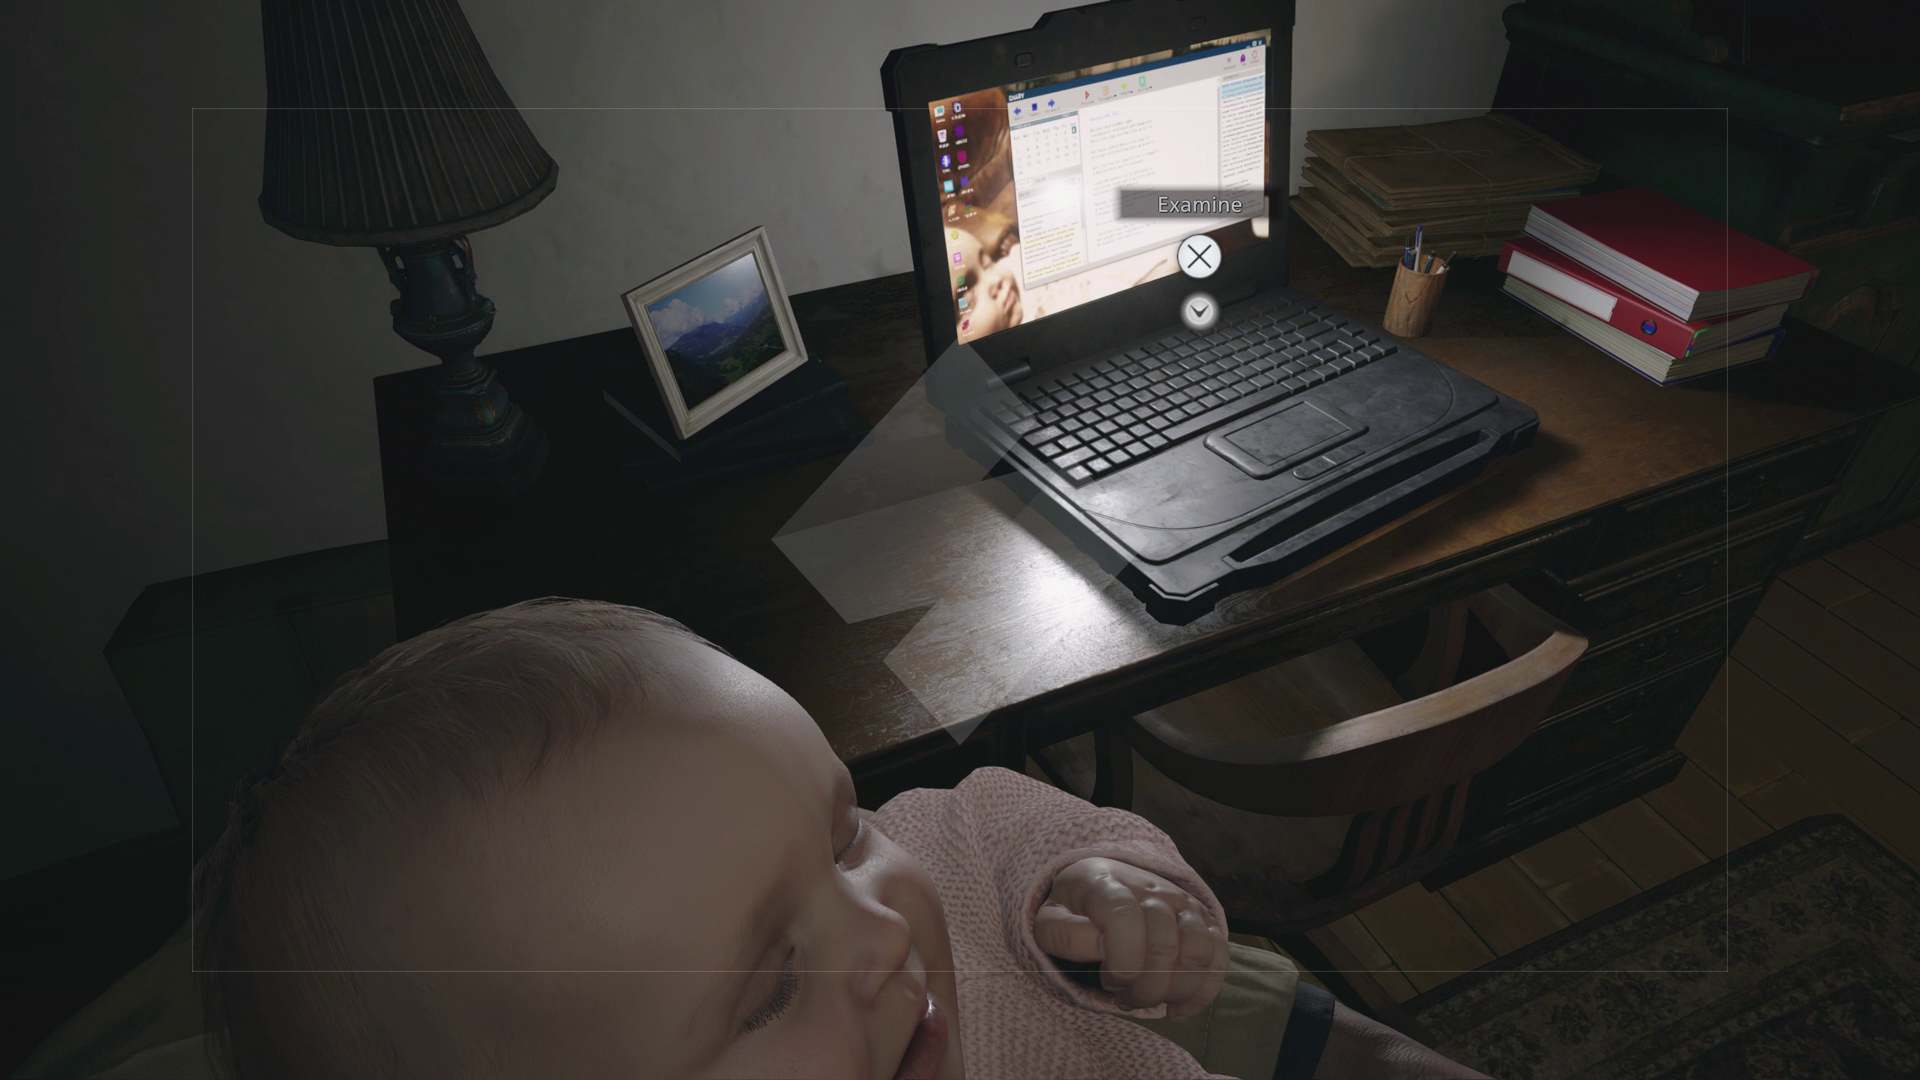
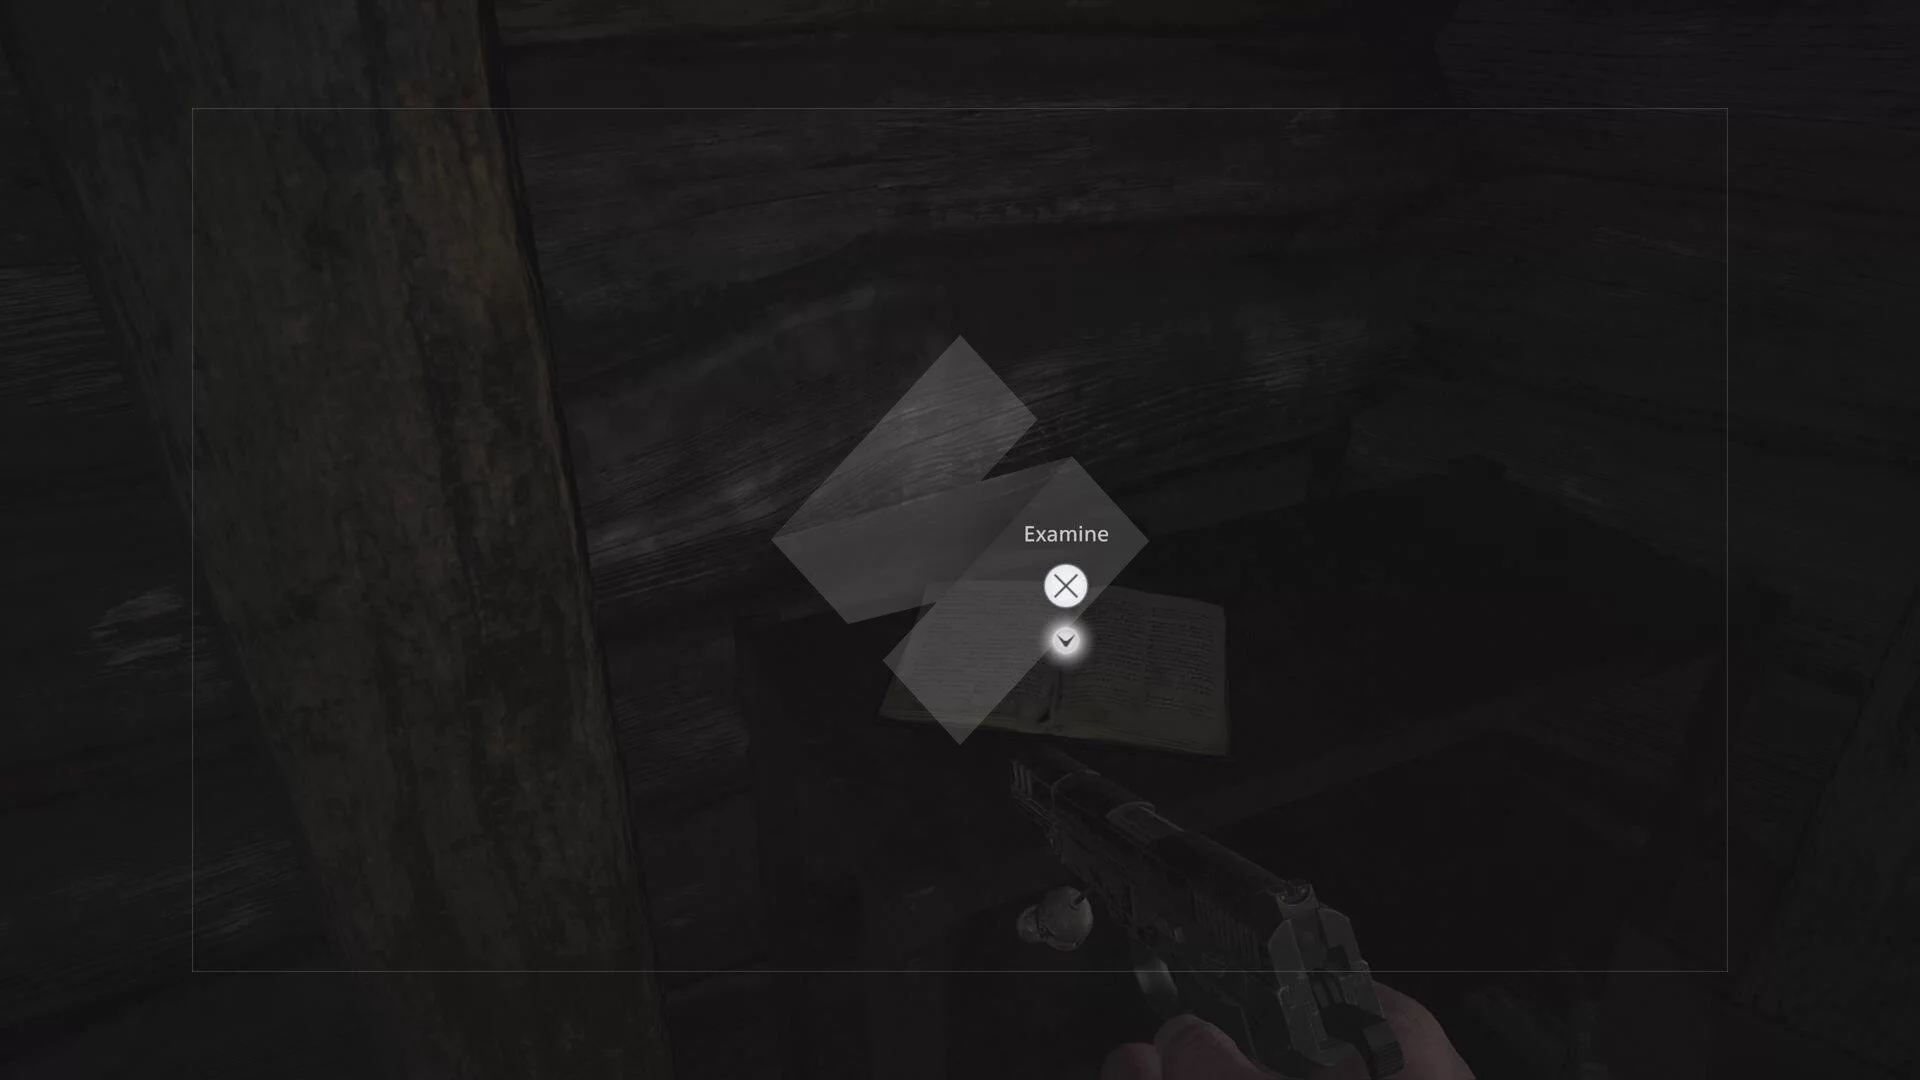
- Ethan’s Diary: In Ethan’s bedroom, check the computer in the small study off to the side. (Kick the yellow ball into the study from the bedroom while you’re at it!)
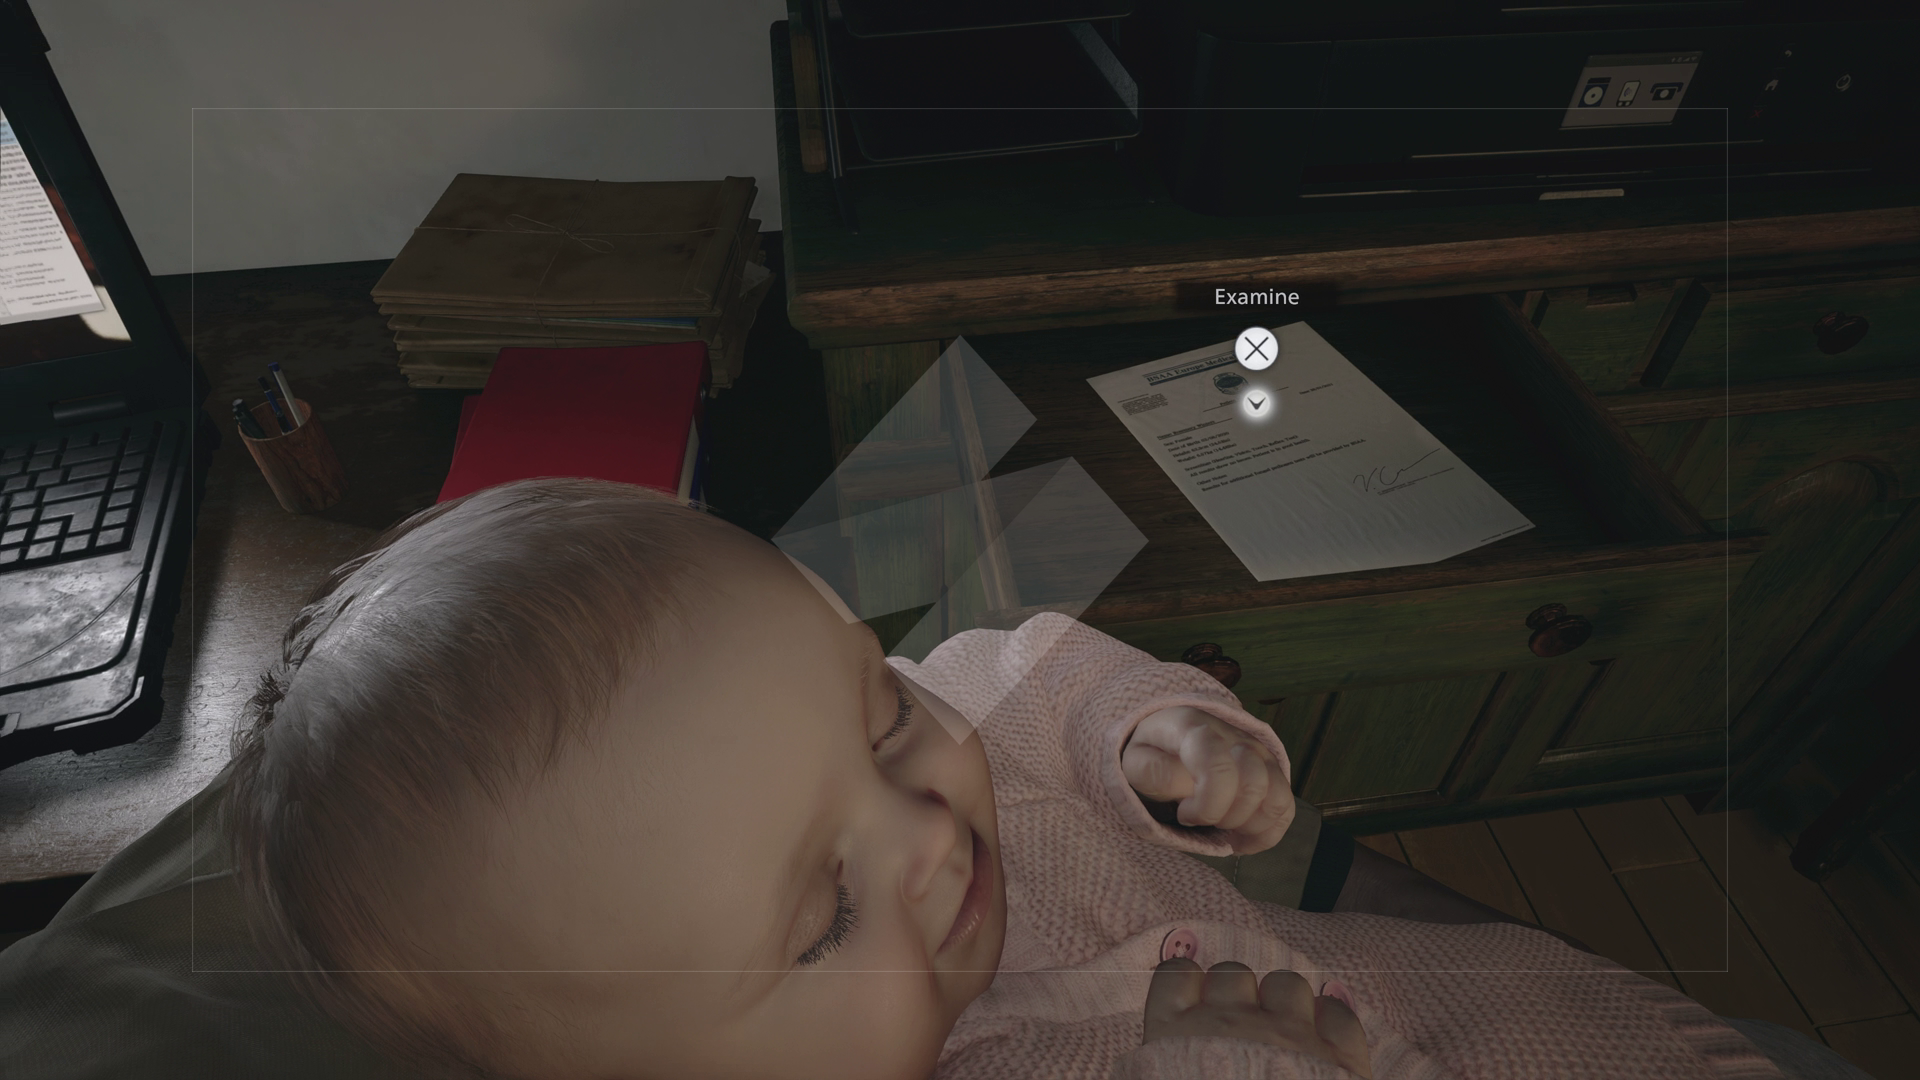
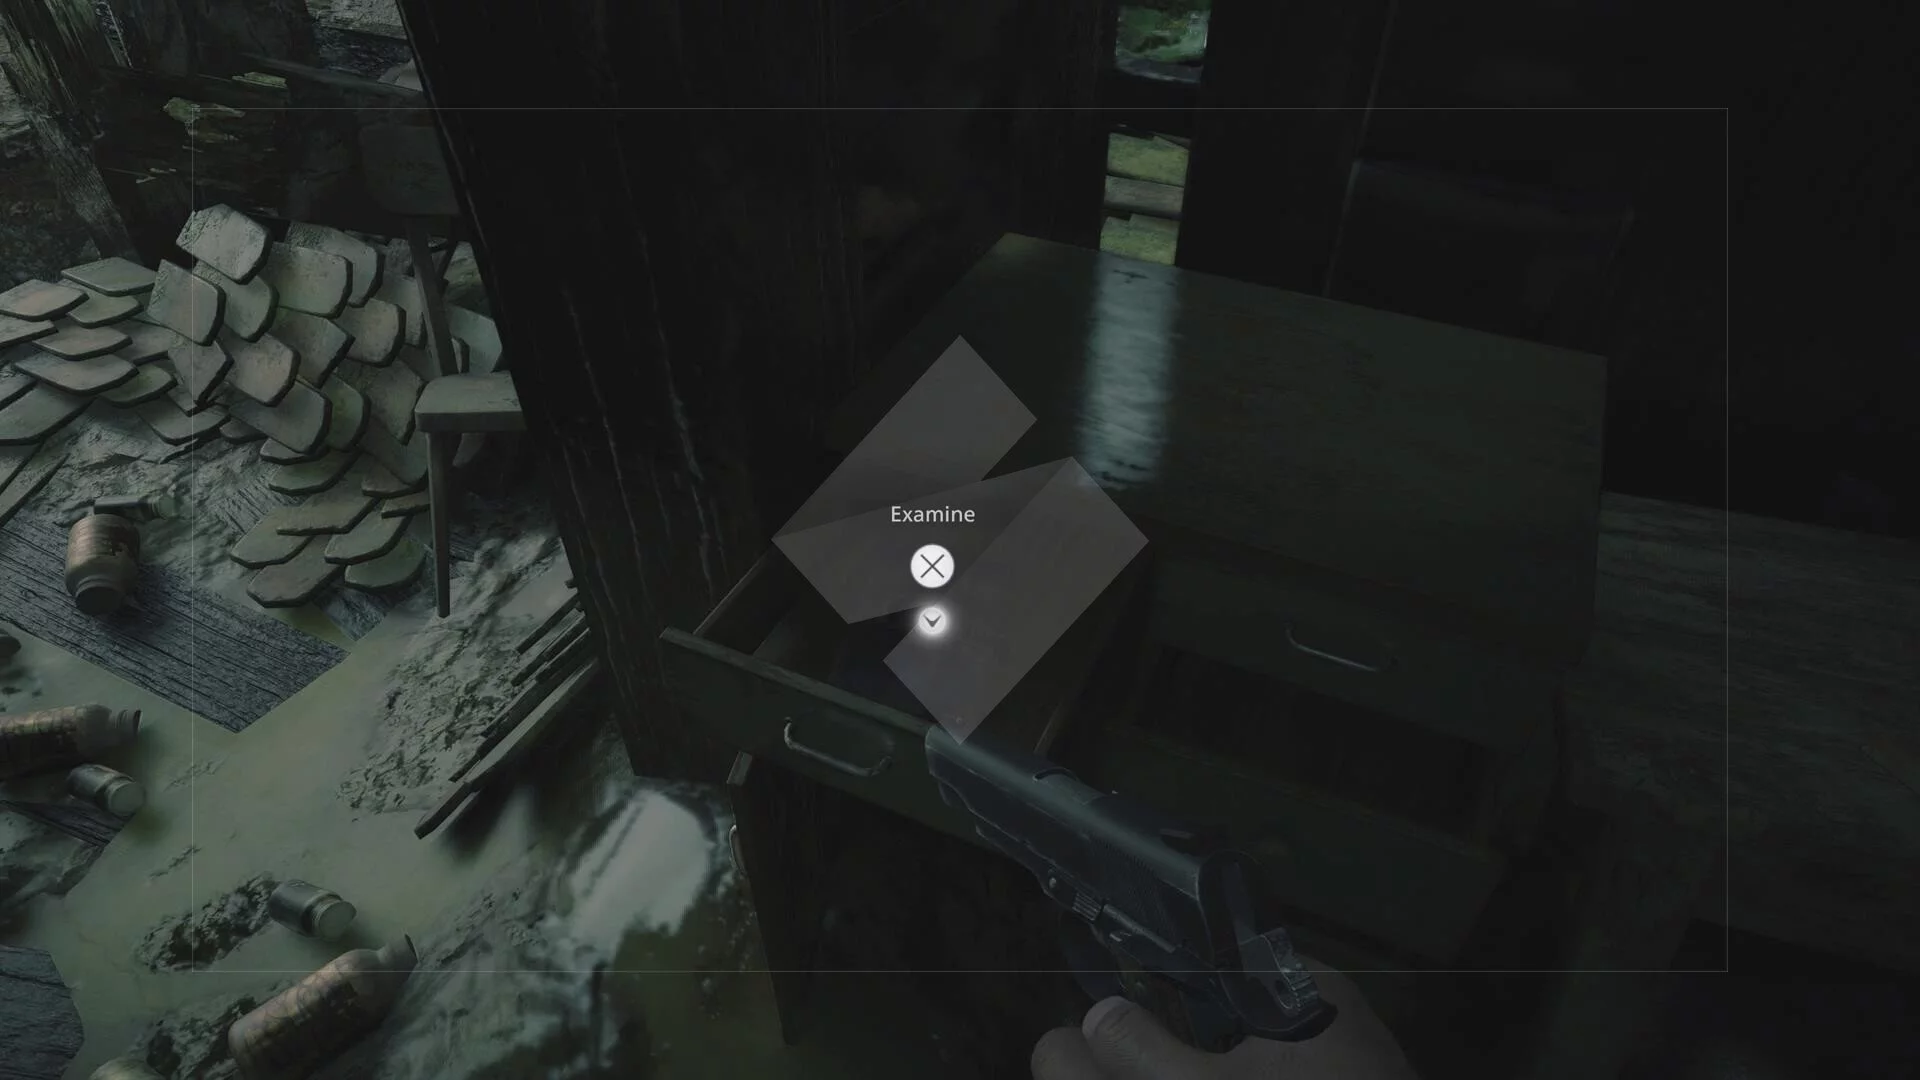
- Medical Checkup Report: In the dresser drawer to the right of the computer in the study.
File – En route to the village
The following file is accessible from the point where you regain control of Ethan after the house — a mobile phone will be ringing as you wake up. It’s missable if you continue on and enter the village. You also can’t get into the menu at this point, so there are no map references.
- Mission Briefing: Beside the body at the back of the van, found immediately after you regain control of Ethan.
Files – The village and beyond
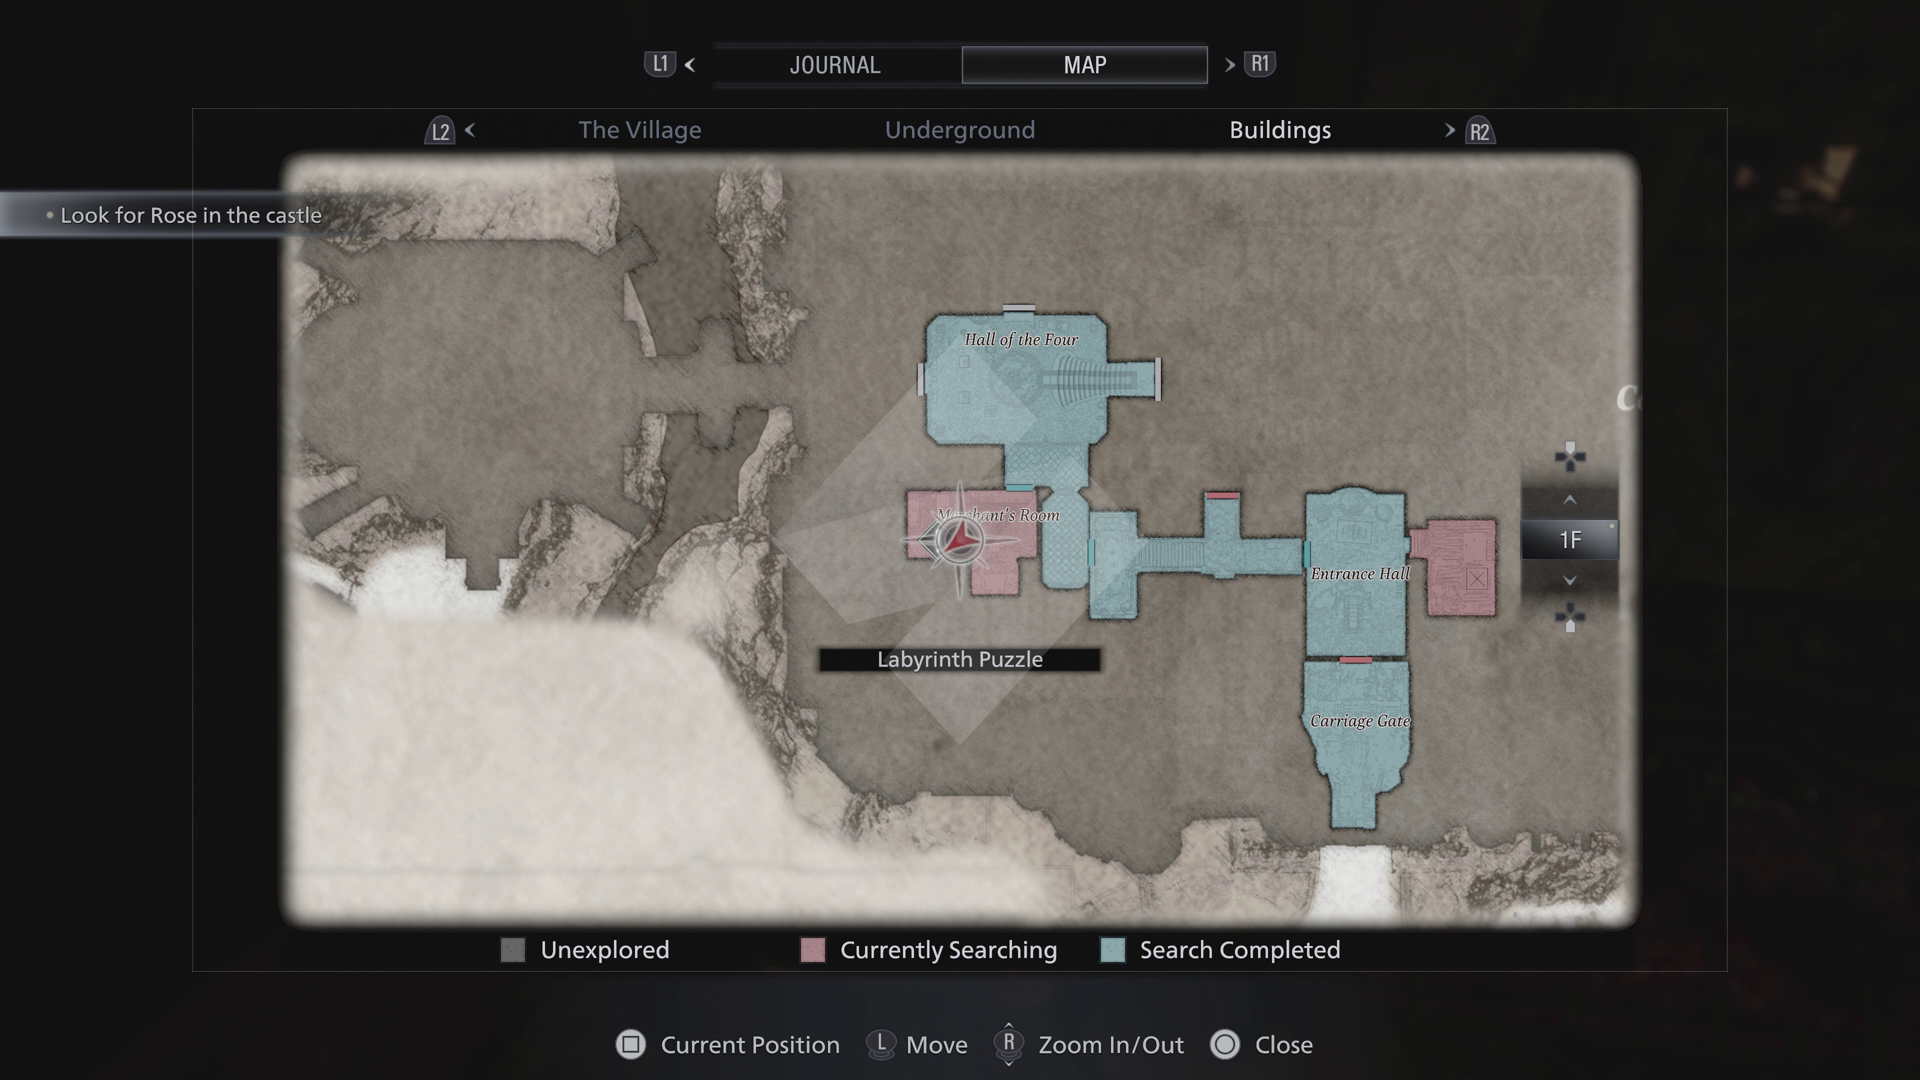
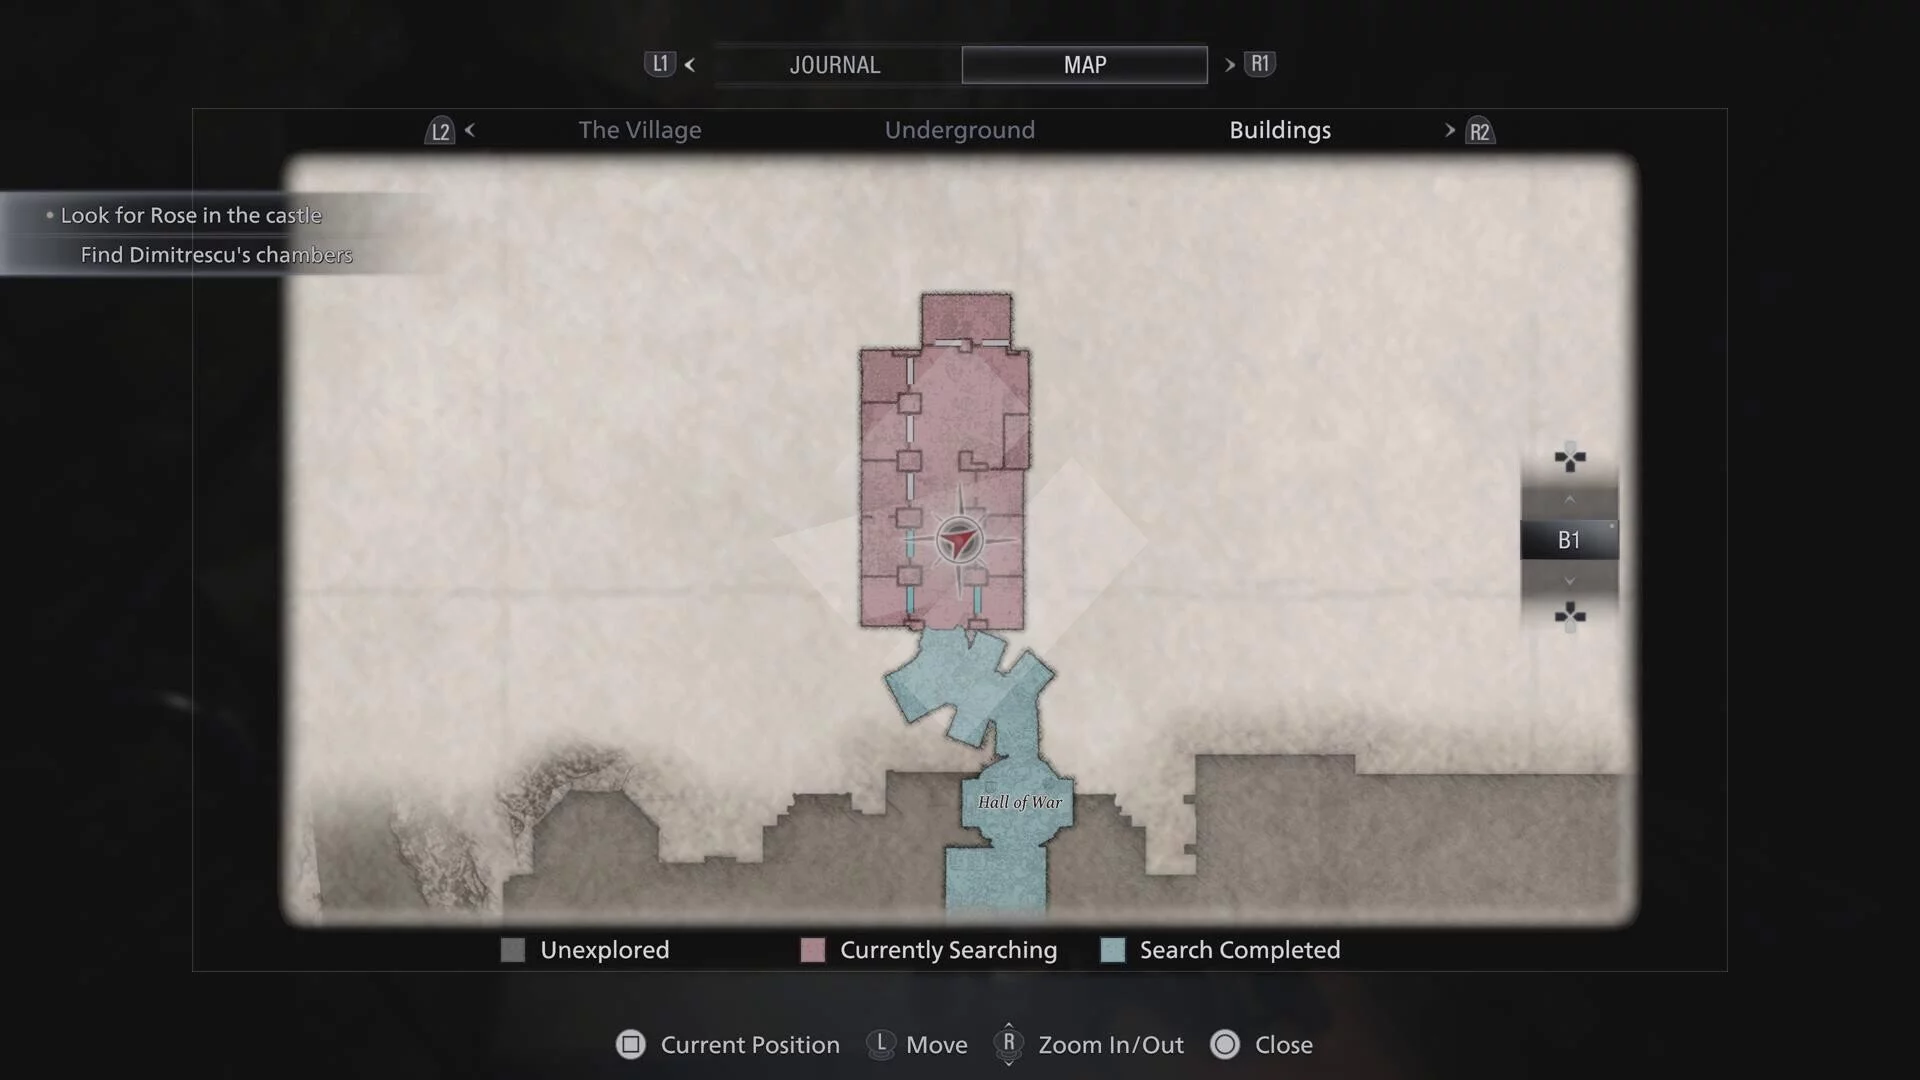
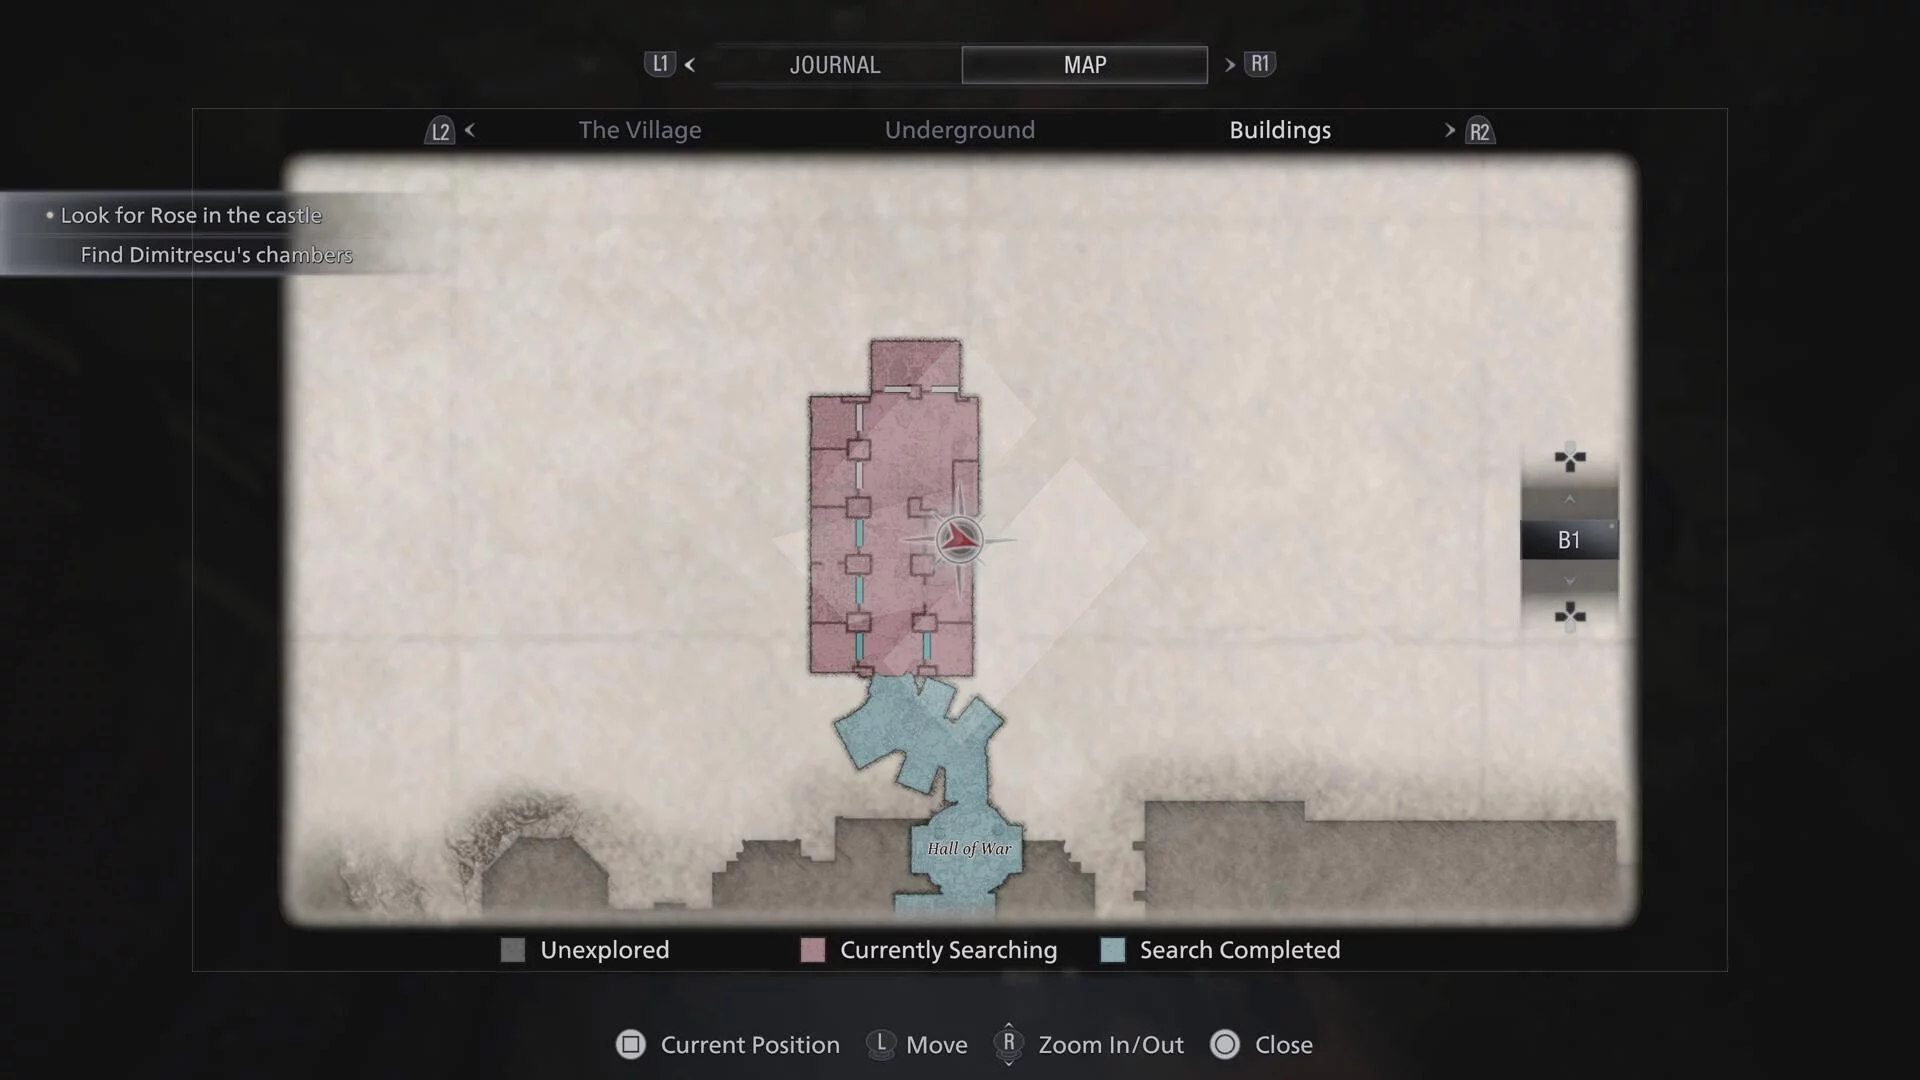
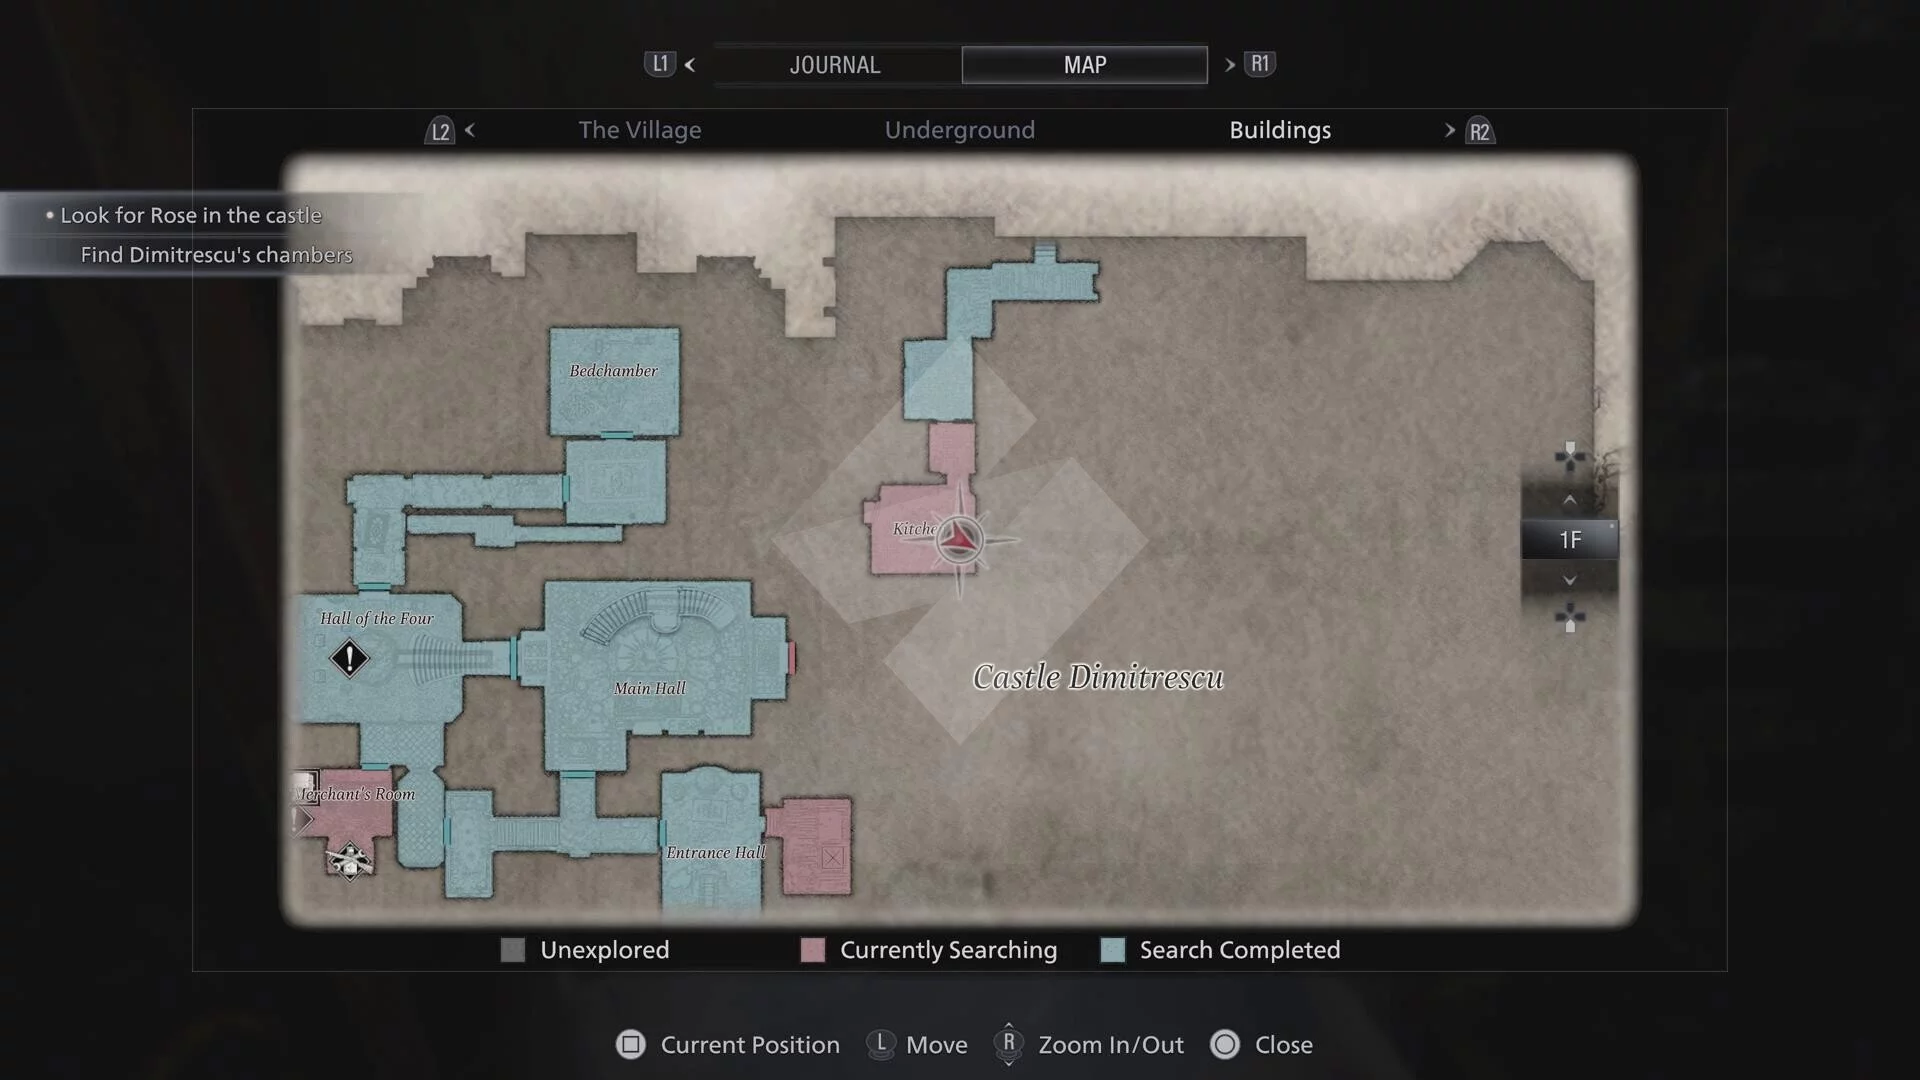
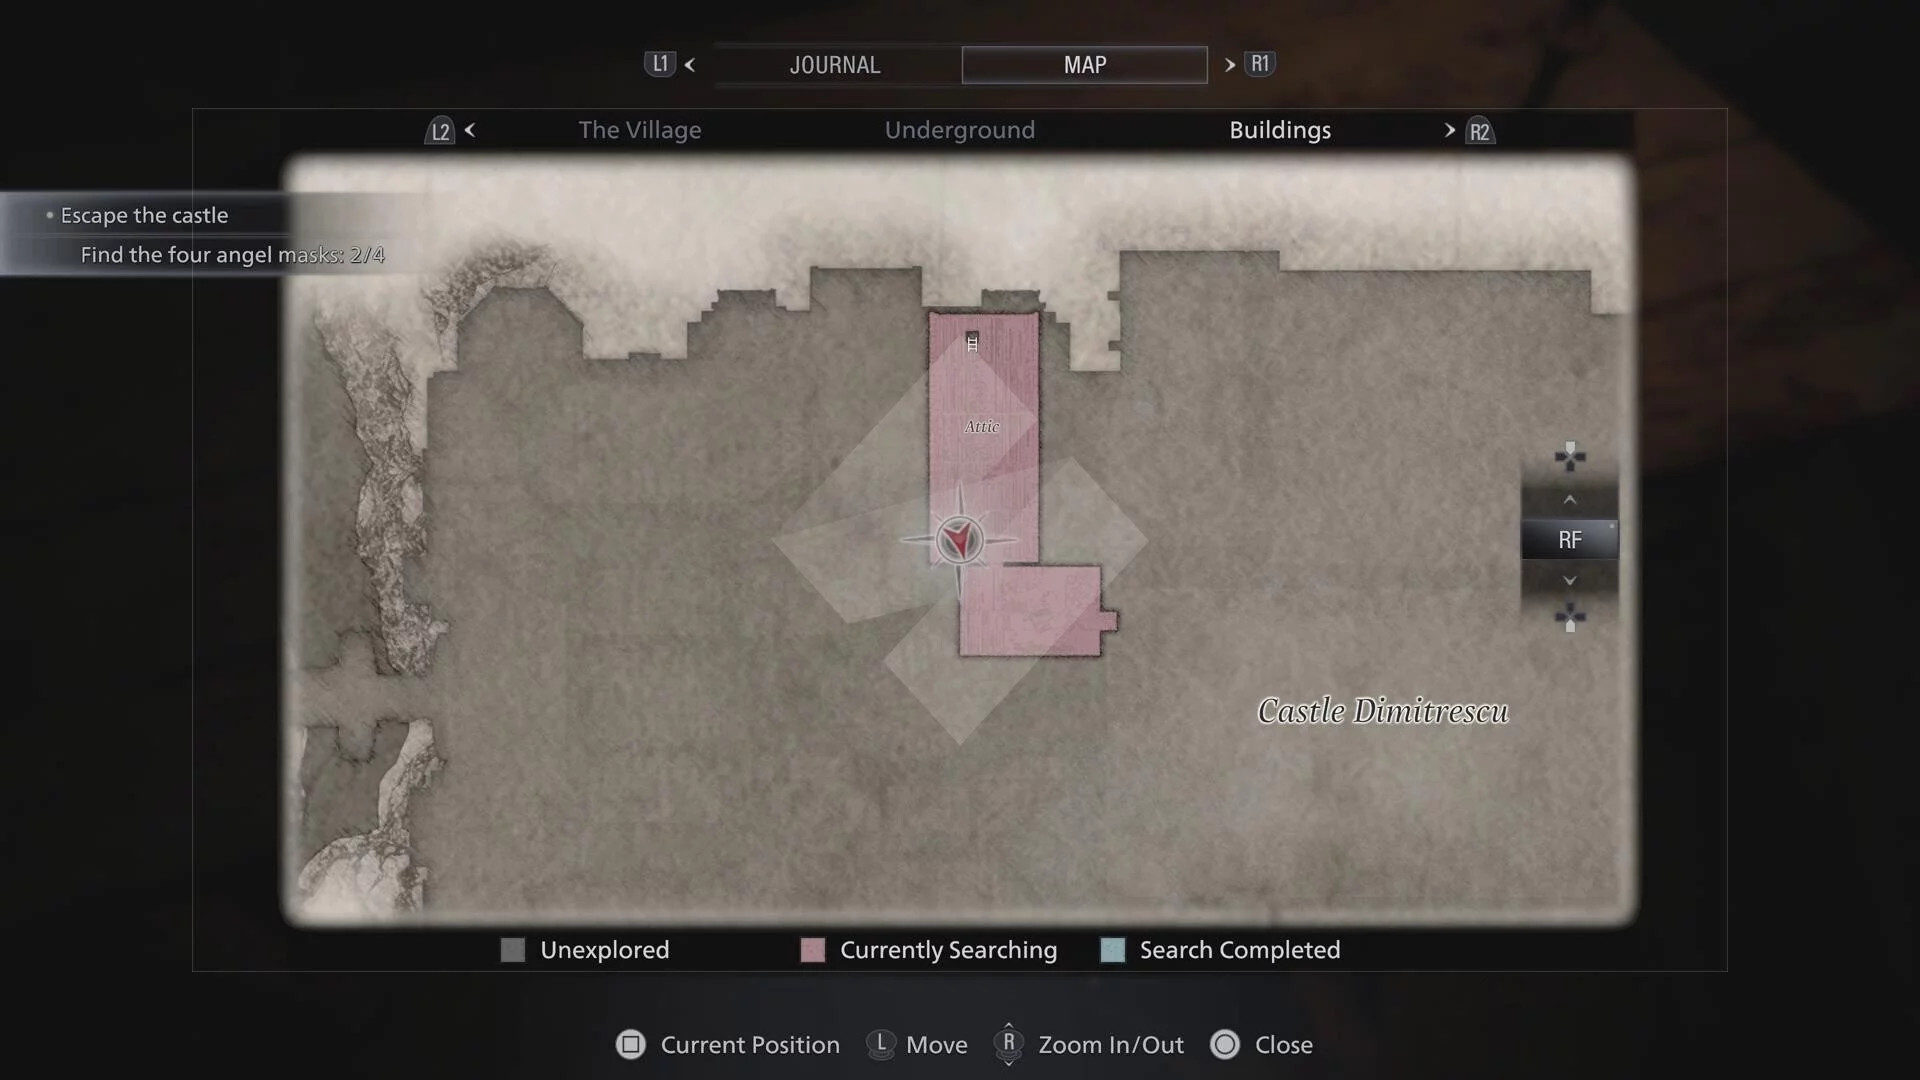
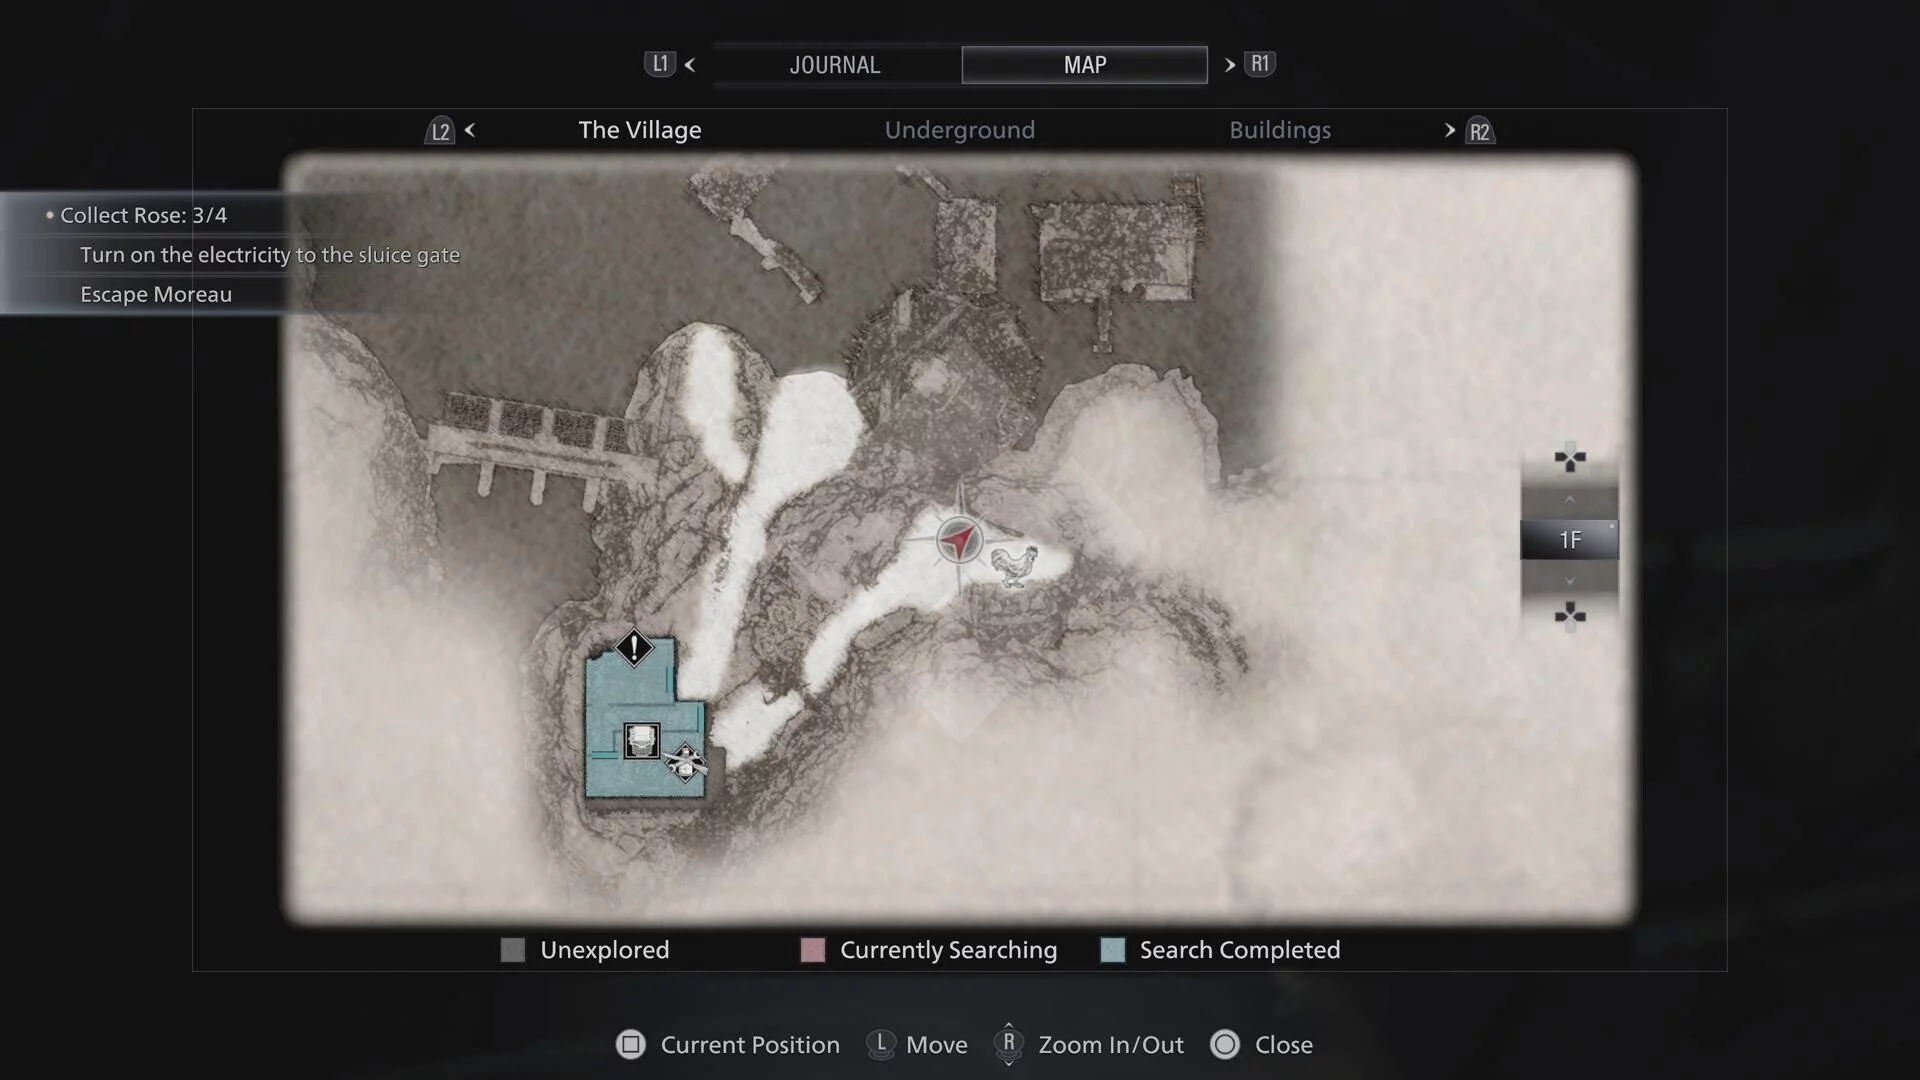
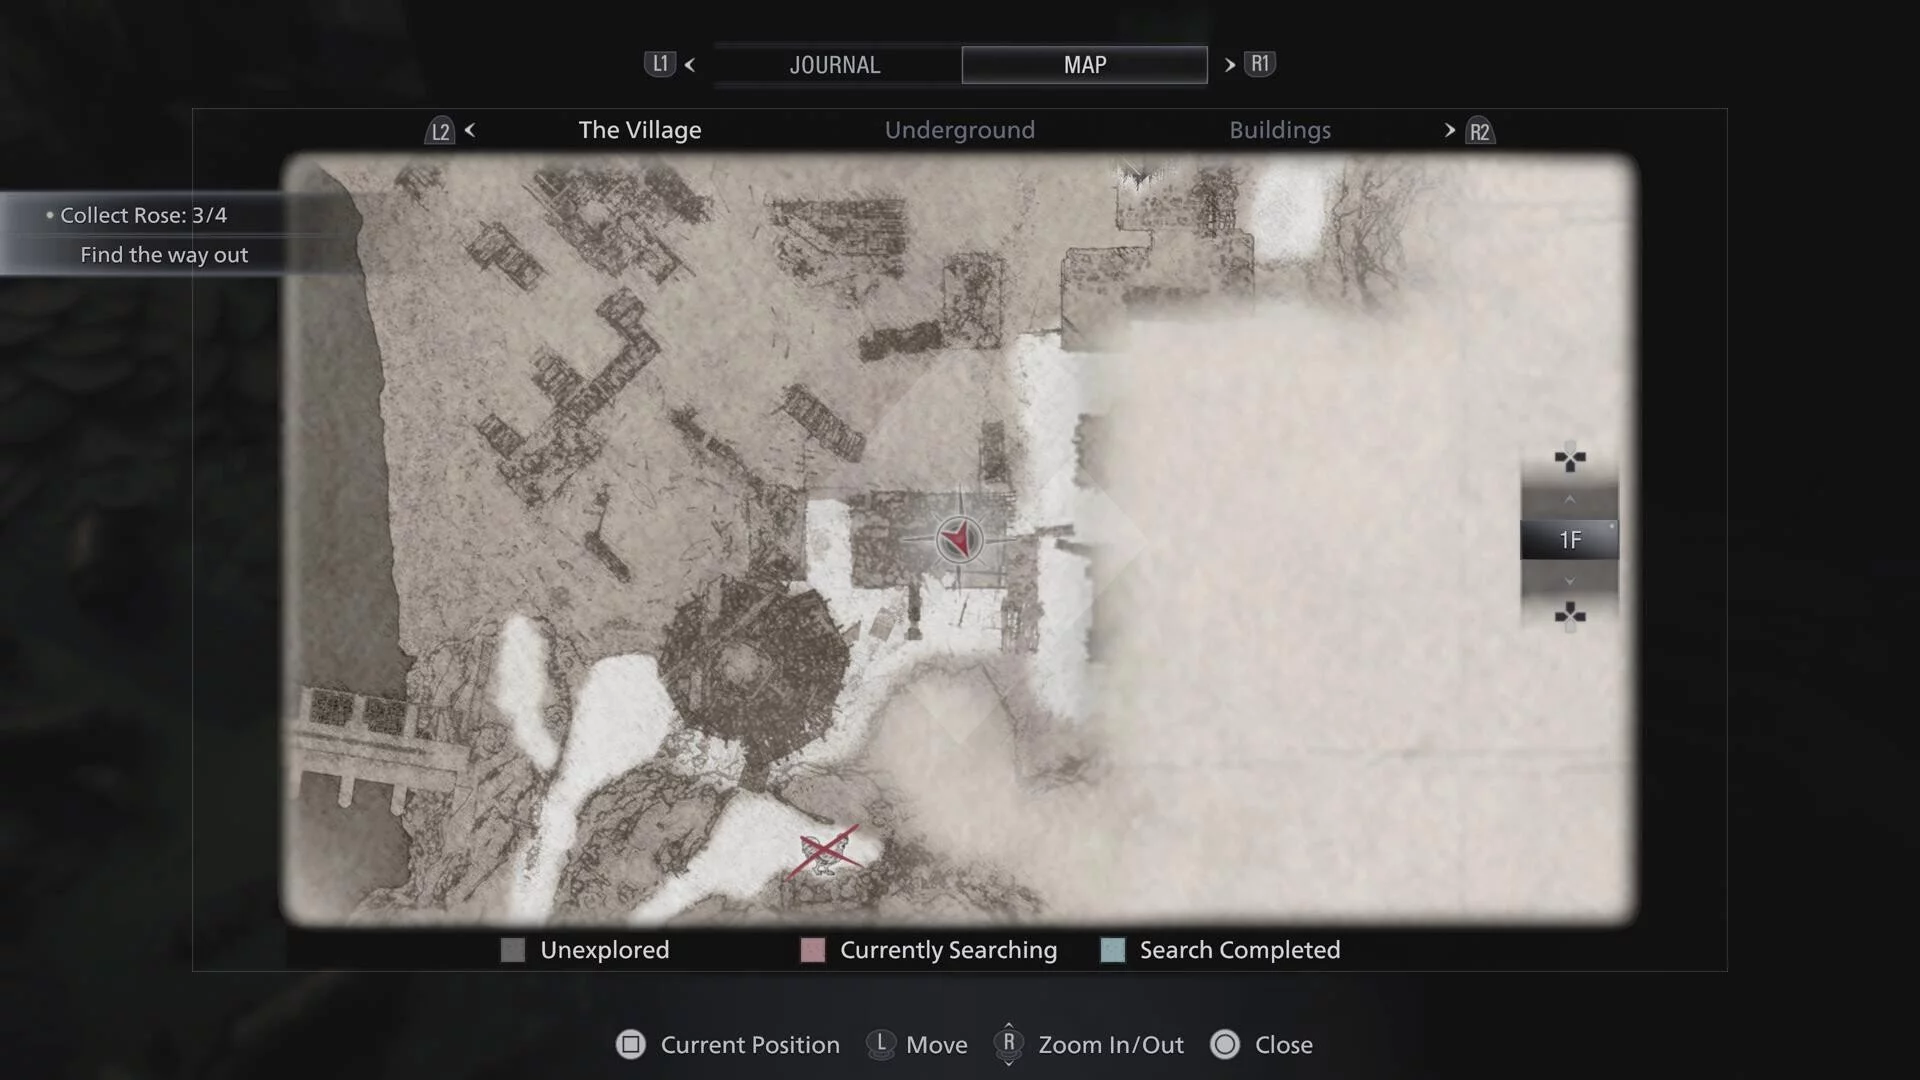
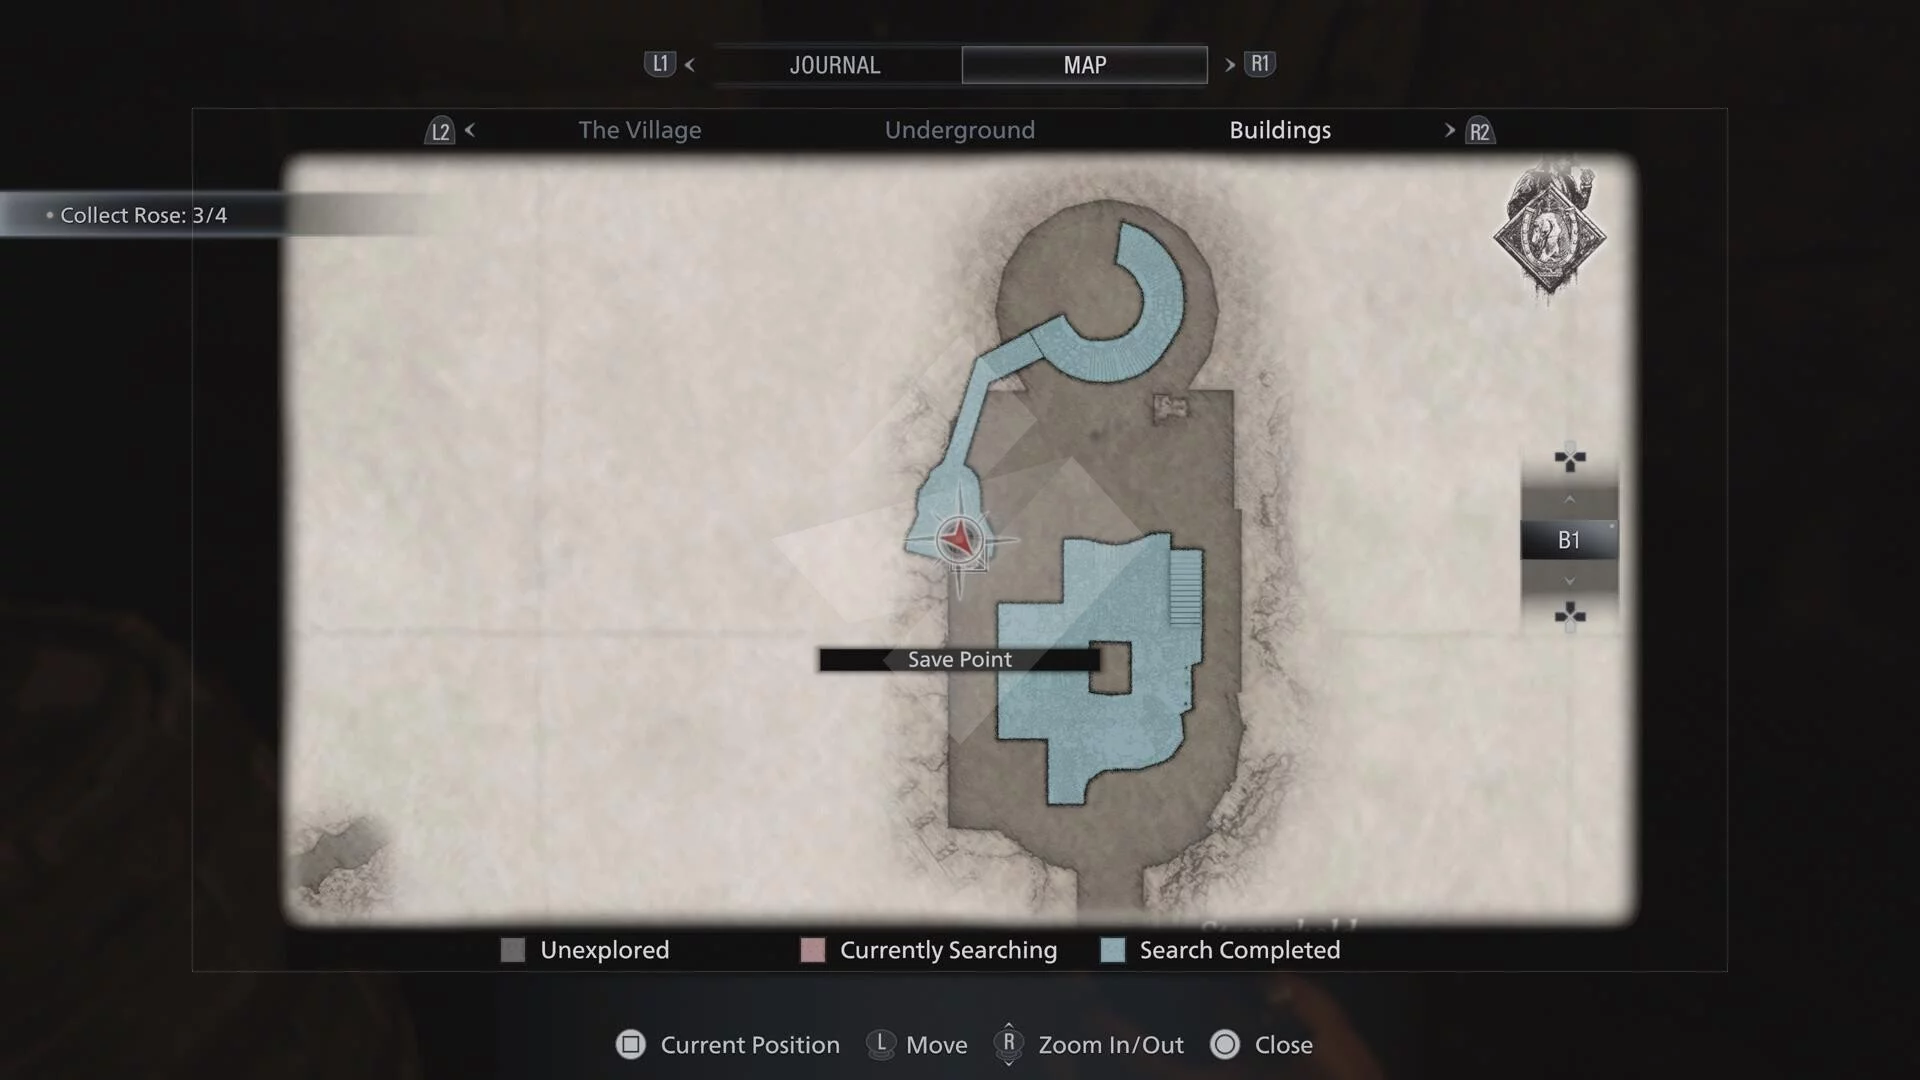
The remaining files are all accessible from the village onward, though some of them will become inaccessible once you finish a boss’ location (ie Castle Dimitresu for Lady Dimitrescu, etc), meaning all should be found ASAP from when they’re accessible. From this point on, you have the in-game menu for map references, and we’ll detail how the files are obtained alongside map references themselves.
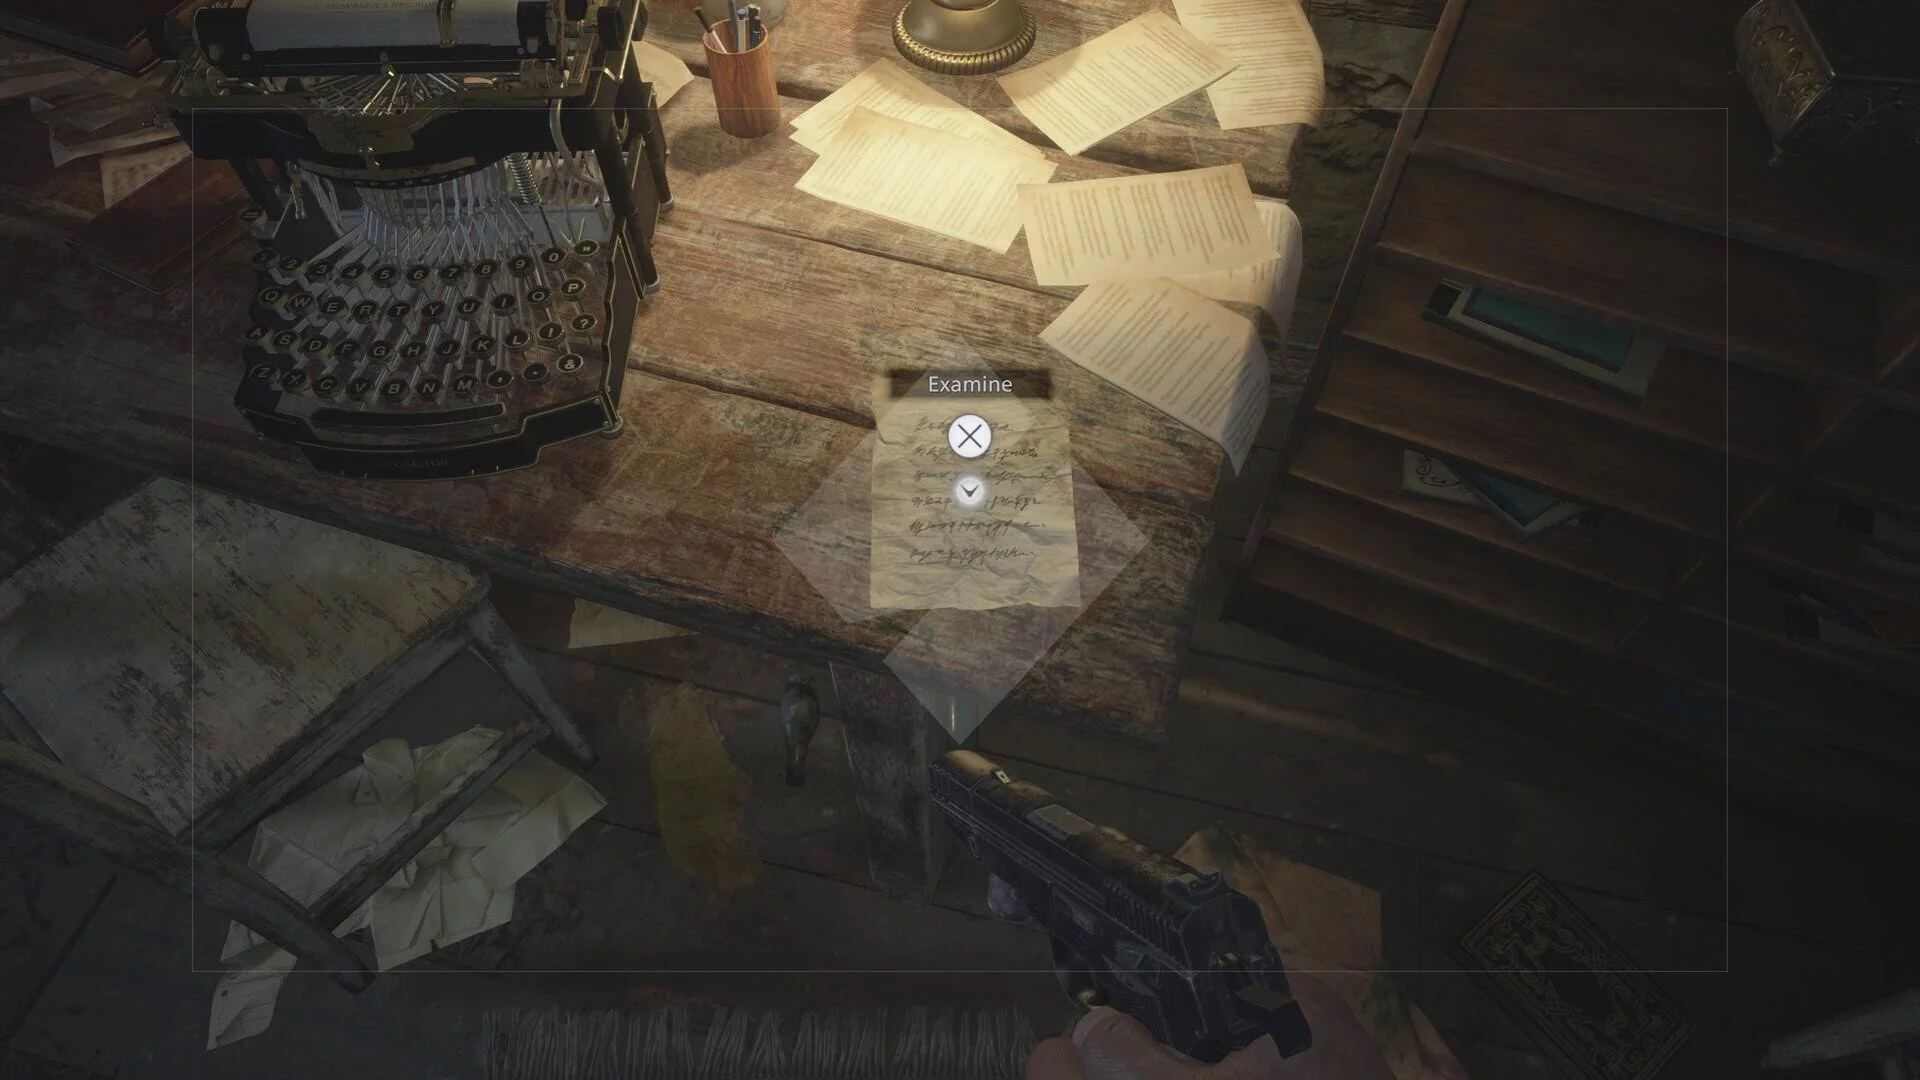
- Scribbed Note: In the first house you see past the red gates (and the old crazy lady). The file is on a small side table in the room with the painted floor. (1F Village, Maiden of War district)
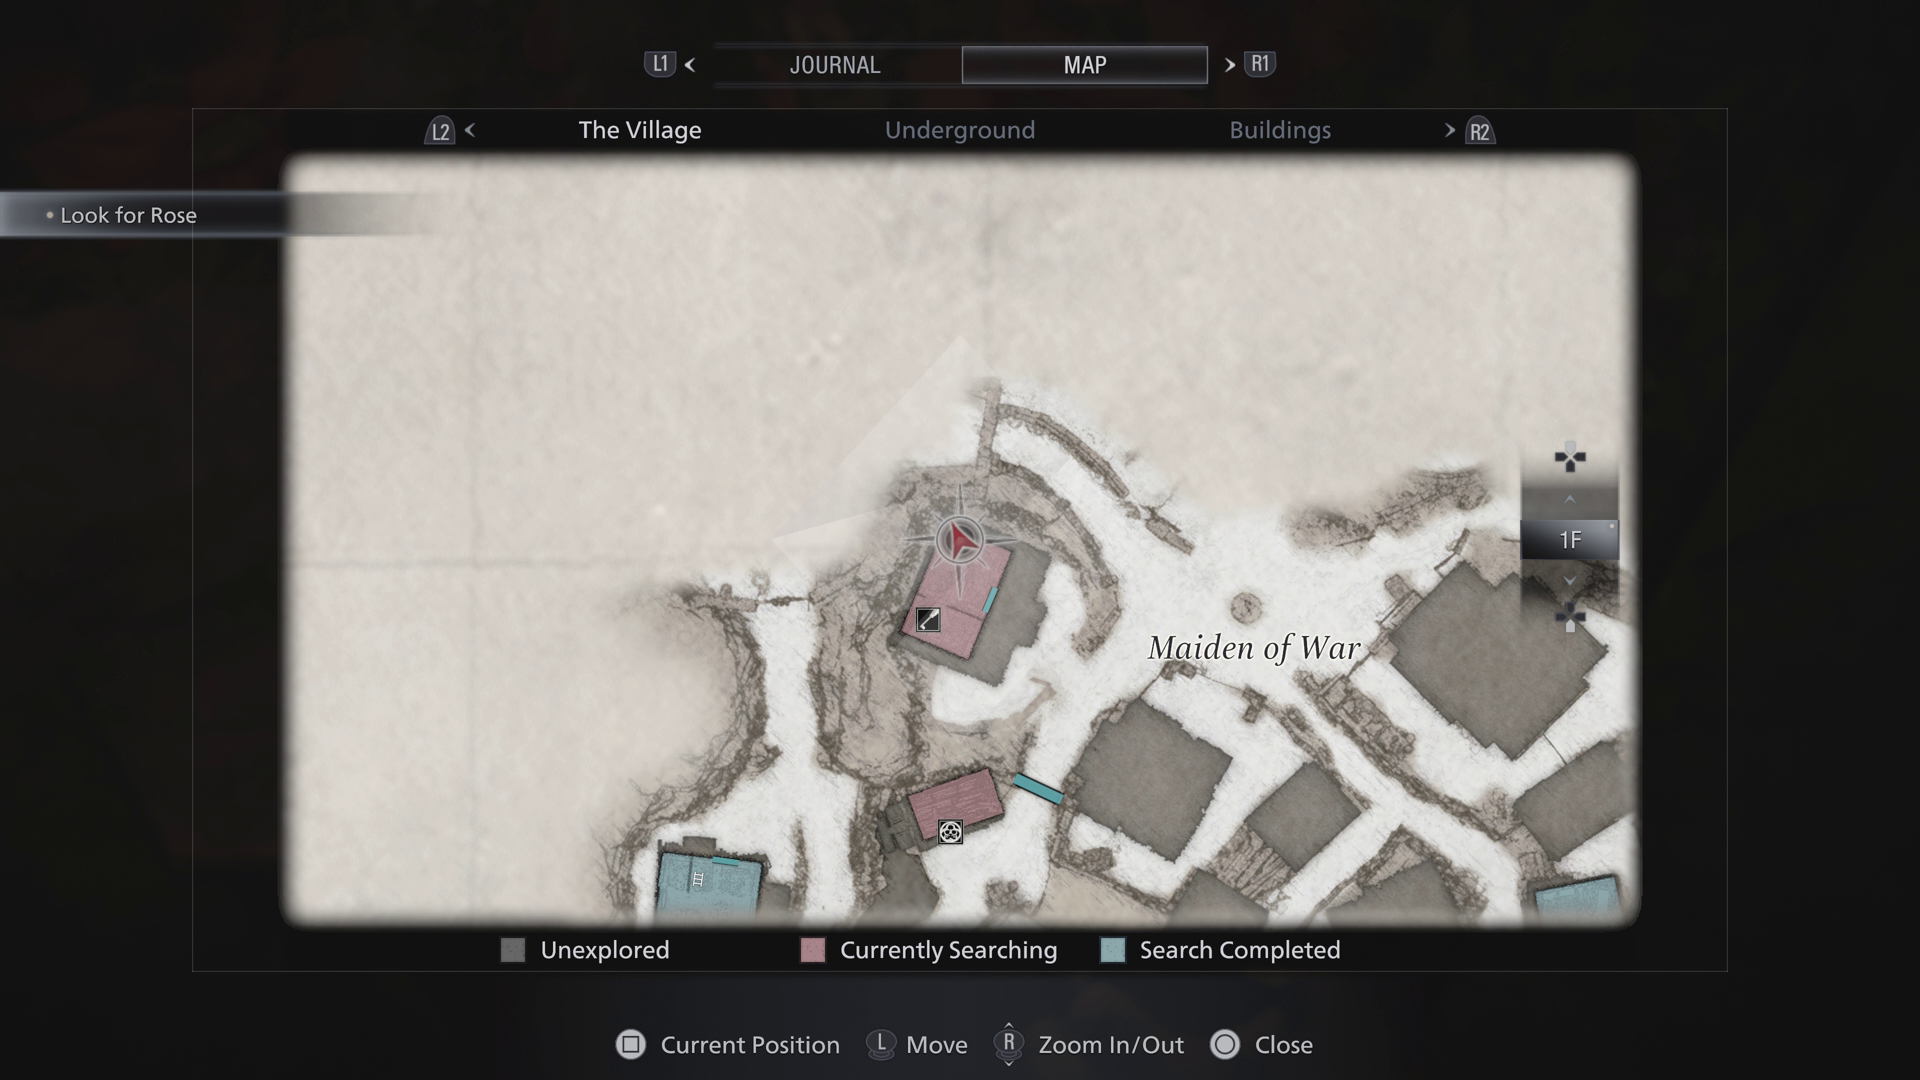
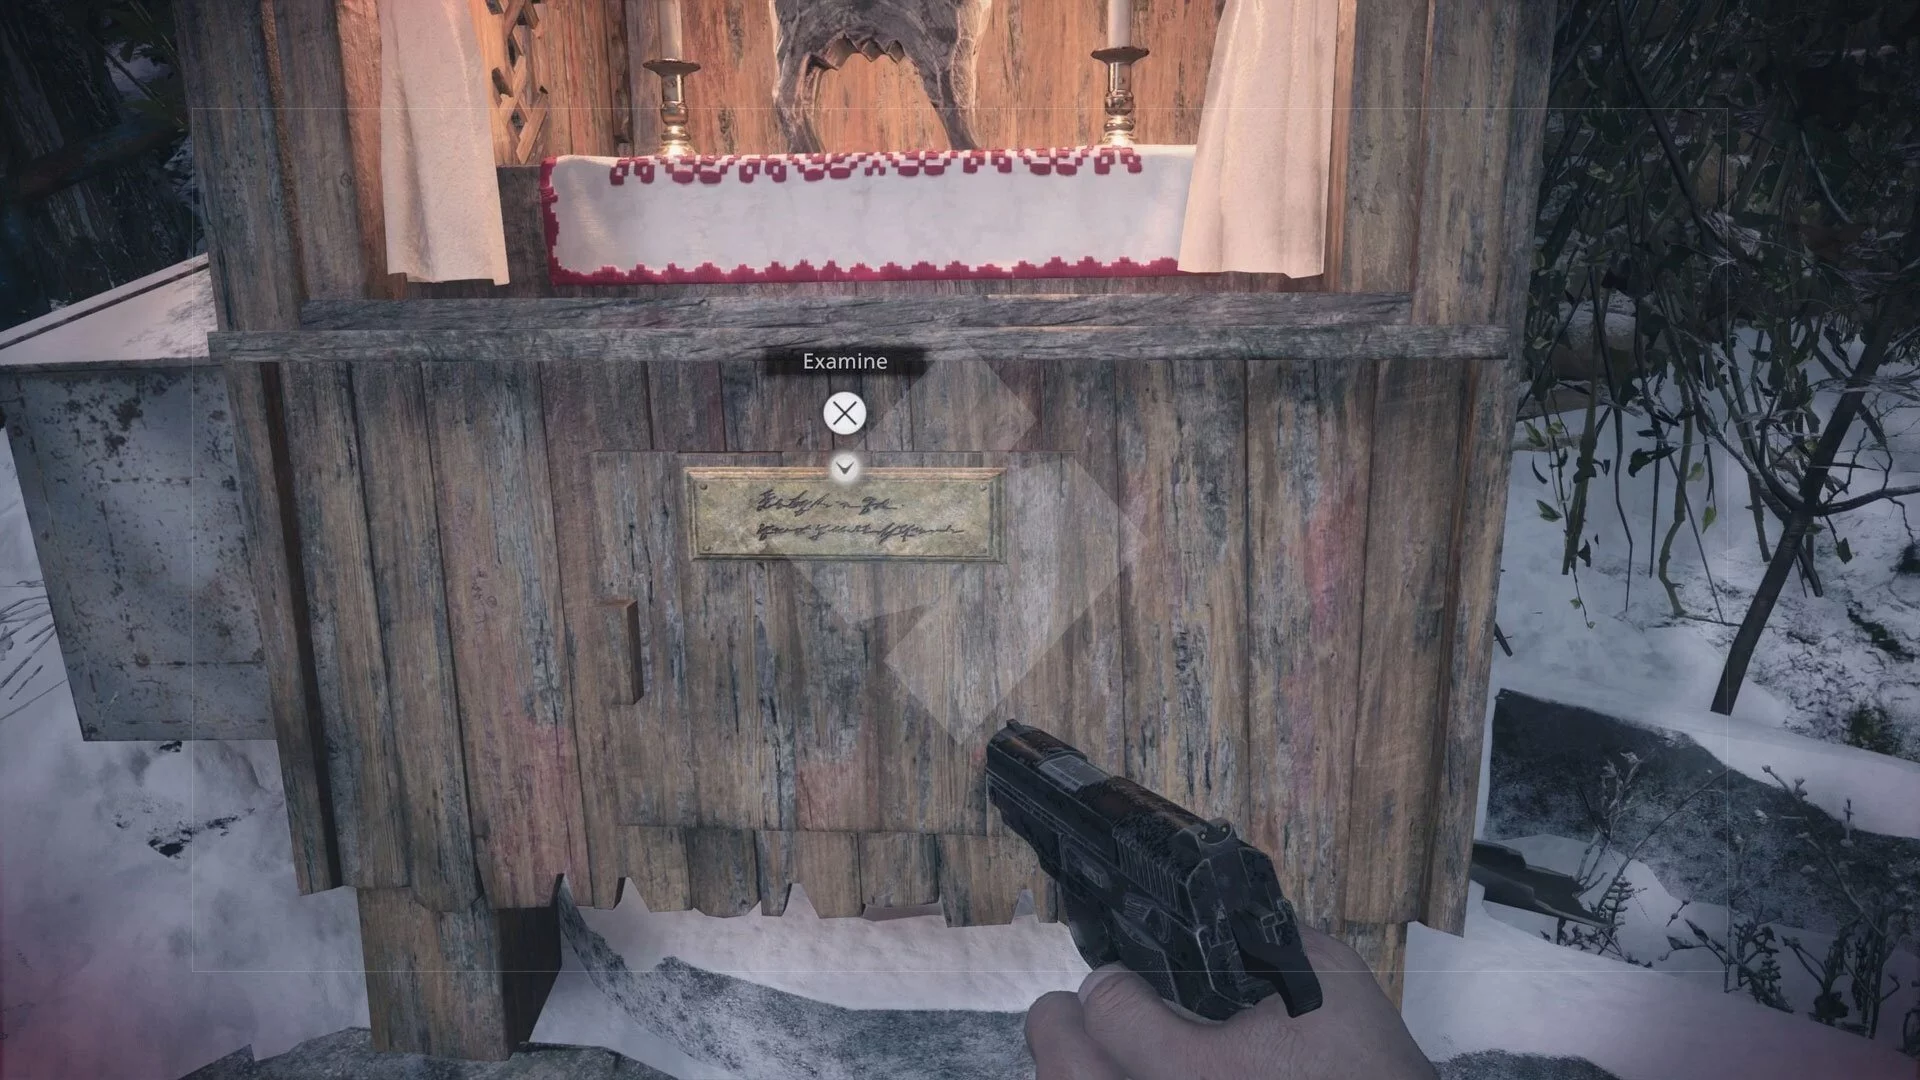
- Goats of Warding Placard: Continuing toward the centre of the village, you’ll see this as part of an ornate decoration introducting you to another collecible — the Goat of Warding. It’s very hard to miss.

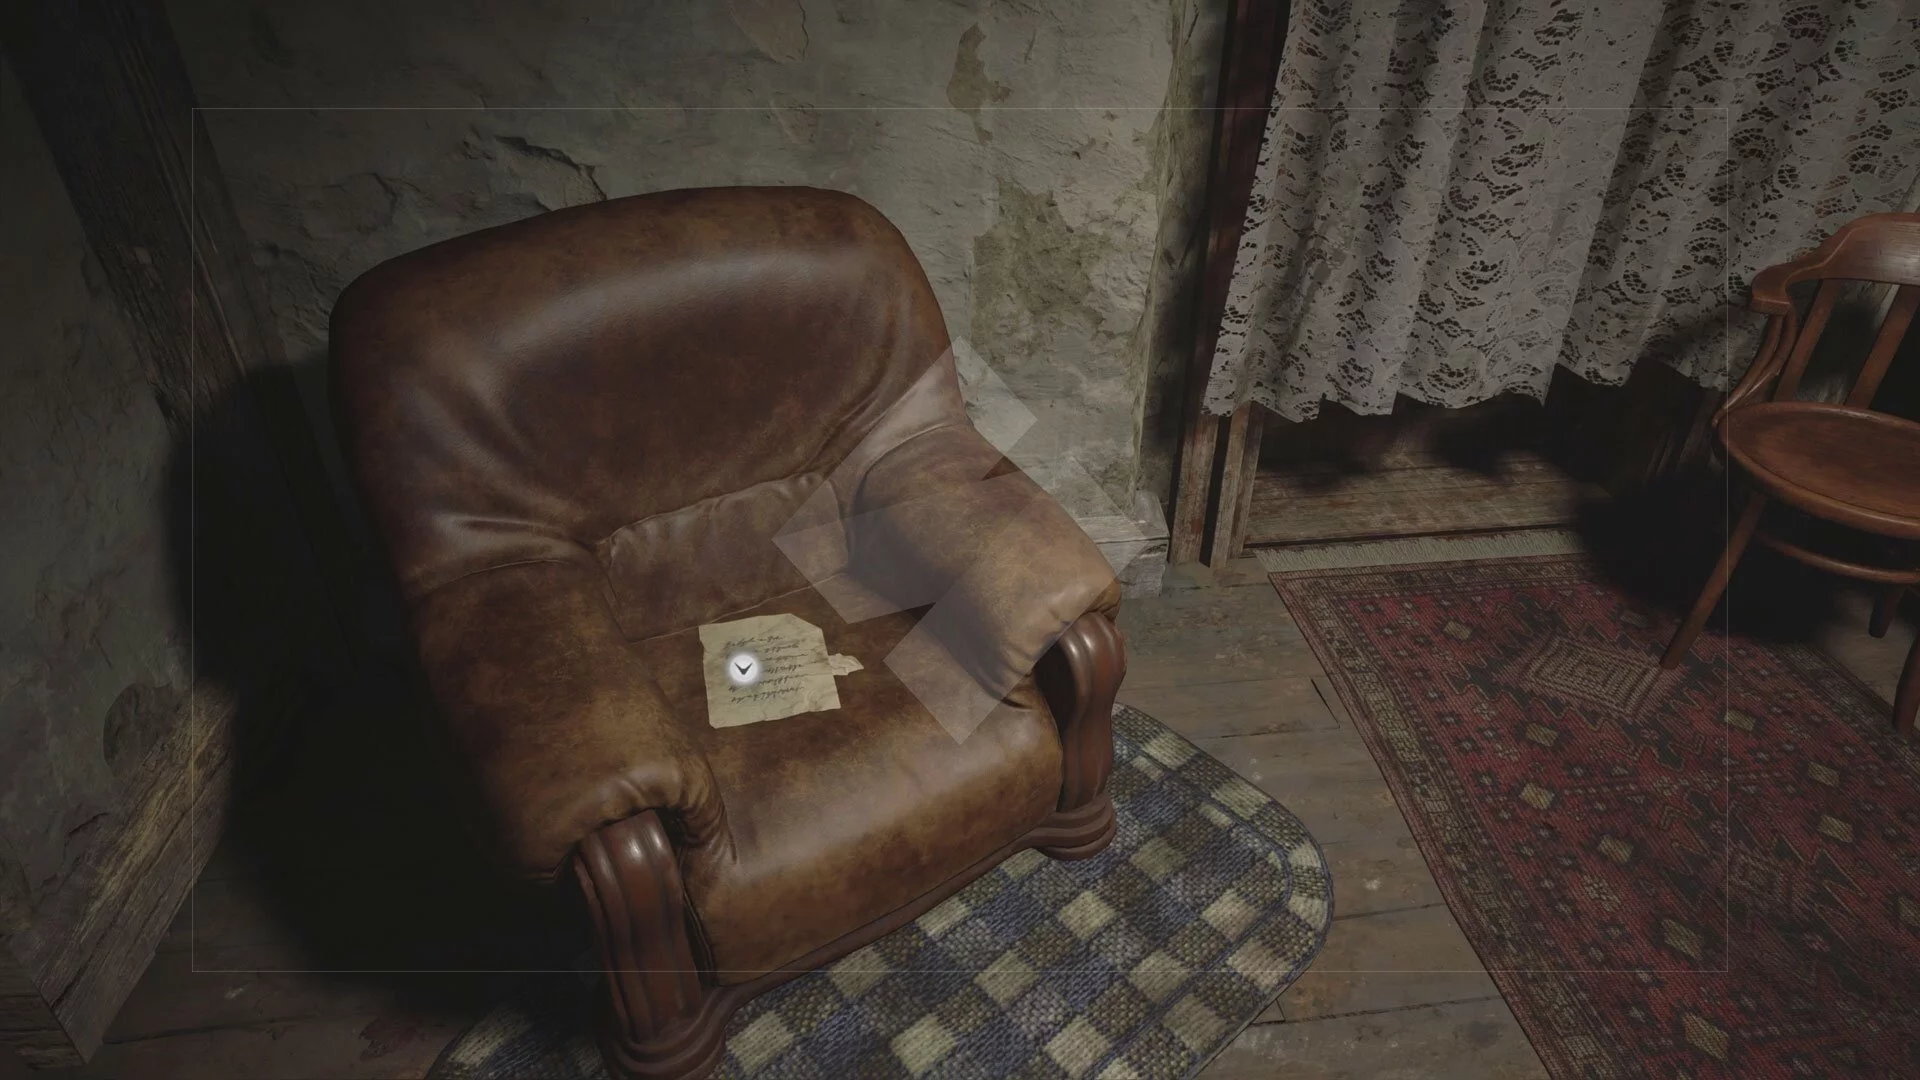
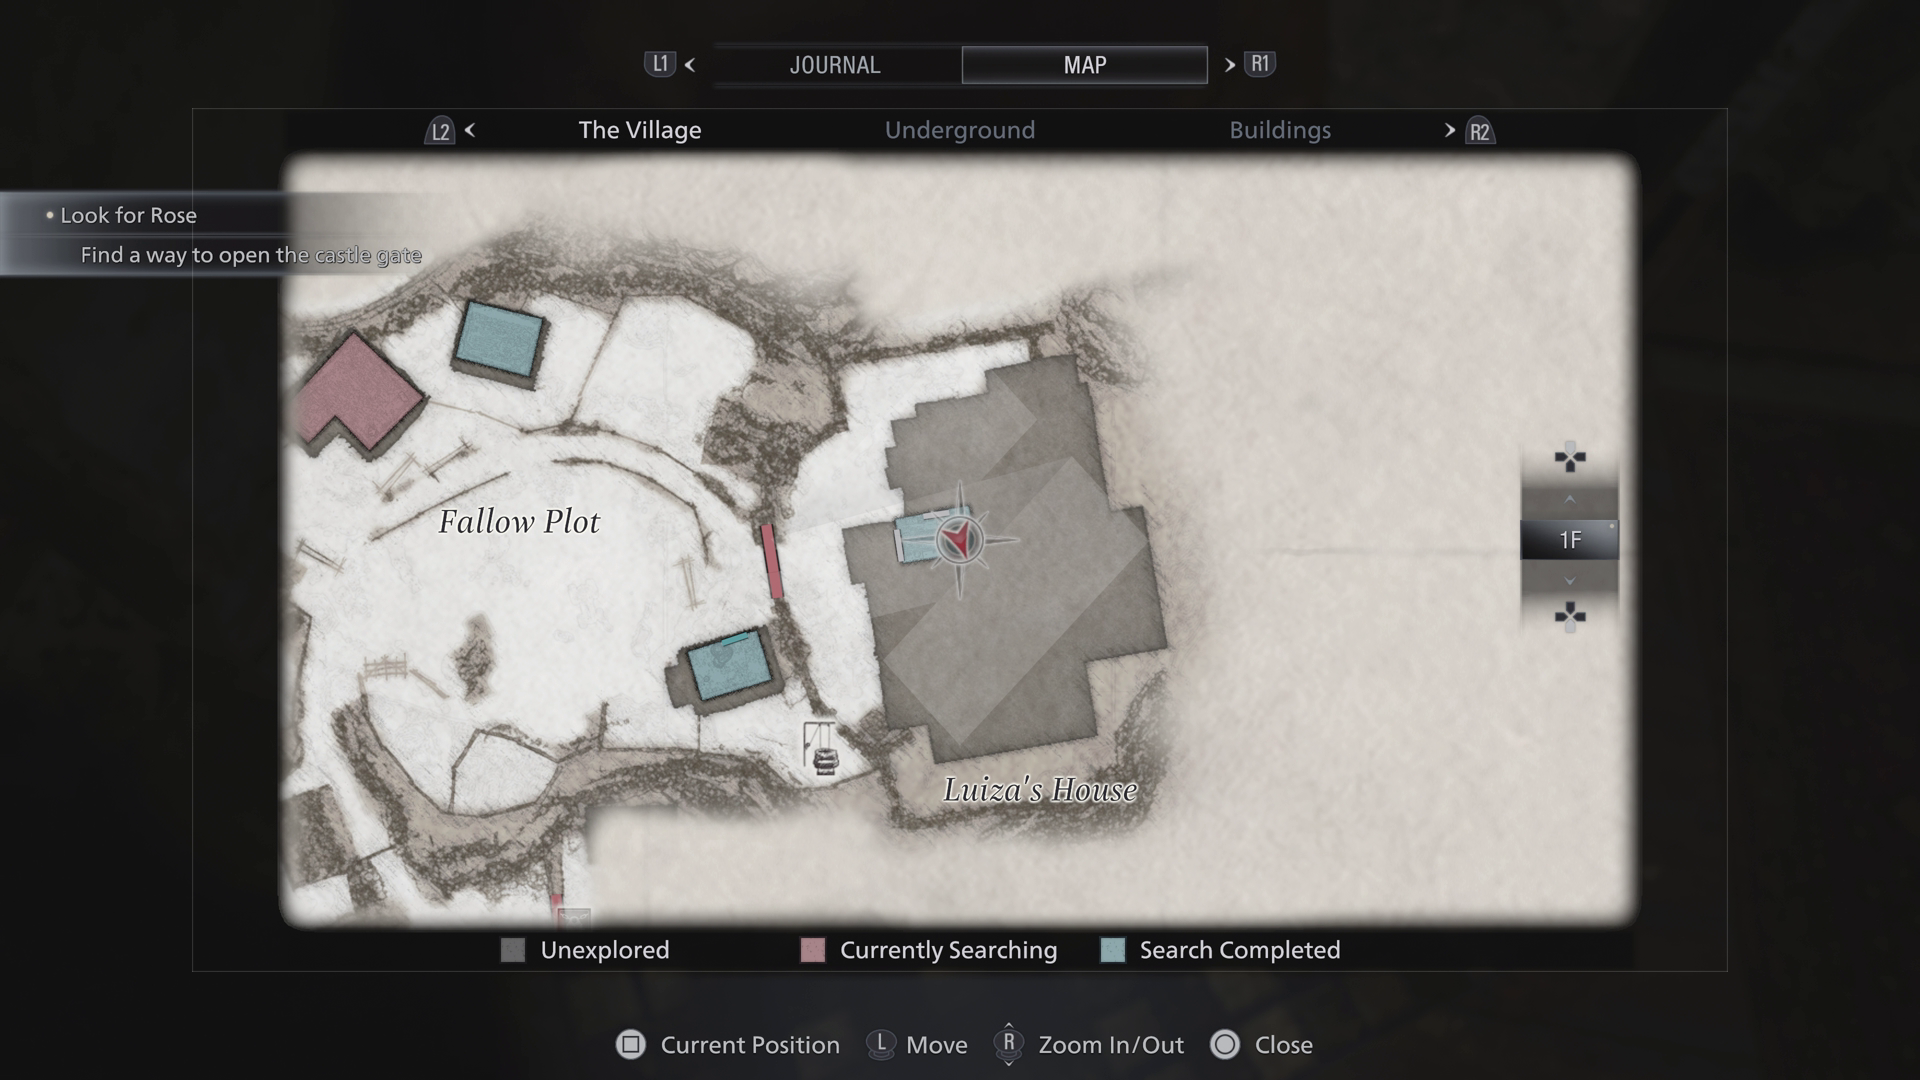
- Dangerous Creatures: This is missable if you don’t get it immediately. Found on a chair in the first room you enter in Luiza’s House (1F Village).
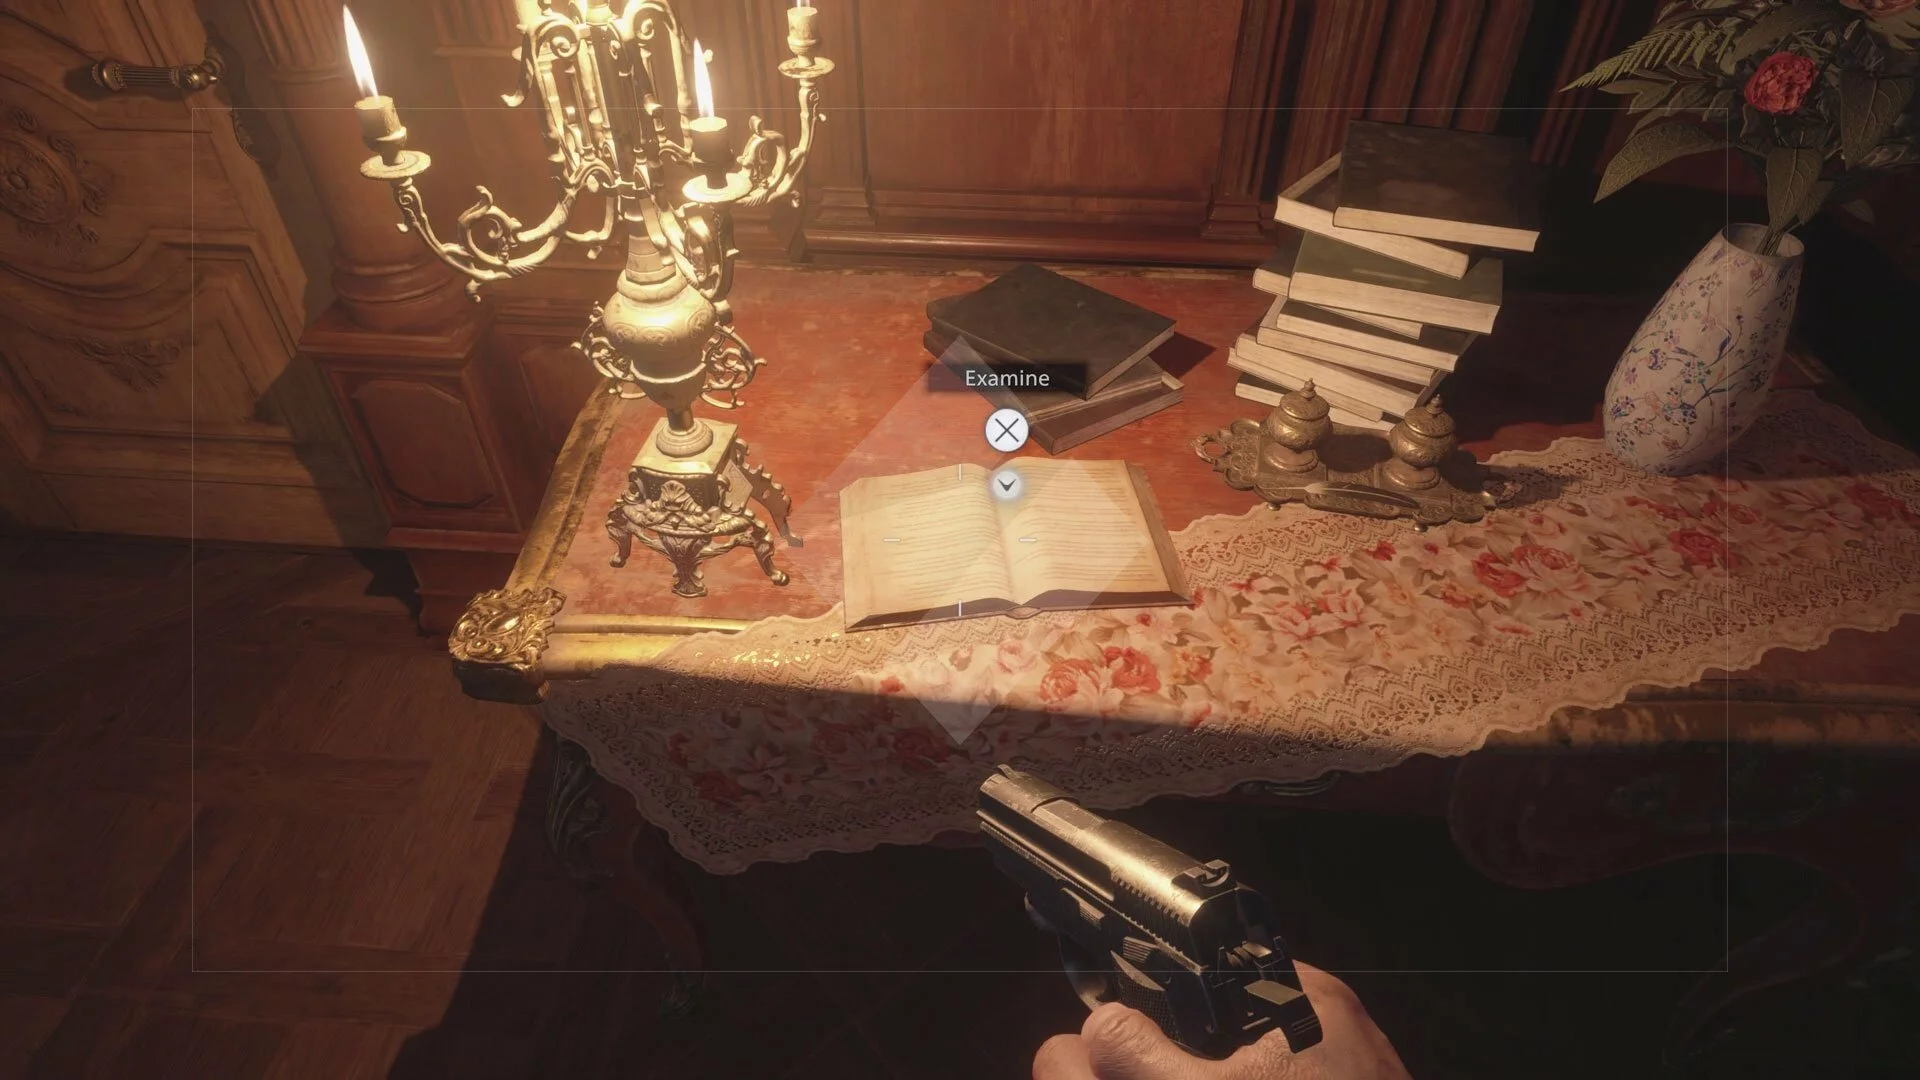
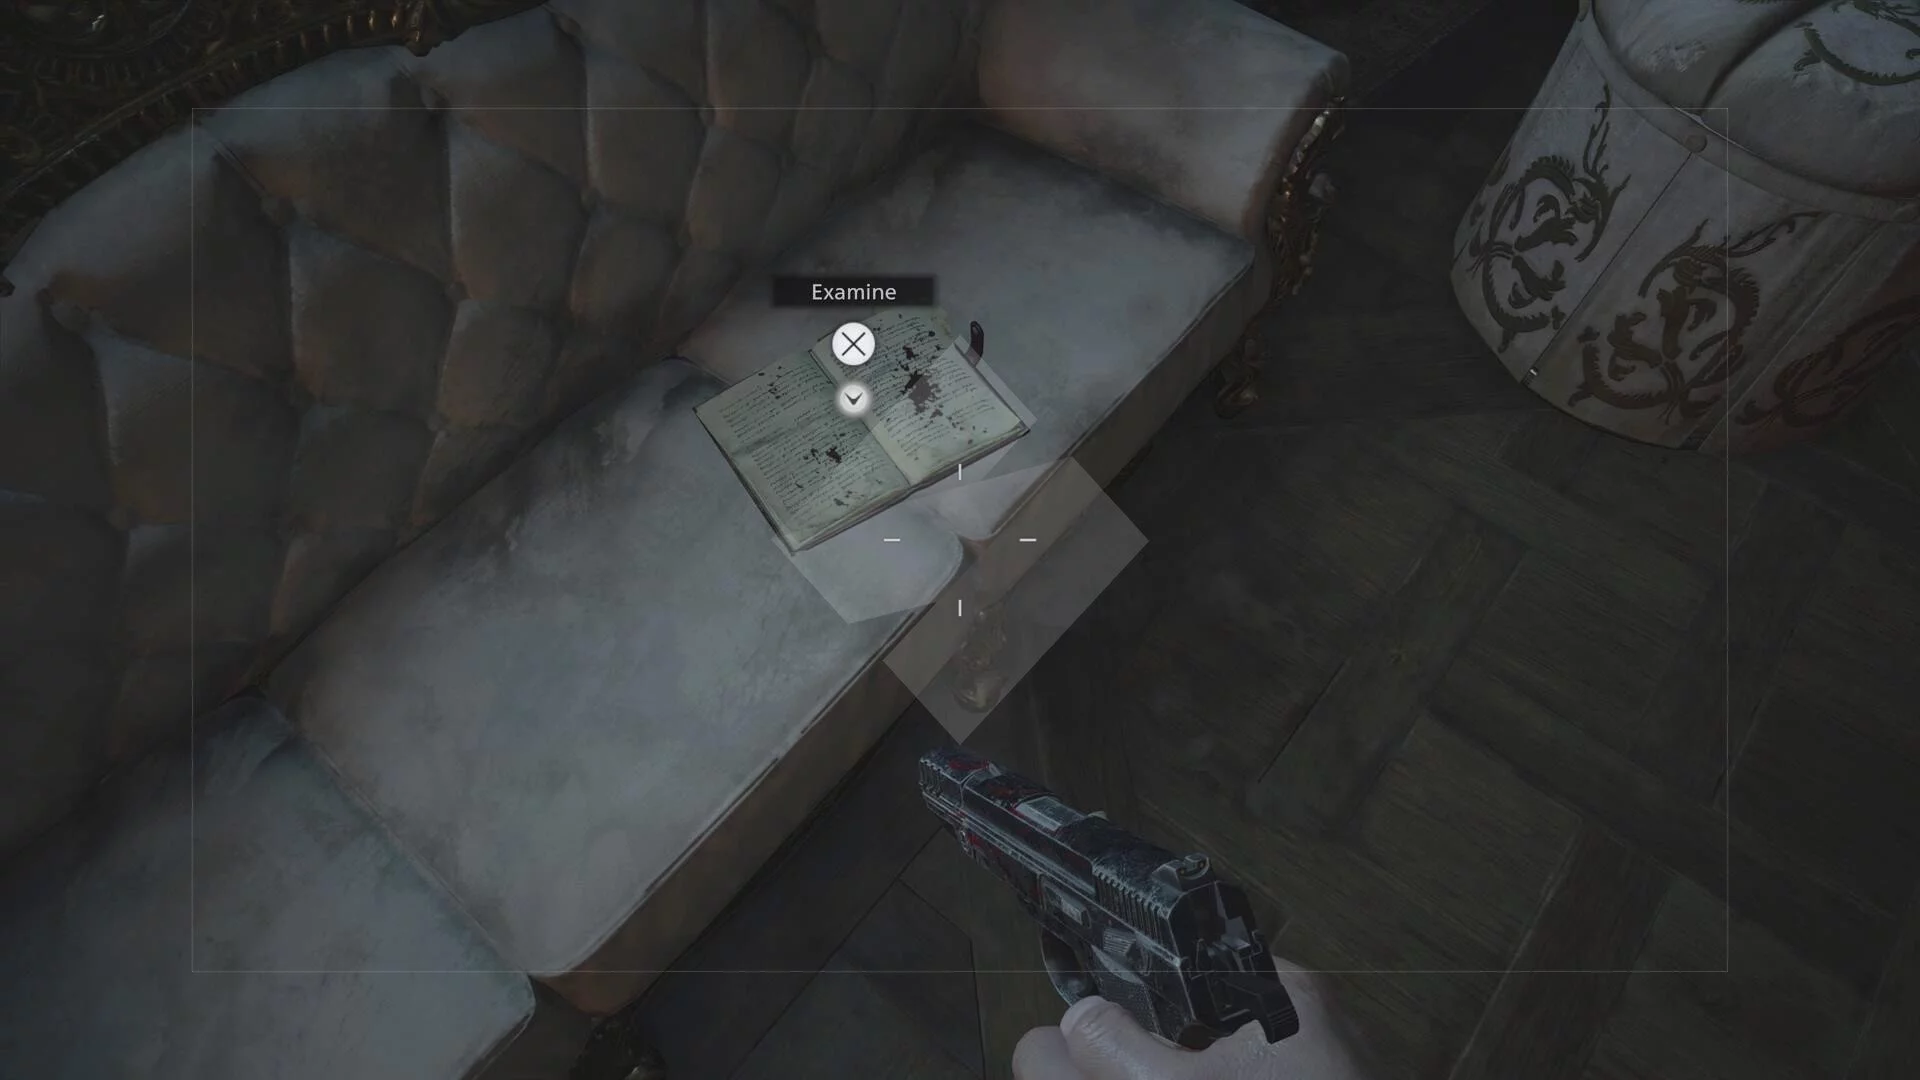
- Guest Book: Once you enter Castle Dimitrescu, look on the dresser up the first set of stairs and on the left. (1F Entrance Hall, Castle Dimitrescu)

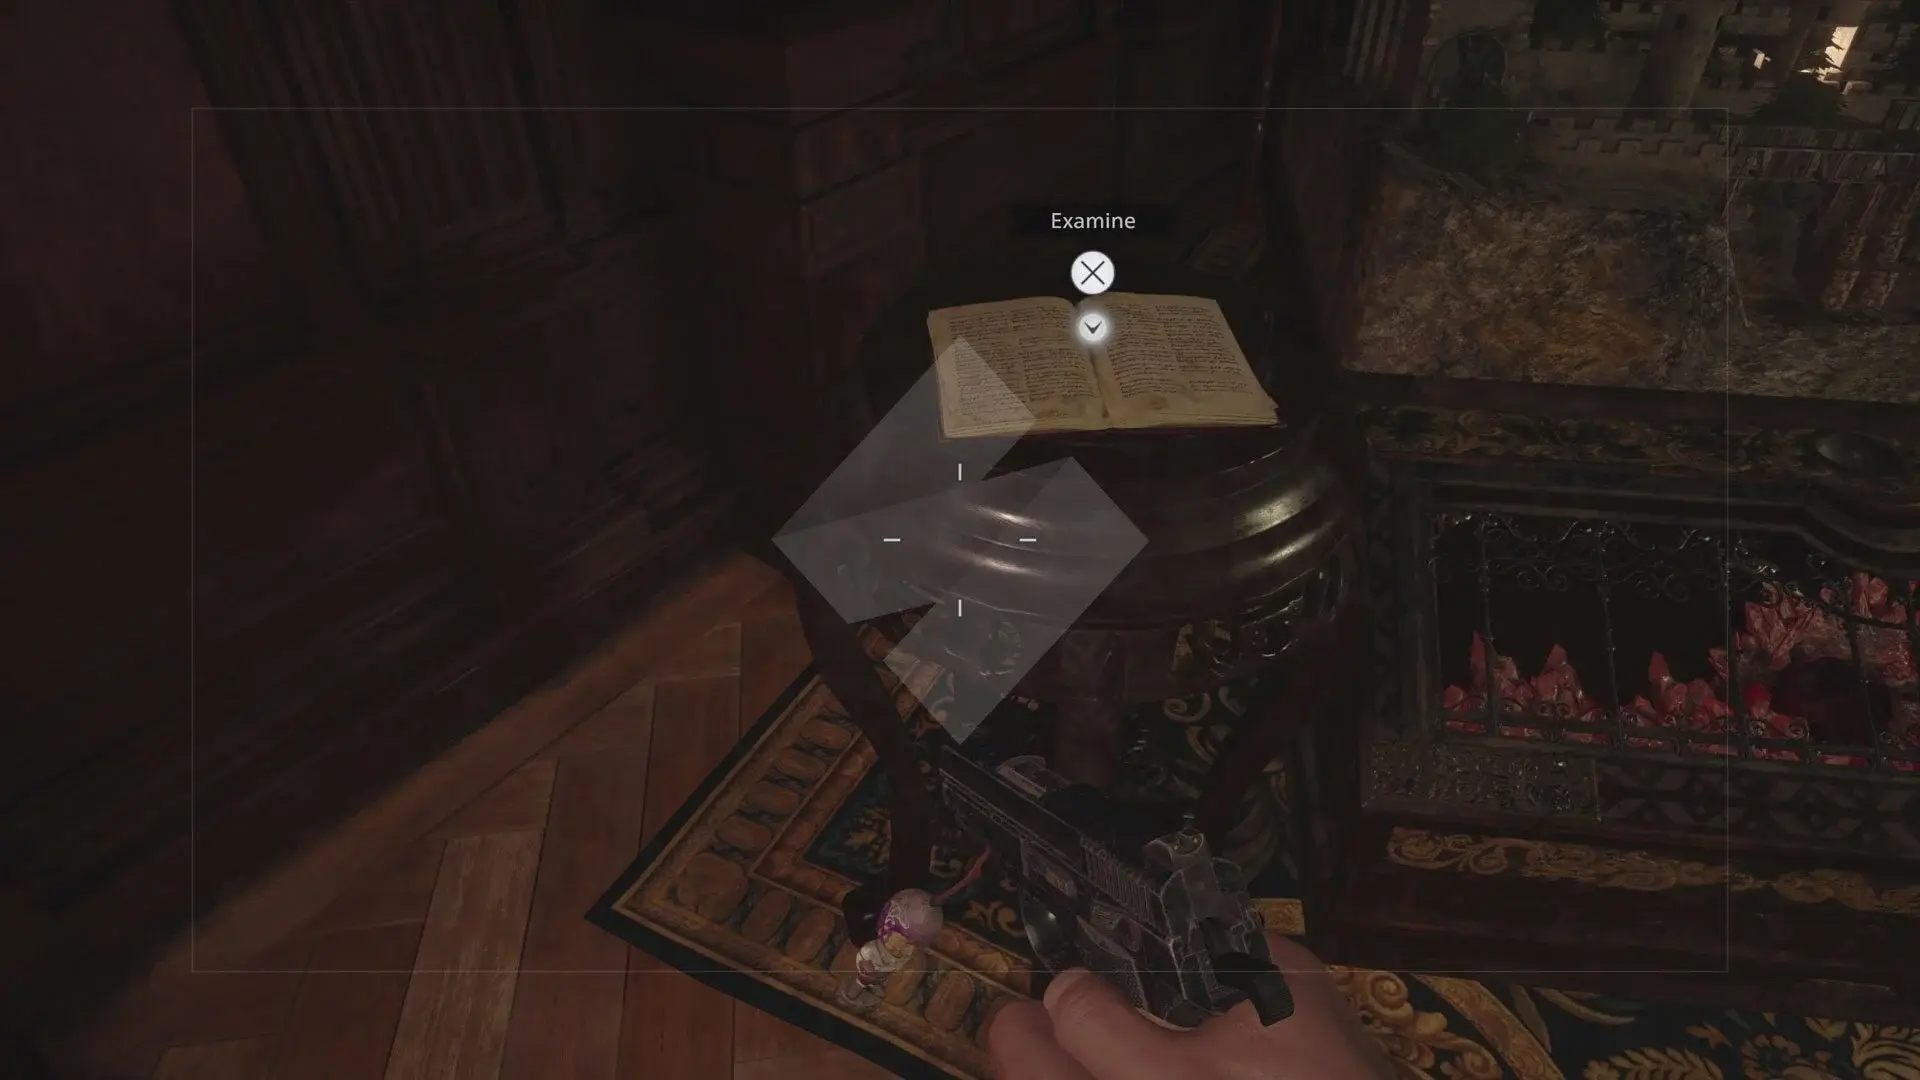
- The Labyrinths: To the right-hand side of the Duke in the 1F Merchant’s Room (Castle Dimitrescu).
- Winemaking History: Inside the 2F Wine Room (Castle Dimitrescu) in the centre of the room.
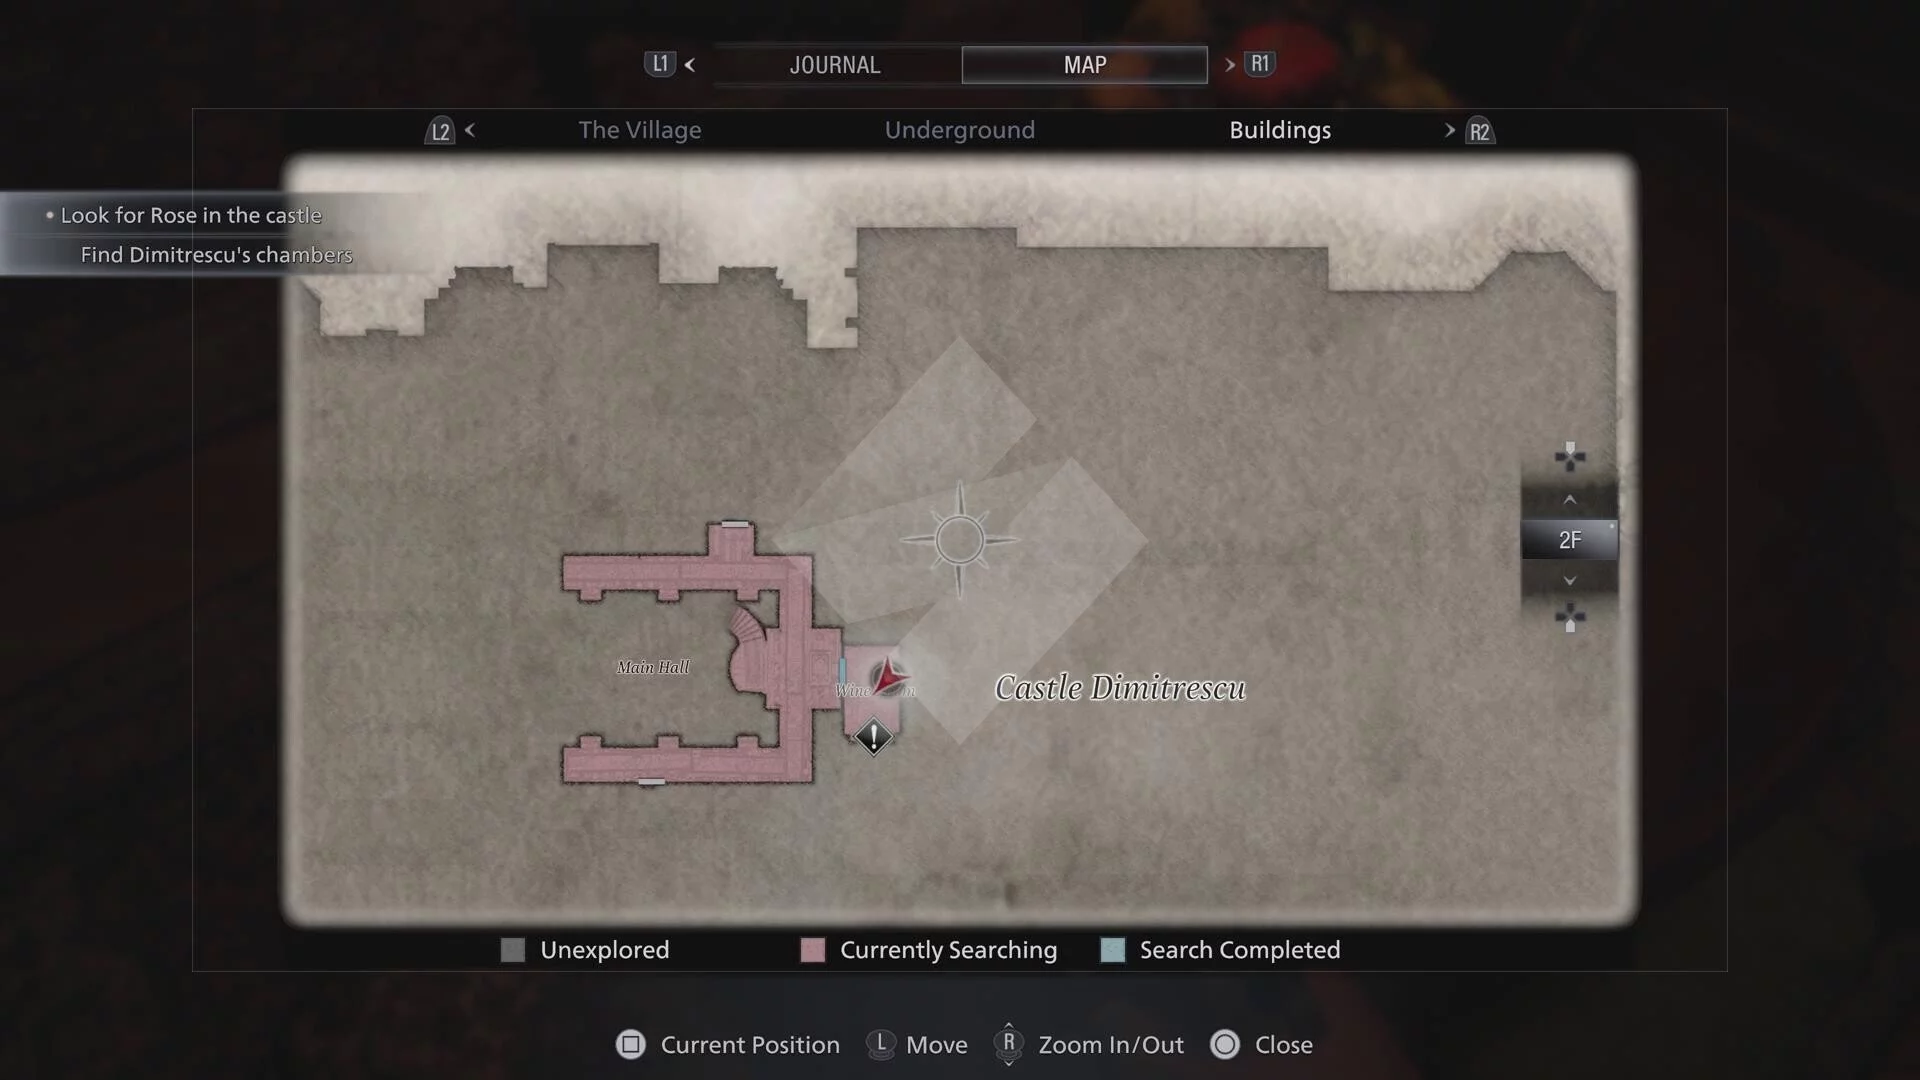
- A Maid’s Diary: After escaping one of the sisters by jumping down a hole, check the bottom rack of a cart after your big fall. (B1, Castle Dimitrescu)
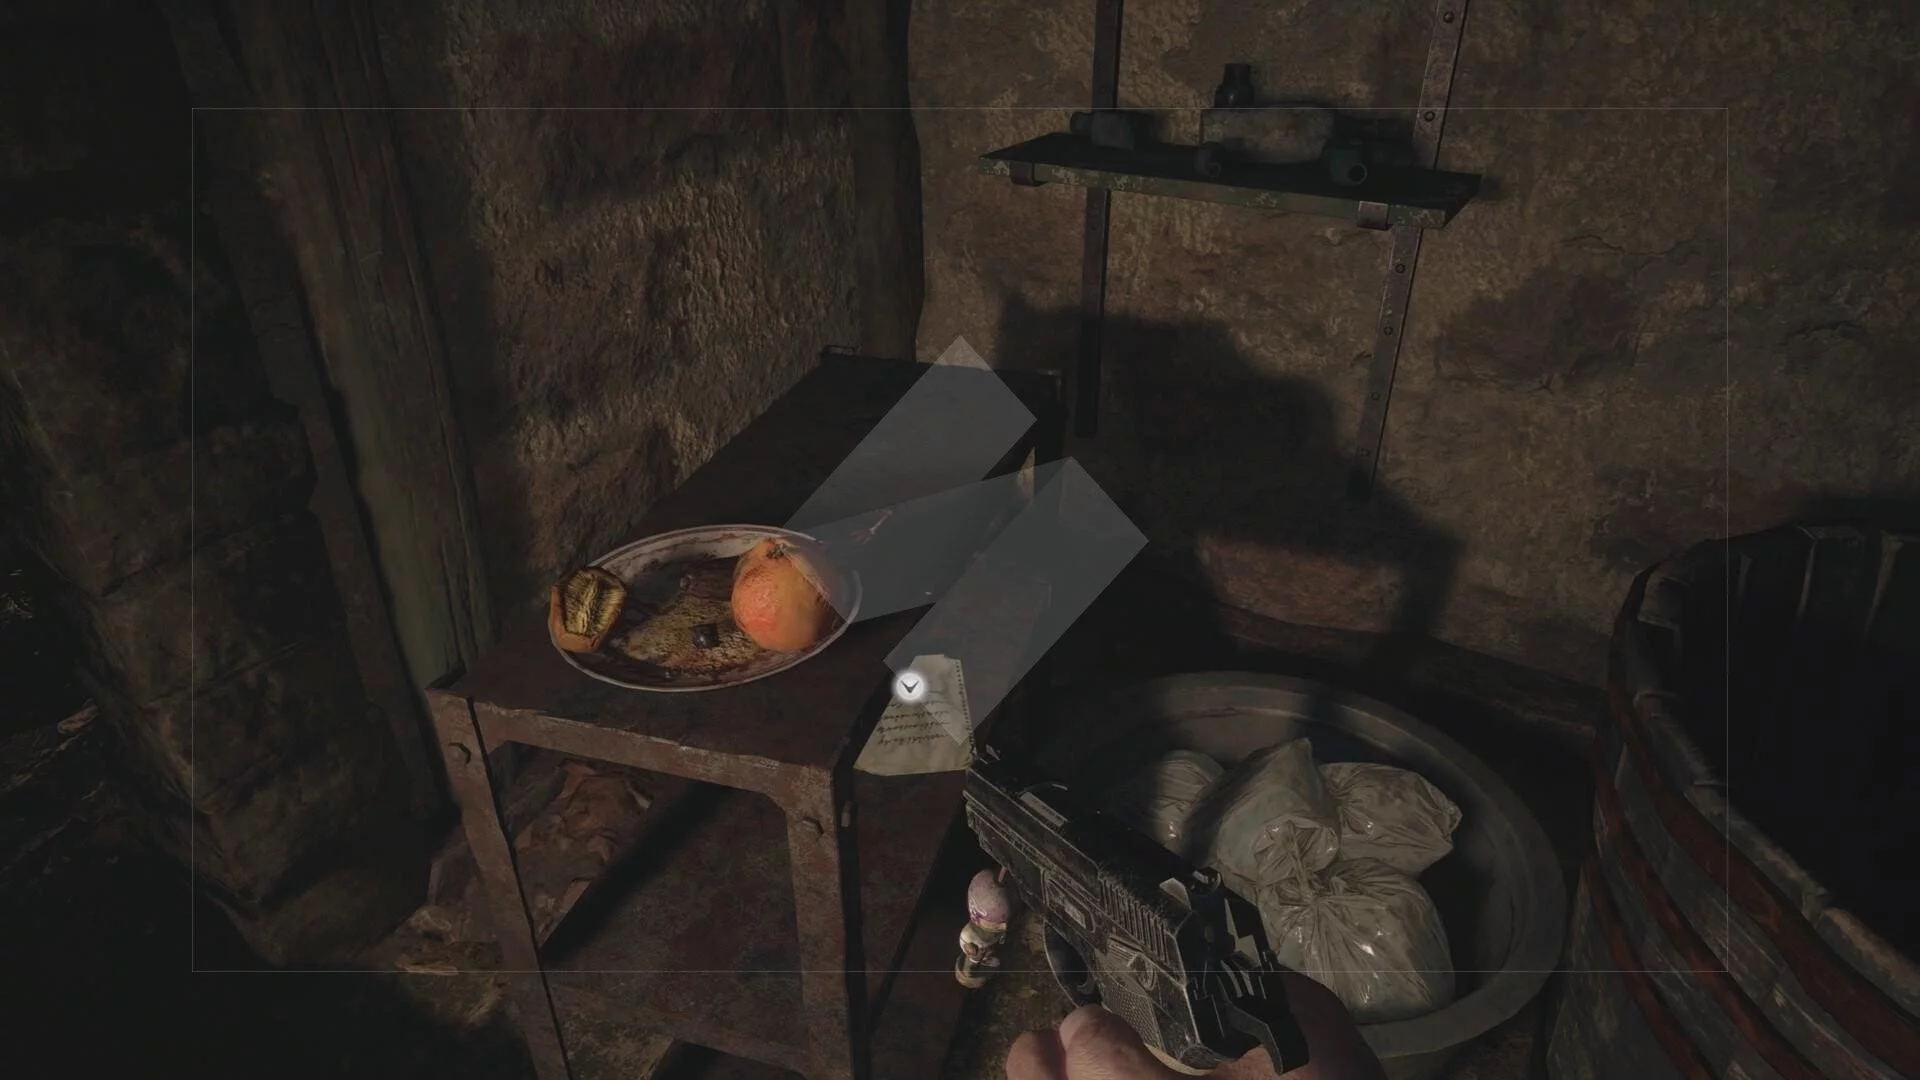
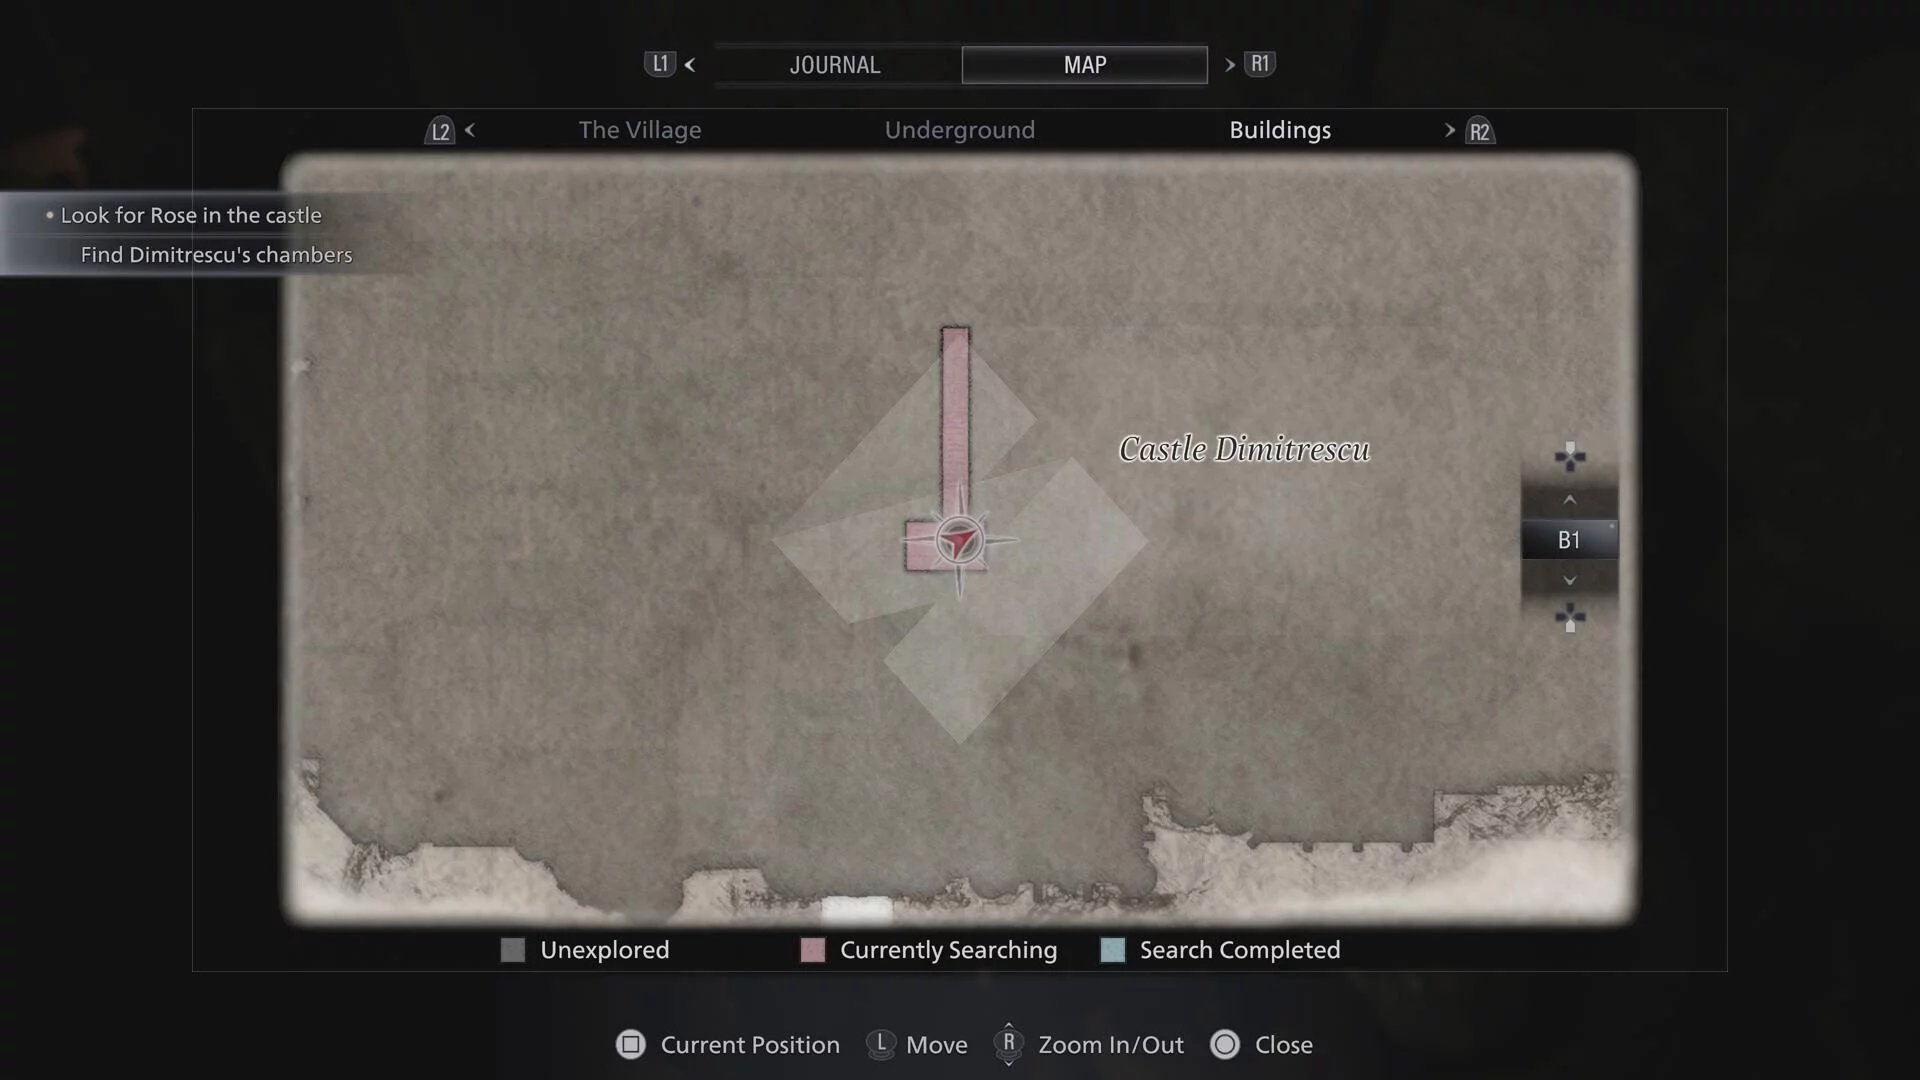
- Treatment Candidates: After solving the swinging light puzzle (protip: you can shoot the lantern to make it swing where you want it to go!), this is in one of the cells in the darkened dungeon area (B1, Castle Dimitrescu).
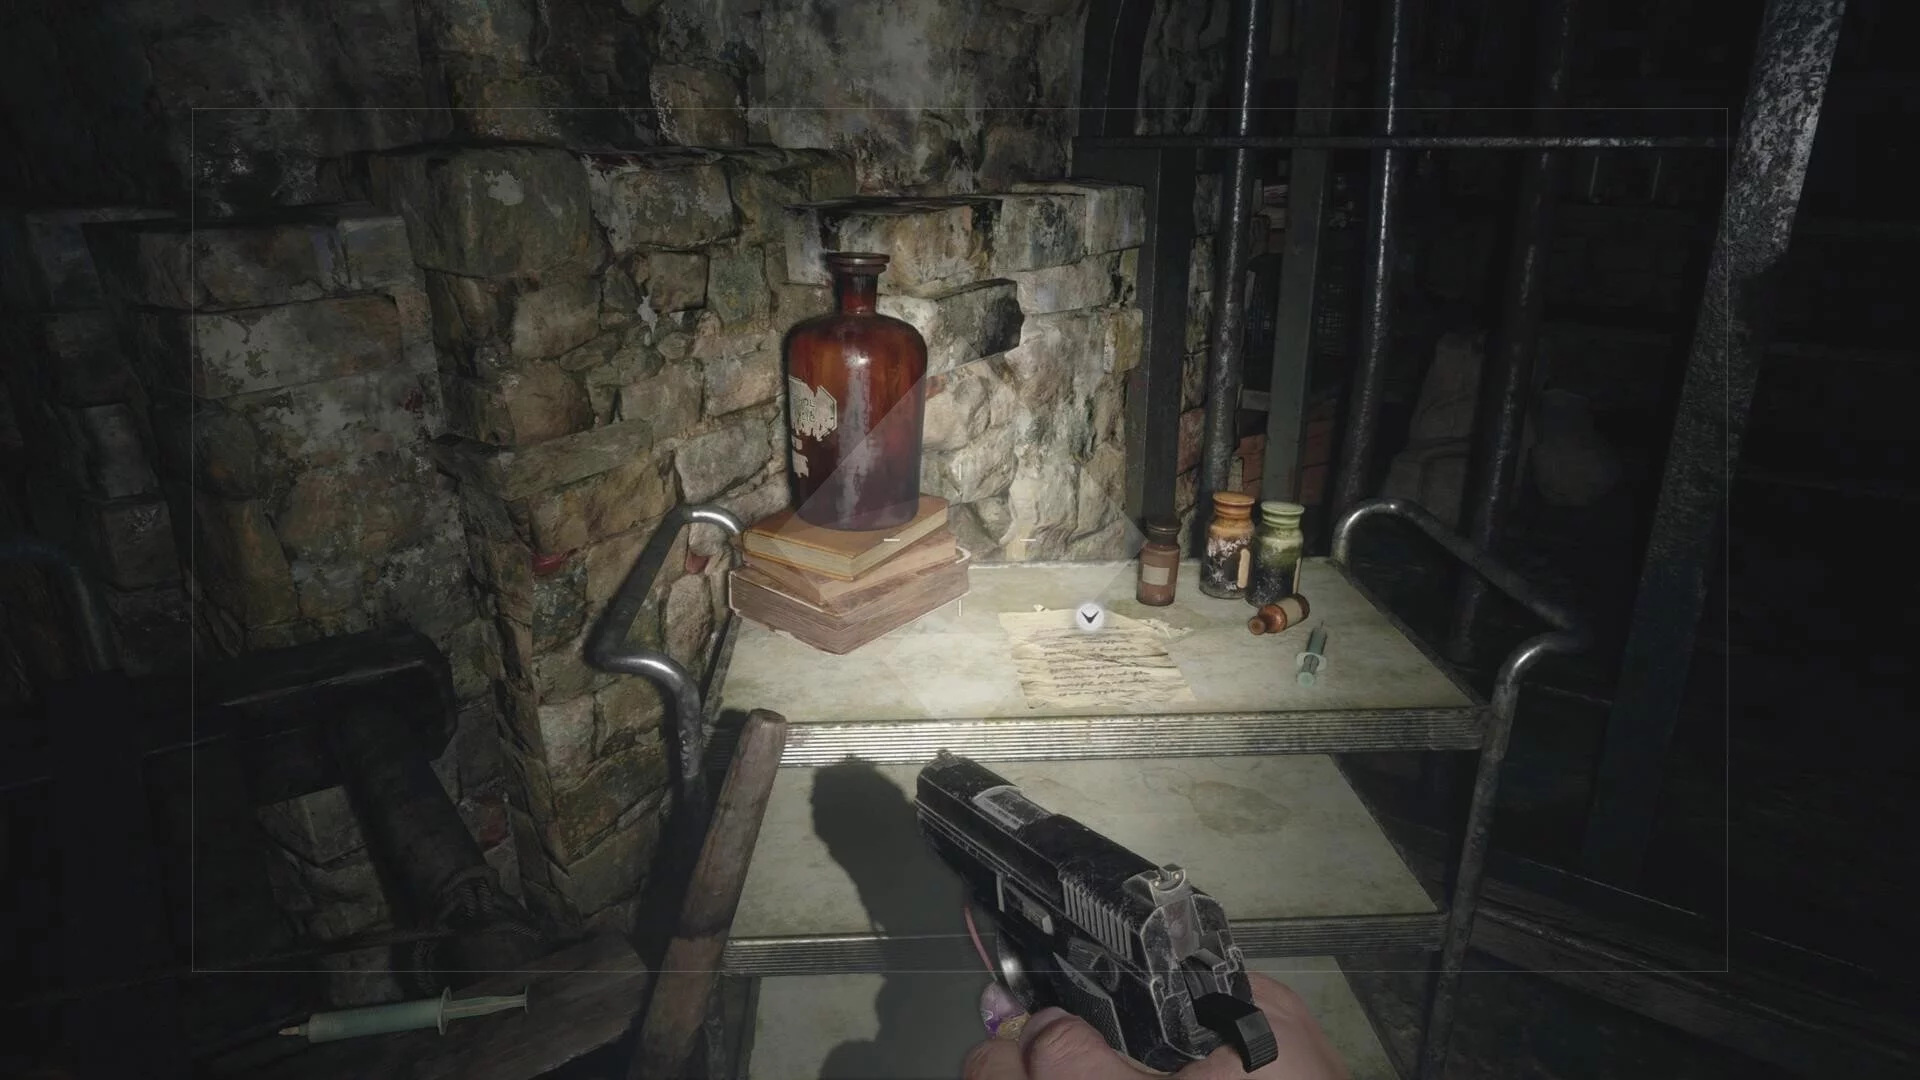
- Observation Report: Right after the Treatment Candidates file in the same darkened dungeon (B1, Castle Dimitrescu).

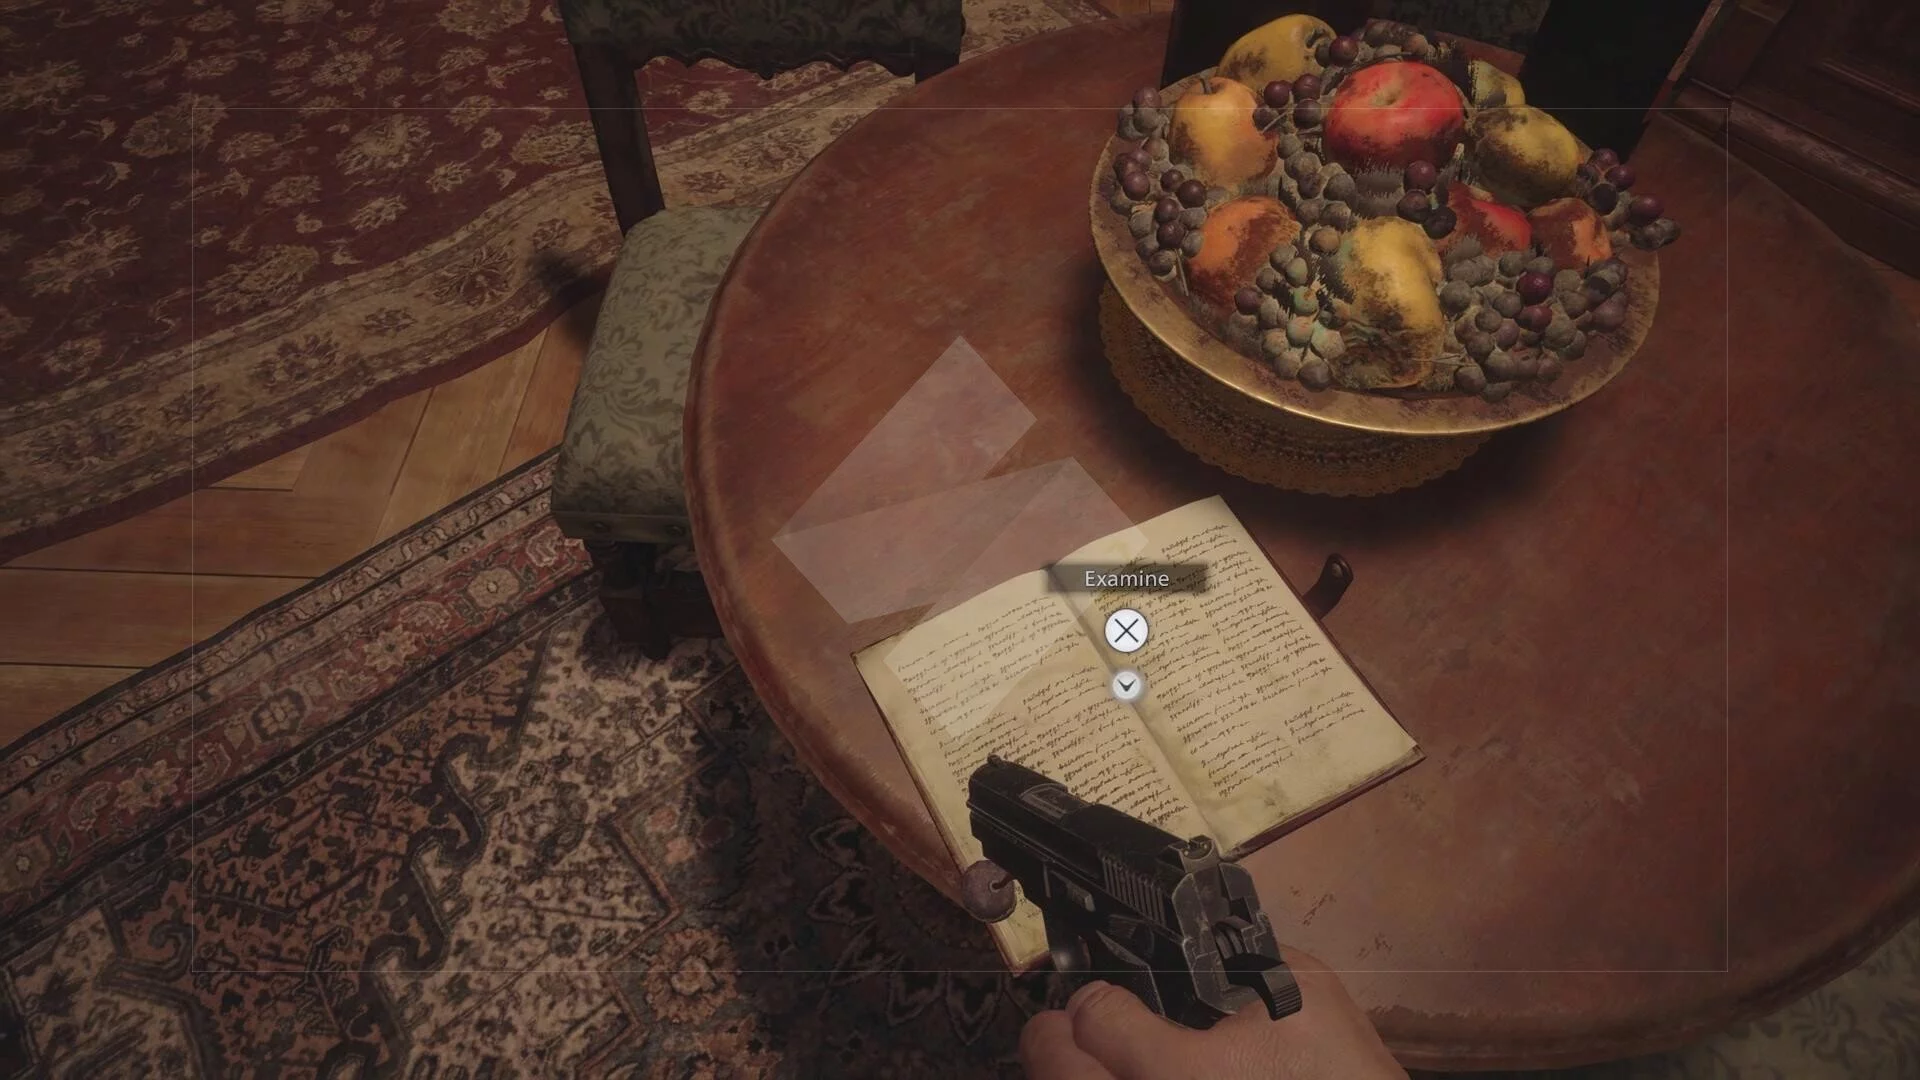
- A Cook’s Diary: In the 1F Kitchen after your first Dimitrescu sister boss battle (Kitchen, 1F Castle Dimitrescu). The Sanguis Virginis key item is in the same room.
- Alcina Dimitrescu’s Diary: In 2F Dimitrescu’s Chambers after the cutscene with her on the phone (Dimitrescu’s Chambers, 2F Castle Dimitrescu). The Dimitrescu Key key item is in the same room.
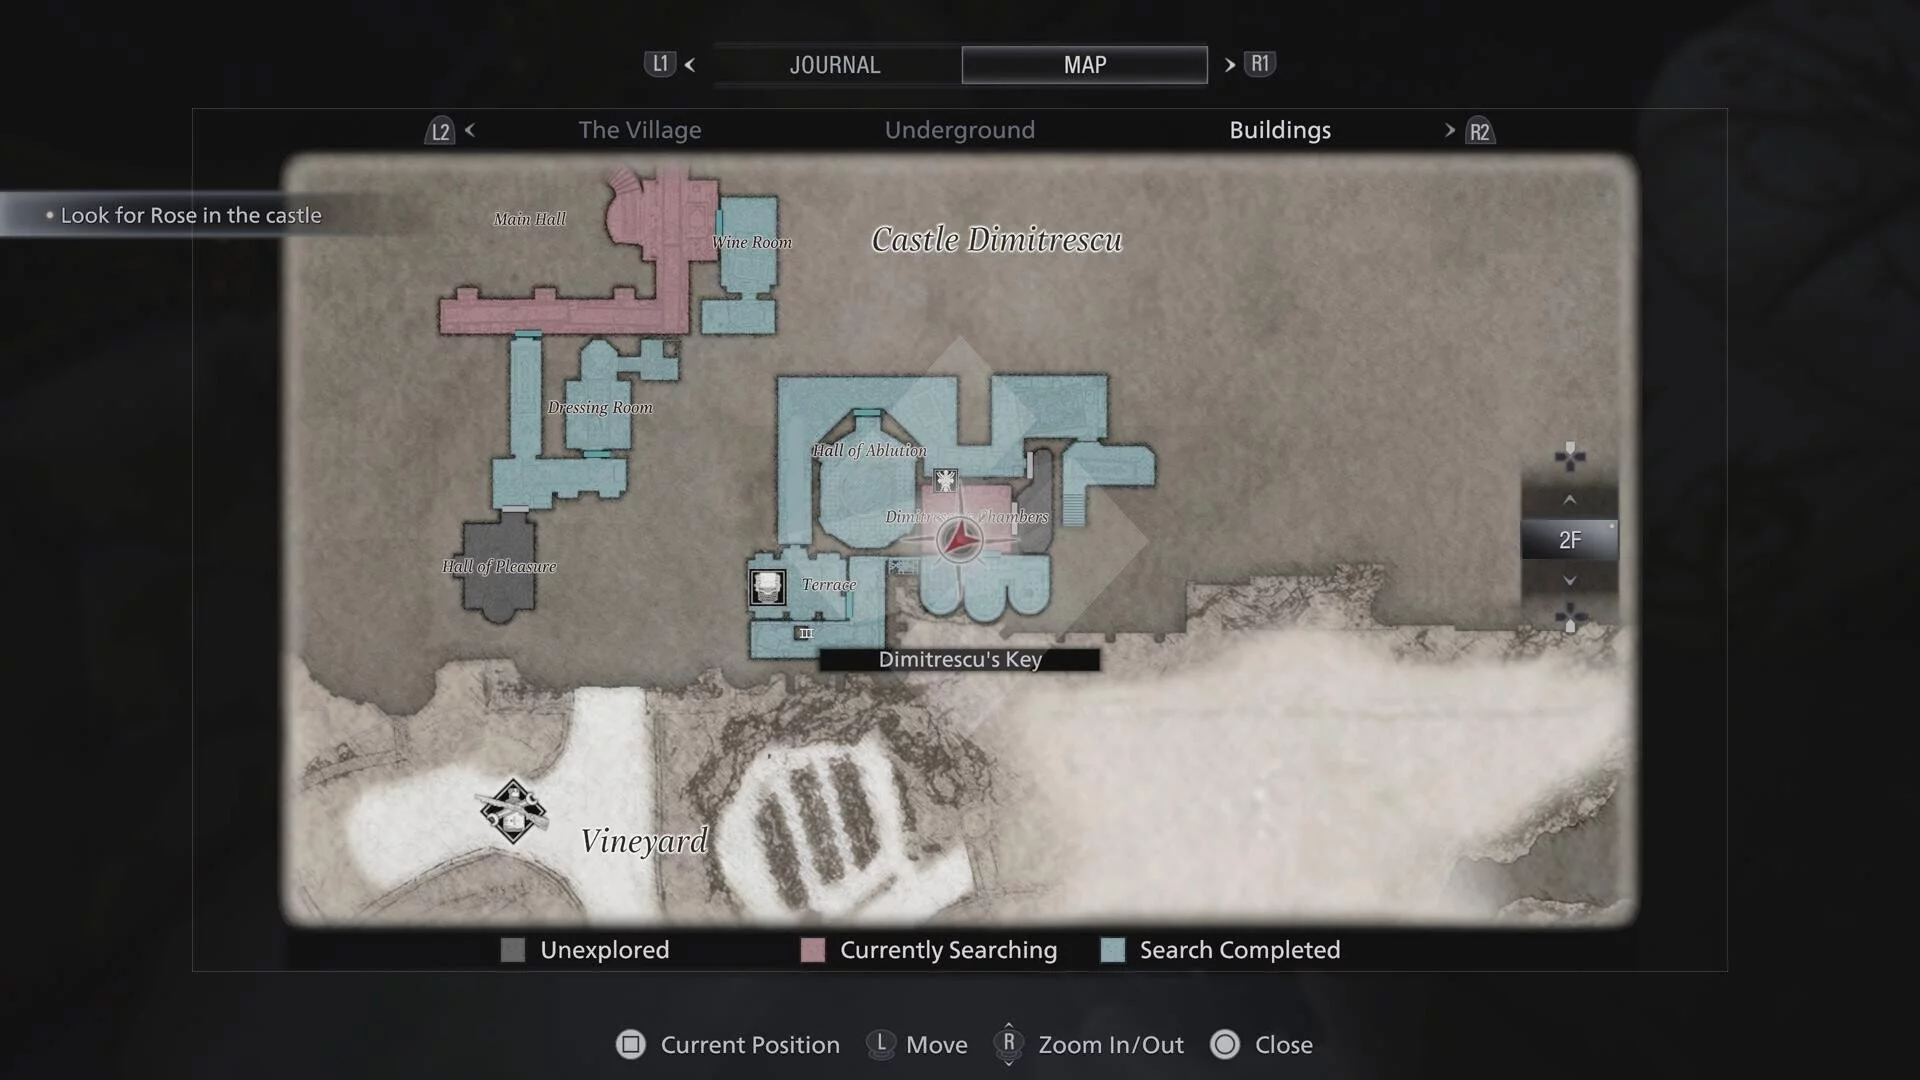
- Grand Chambermaid’s Notice: After using the Dimitrescu Key to get into the locked door from the Courtyard, go up the stairs and you’ll find this on a chest. (2F hallway outside Opera Hall, Castle Dimitrescu).

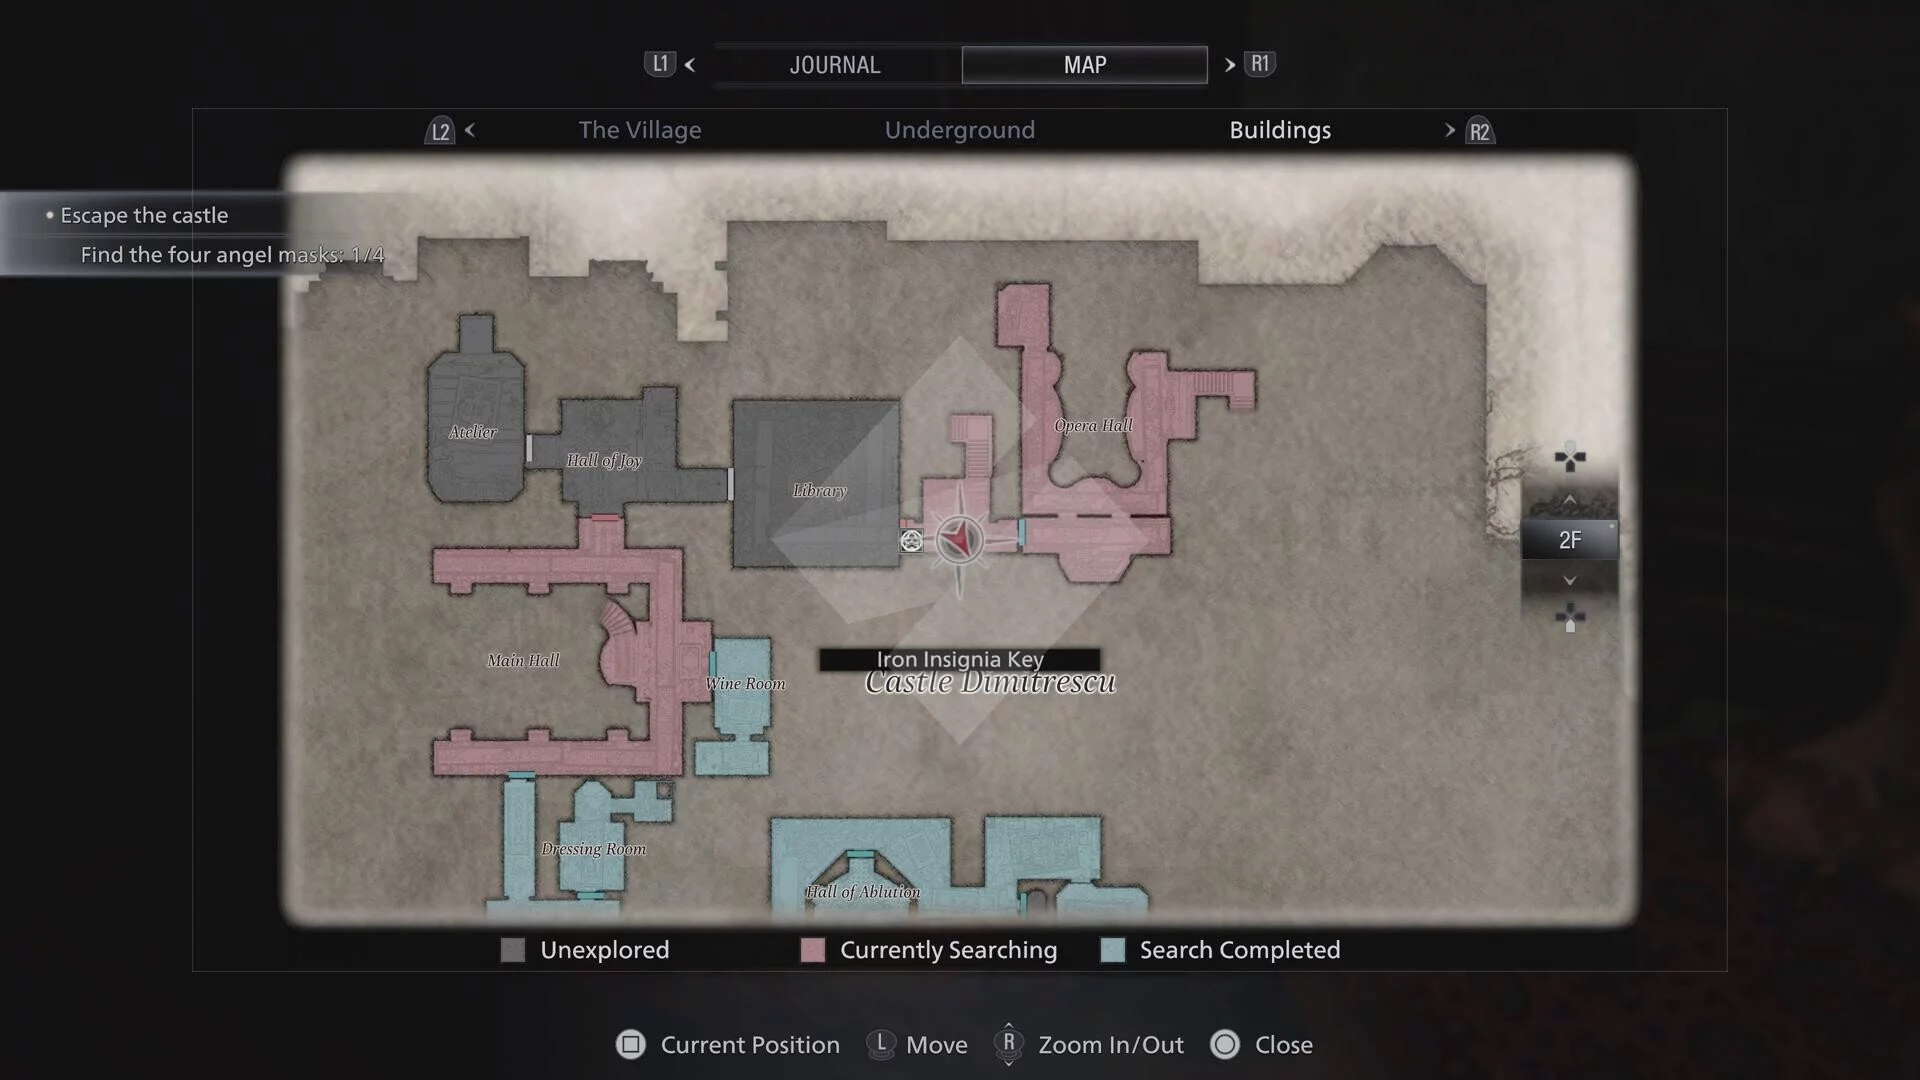
- Further Observations: Open the door from the last document and go straight down the hall. This is a book with multiple pages (2F Opera Hall, Castle Dimitrescu).

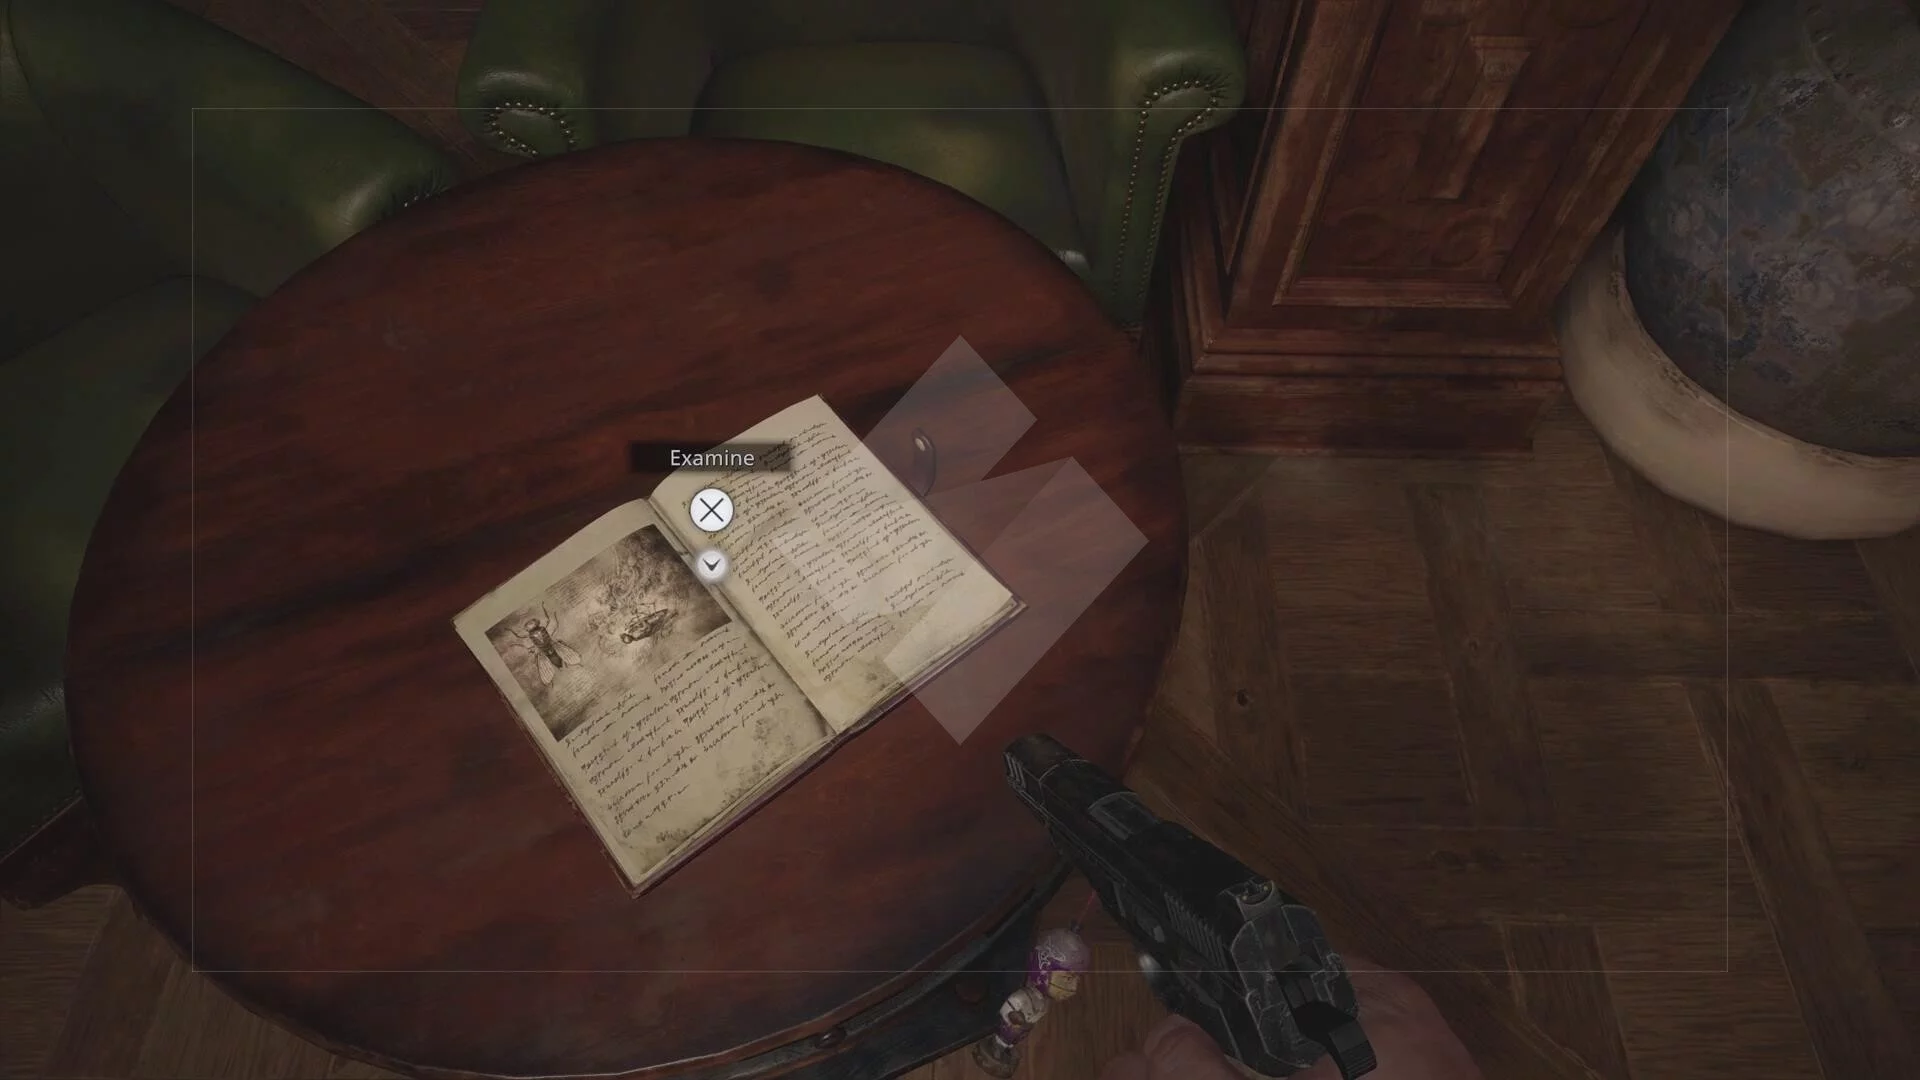
- Insect Observations Journal: Near the piano (1F Opera Hall, Castle Dimitrescu).
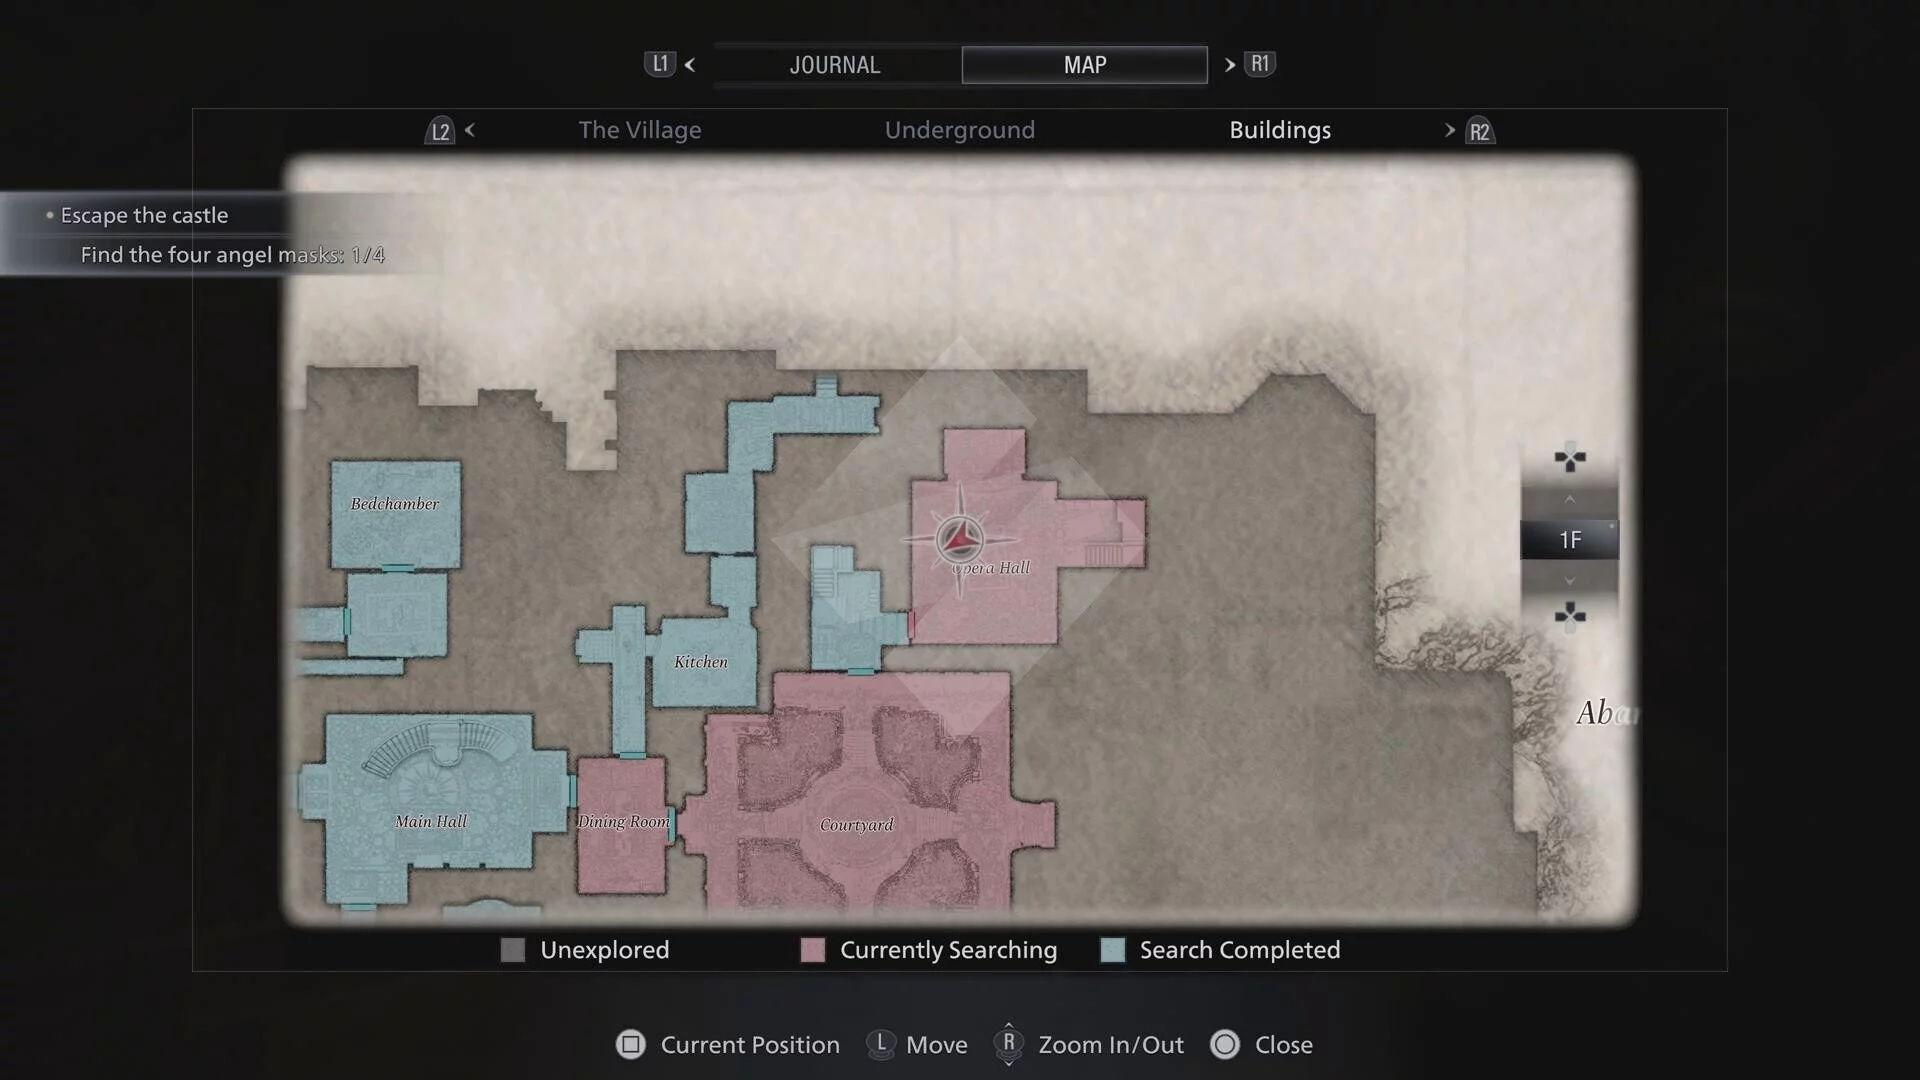
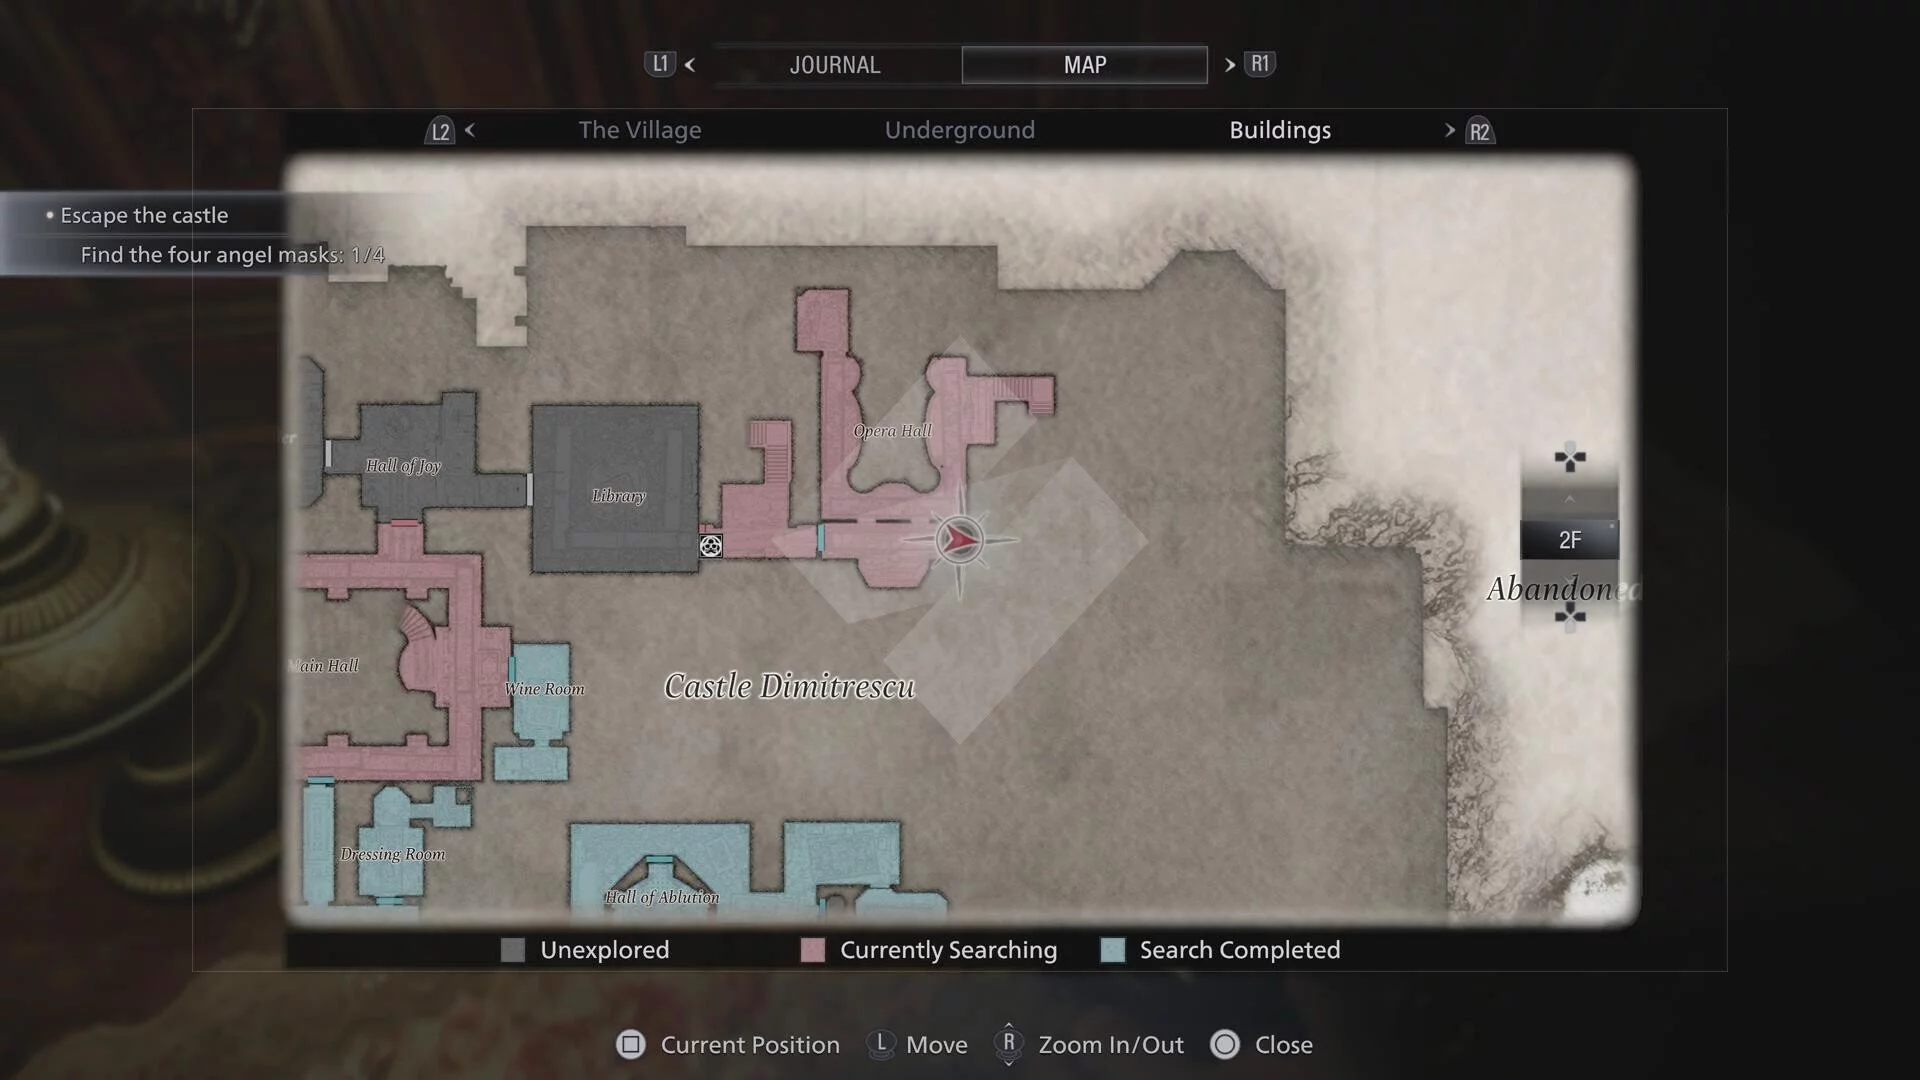
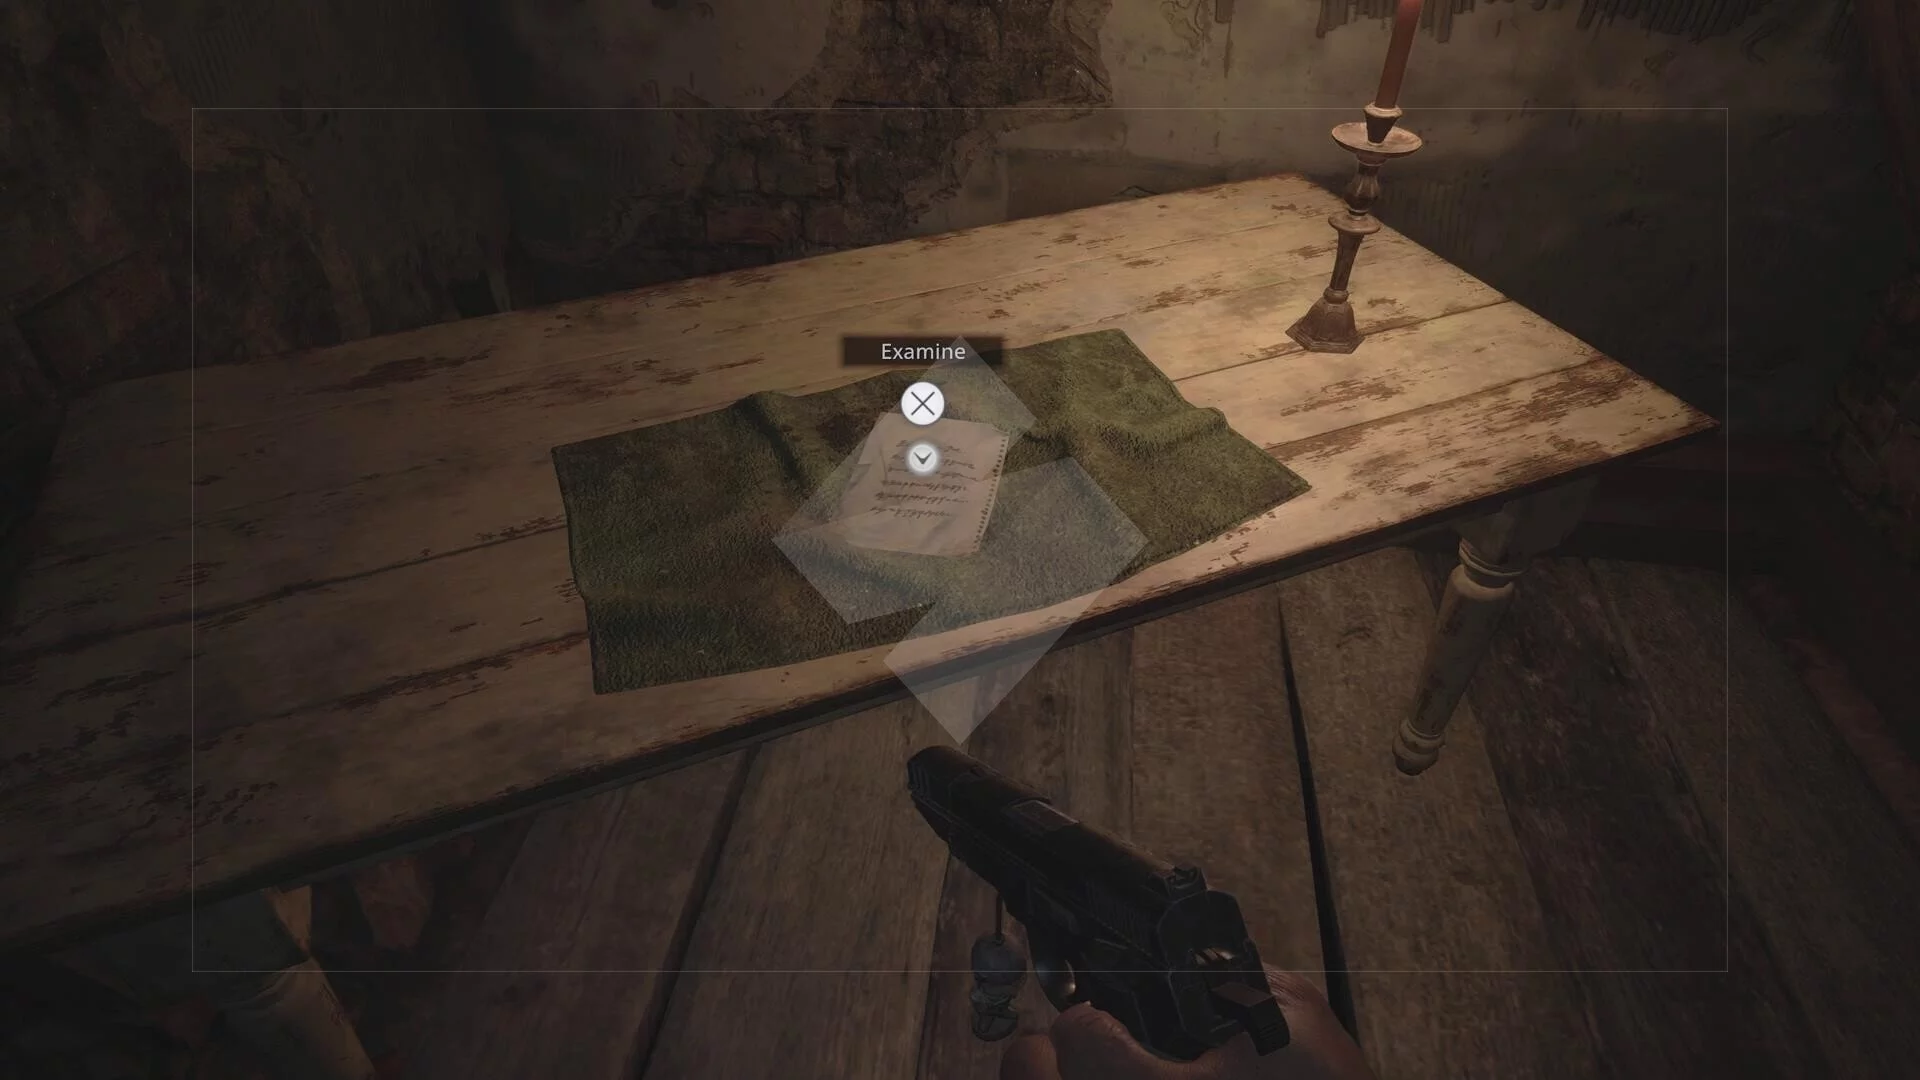
- Rumours of a Dagger: After passing through the Hall of Joy and solving the bell puzzle in the Atelier, you’ll end up in the attic. This is in one of its corners. (RF Attic, Castle Dimitrescu).
- Craftsman’s Note: In the small shack that you come across immediately after defeating Lady Dimitresu and leaving the castle with the flask (1F Village).
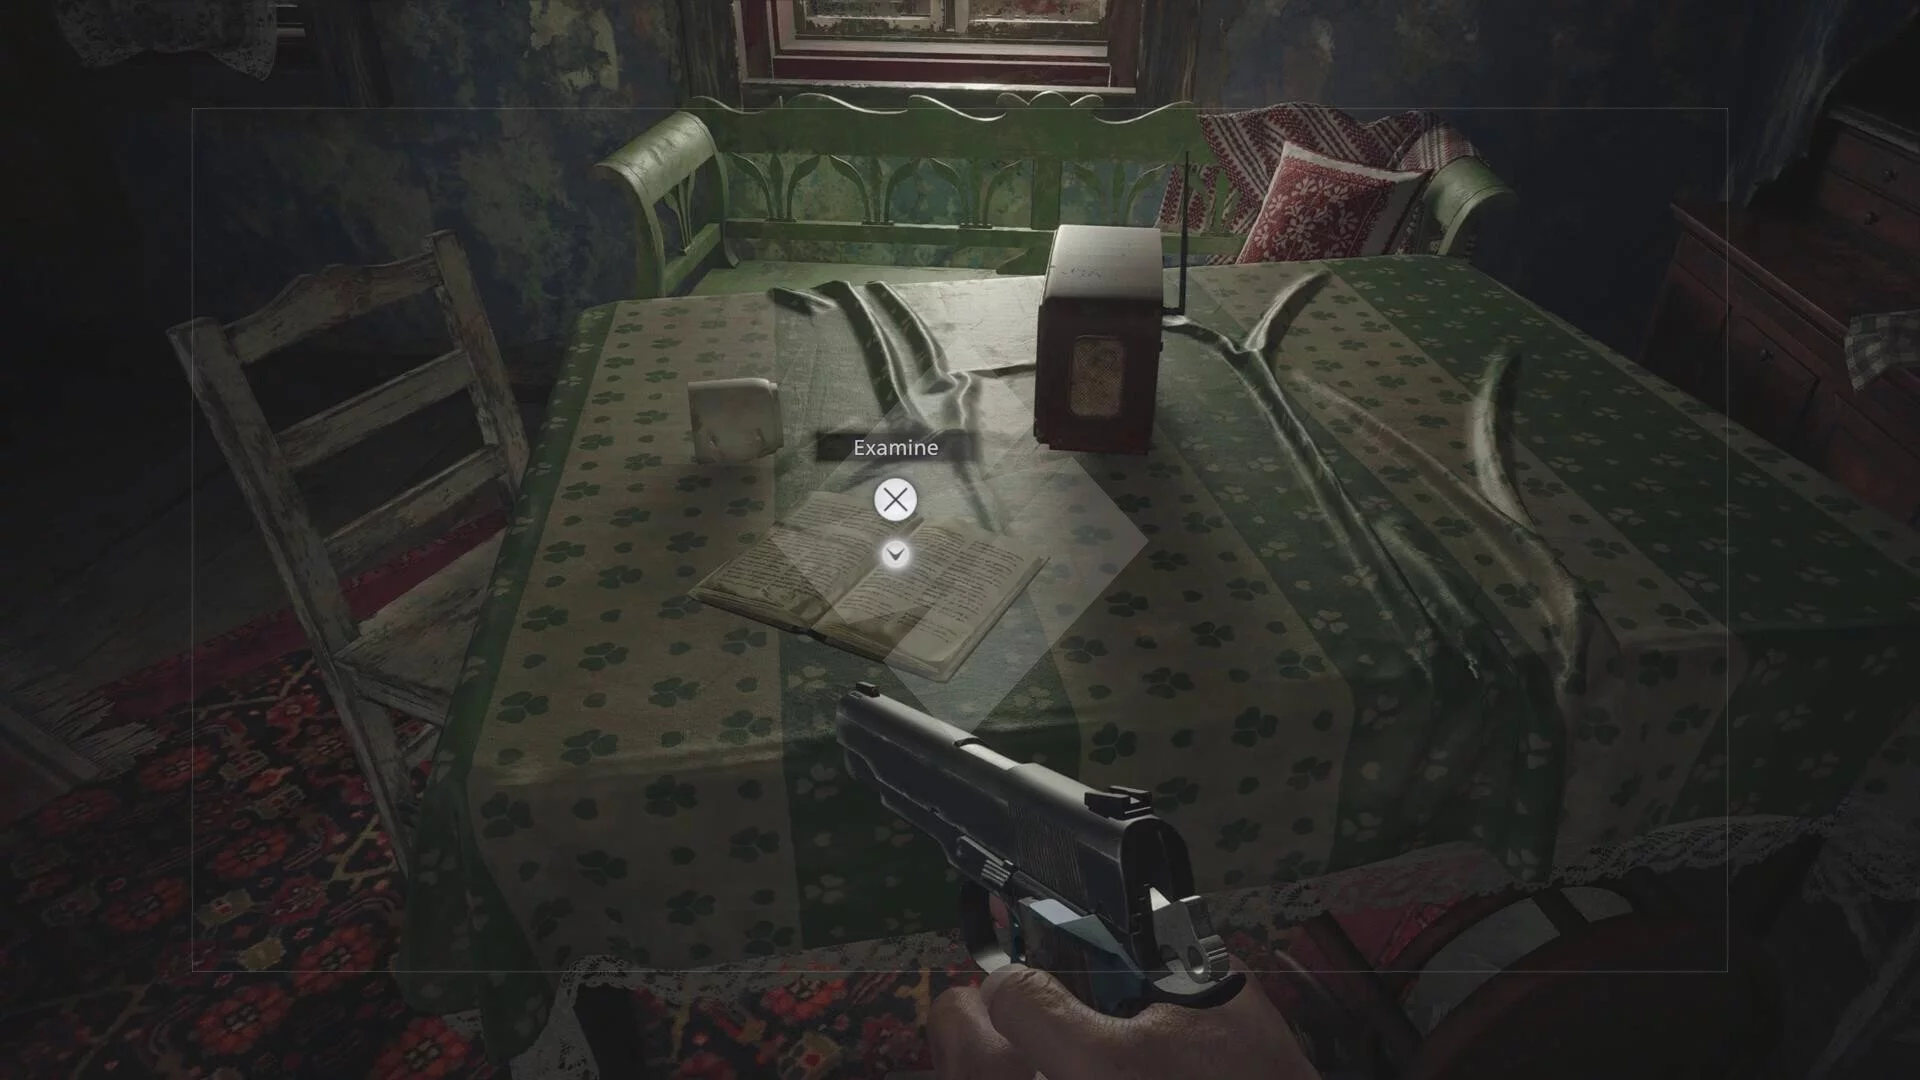
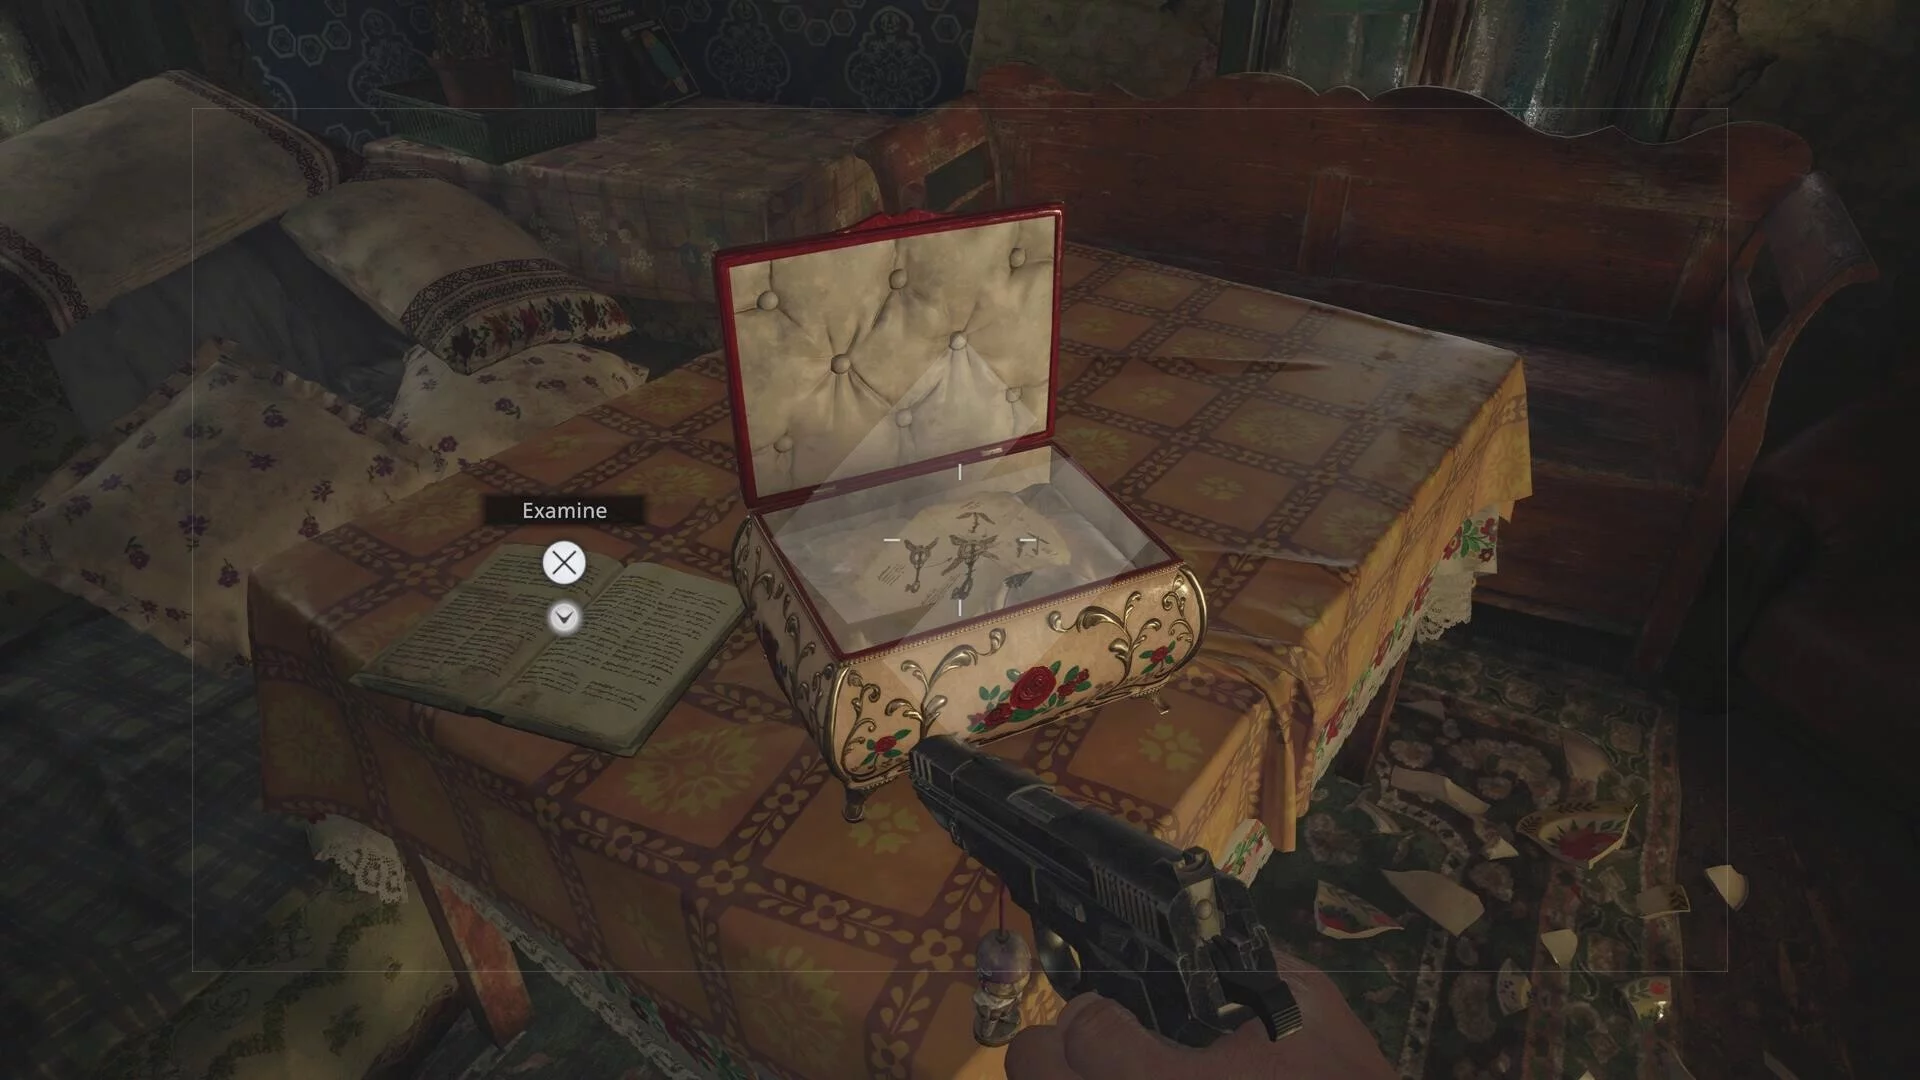
- Leonardo’s Message: Back in the village proper, this is on the kitchen table in the house that’s just to the right of the “Maiden of War” marker on the Village map. There’s a loud noise that goes off when you walk by the house at this point (also check the door leading the basement of the house, just off the main village area with the Maiden statue!) (1F Village).
- Note on the Luthier’s House: Continuing on, you’ll come up against an armored Lycan. Defeat it, then loop left, break the lock on the gate and check the door of the left-most house within (1F Village).
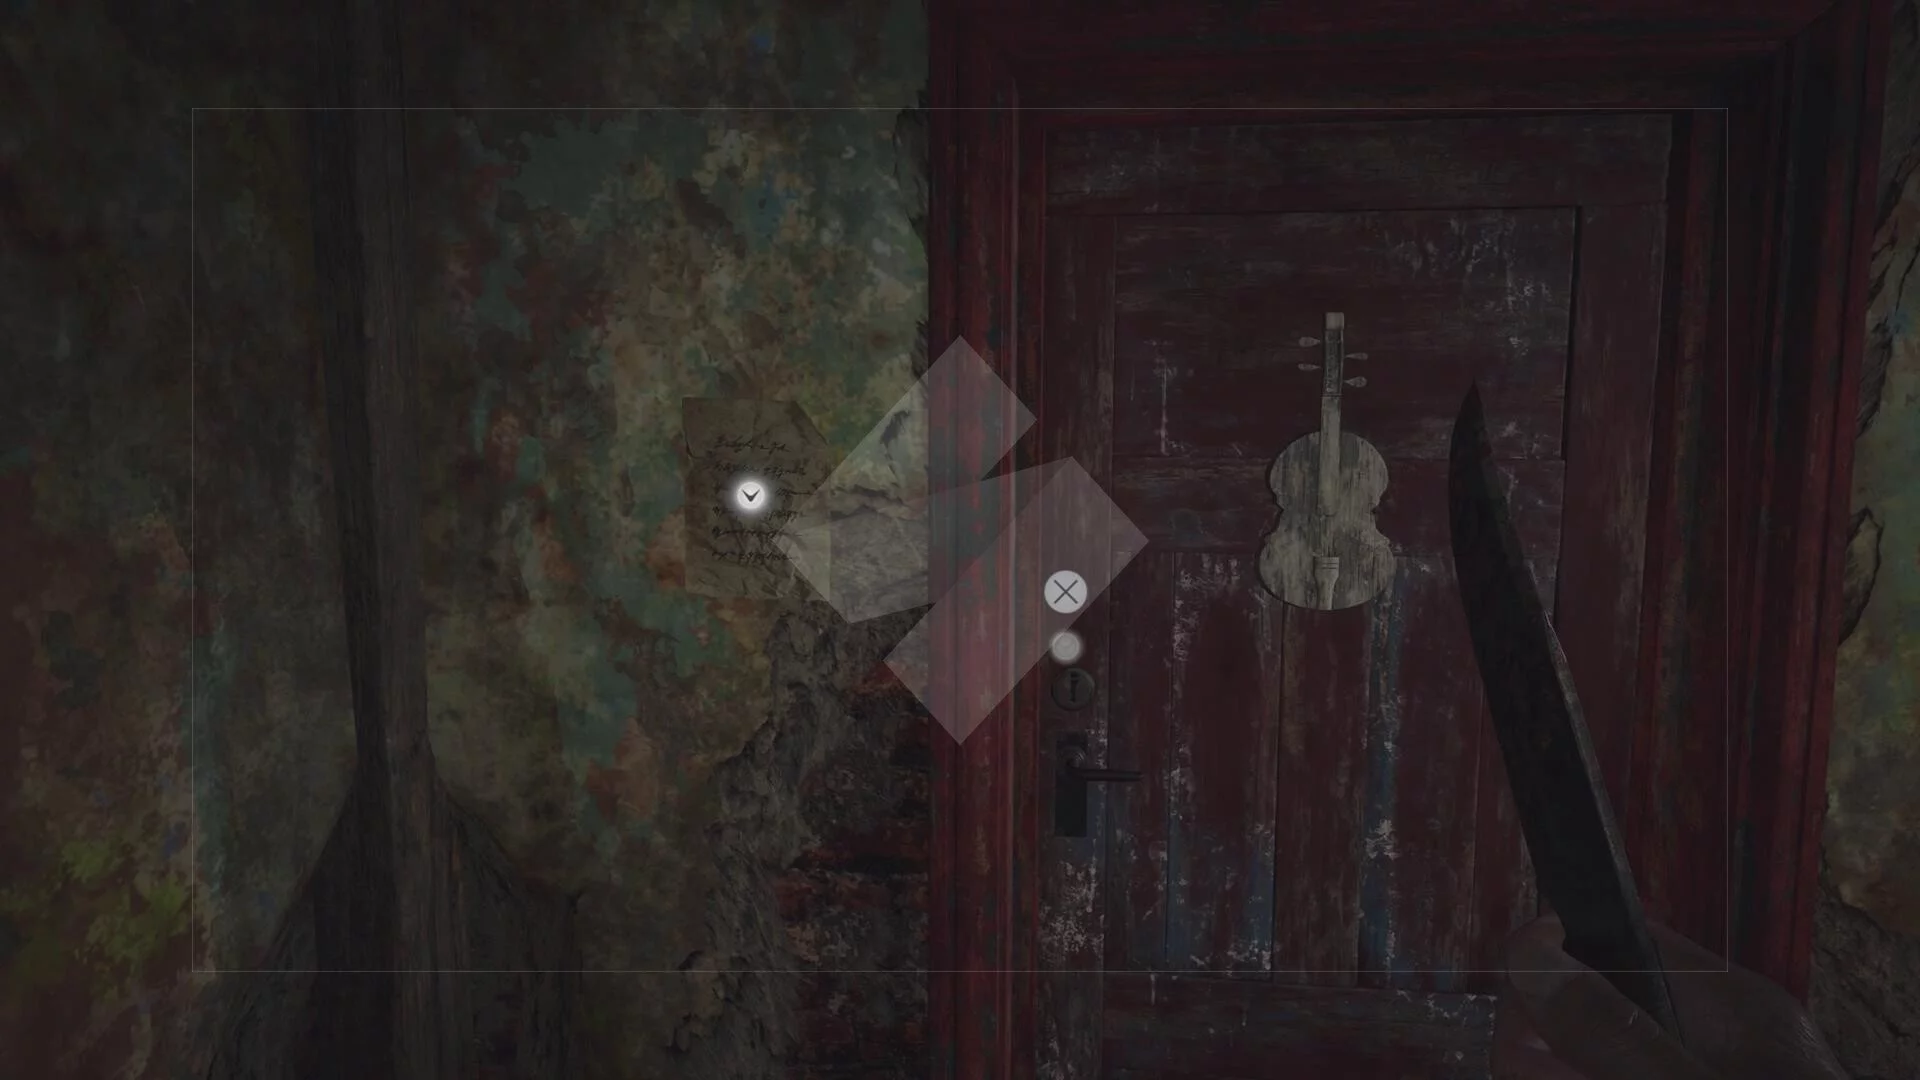
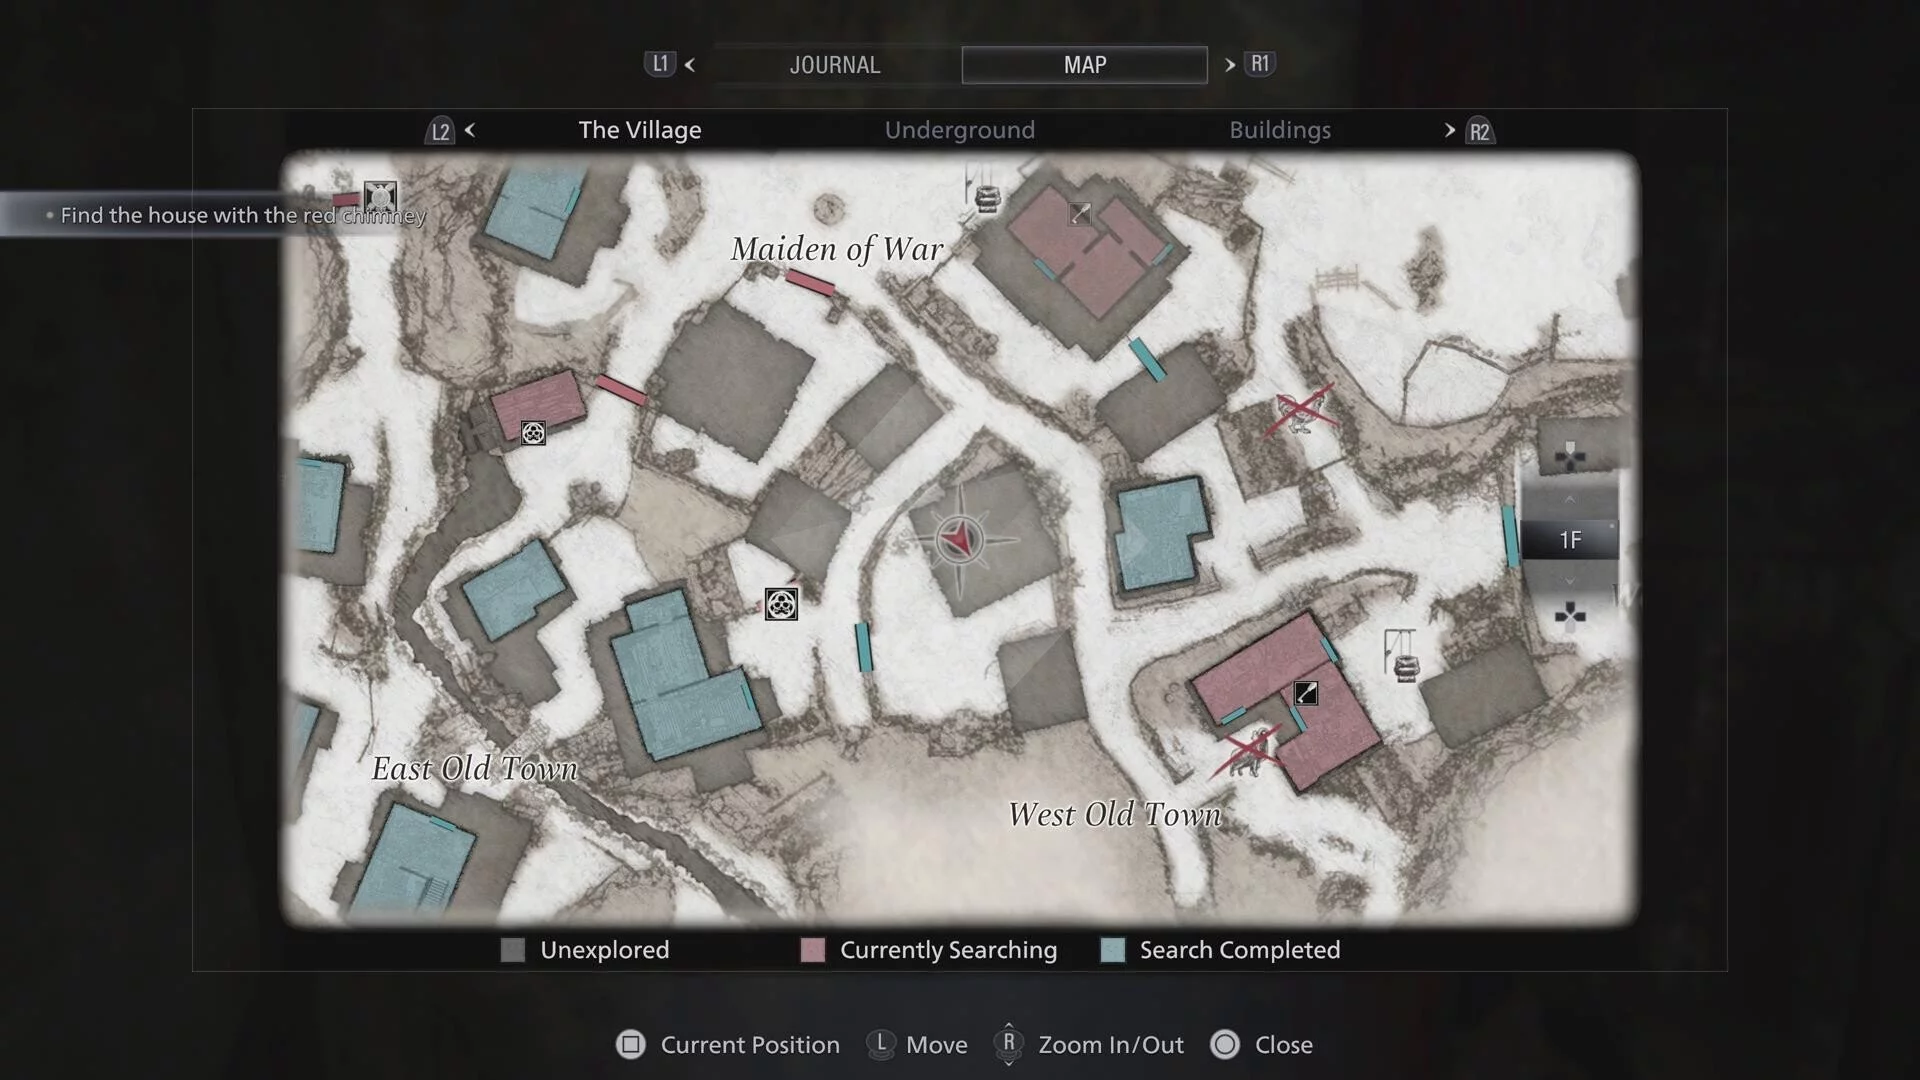
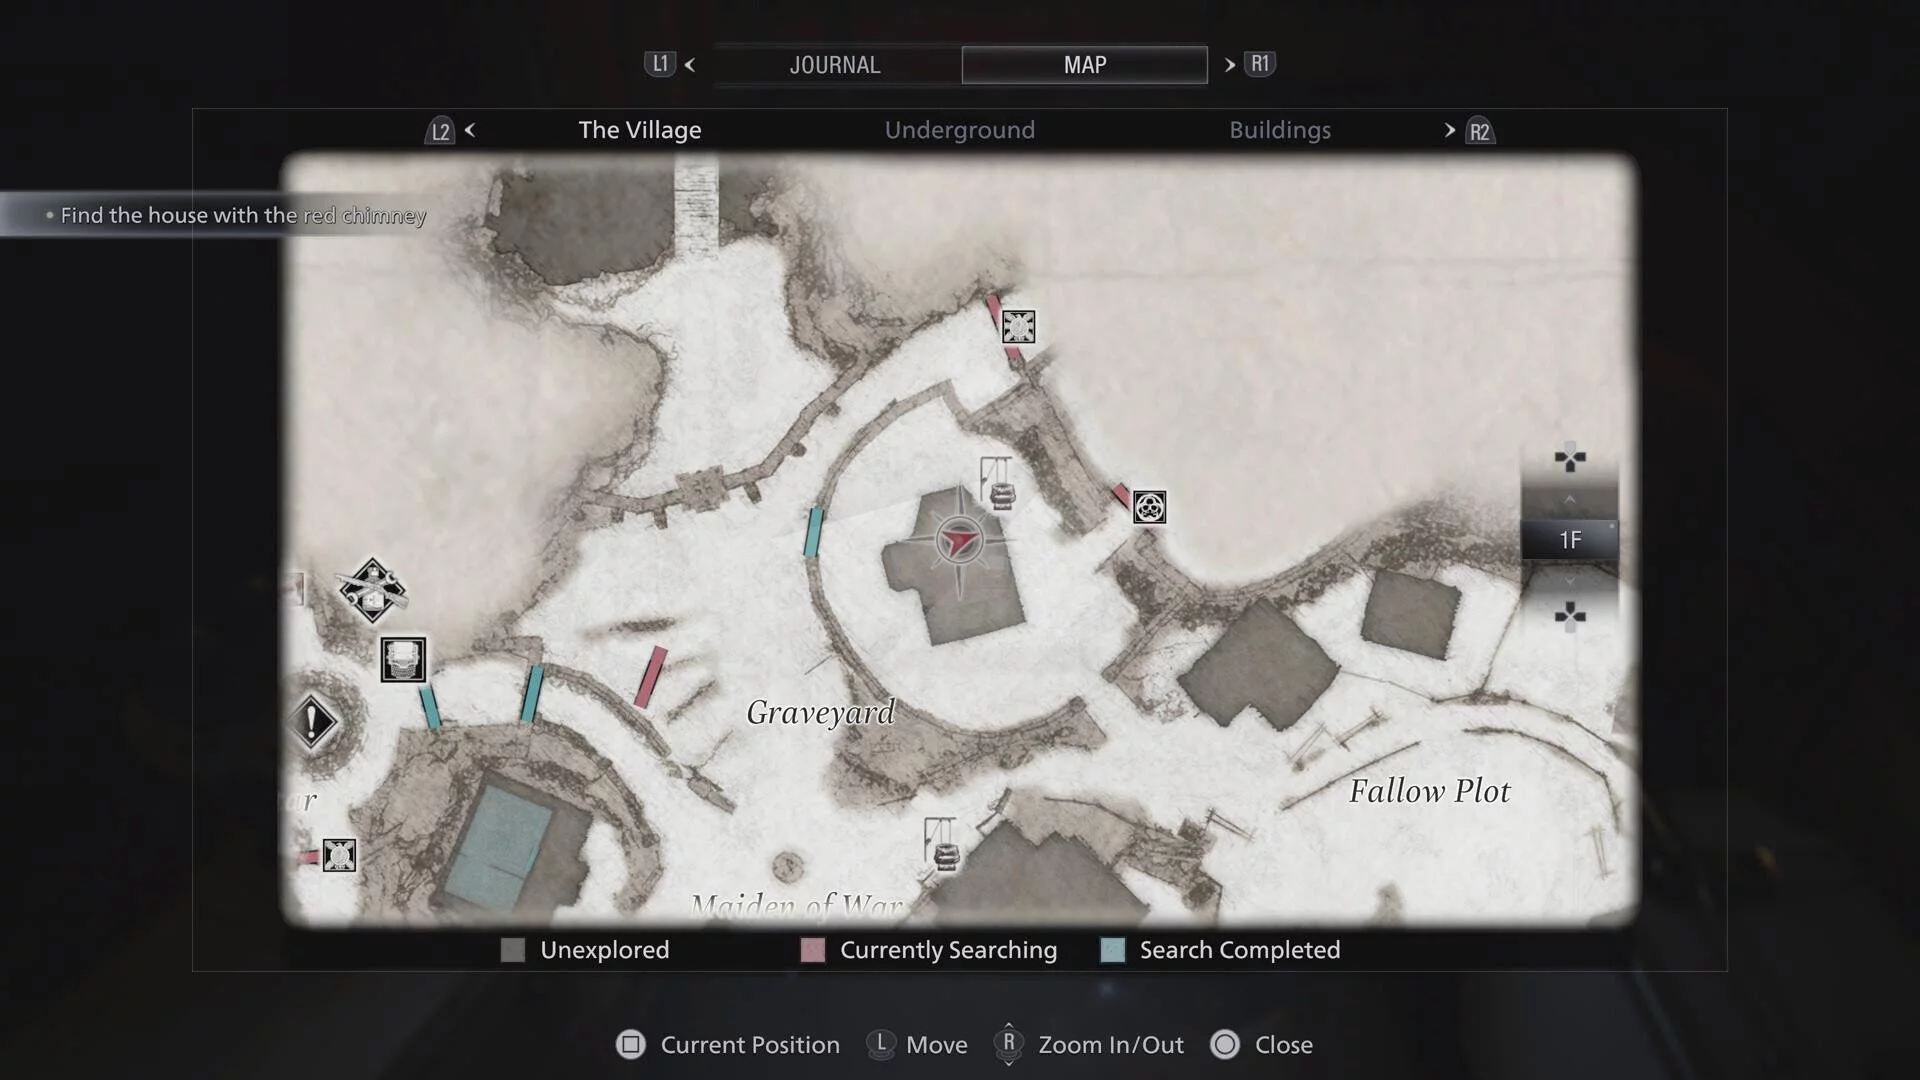
- Eugen’s Diary: Continuing on with the story, you’ll get to the house with the red chimney. Use the hole in its roof to access the place, and then find this file beside the Four-Winged Key key item (1F Village).
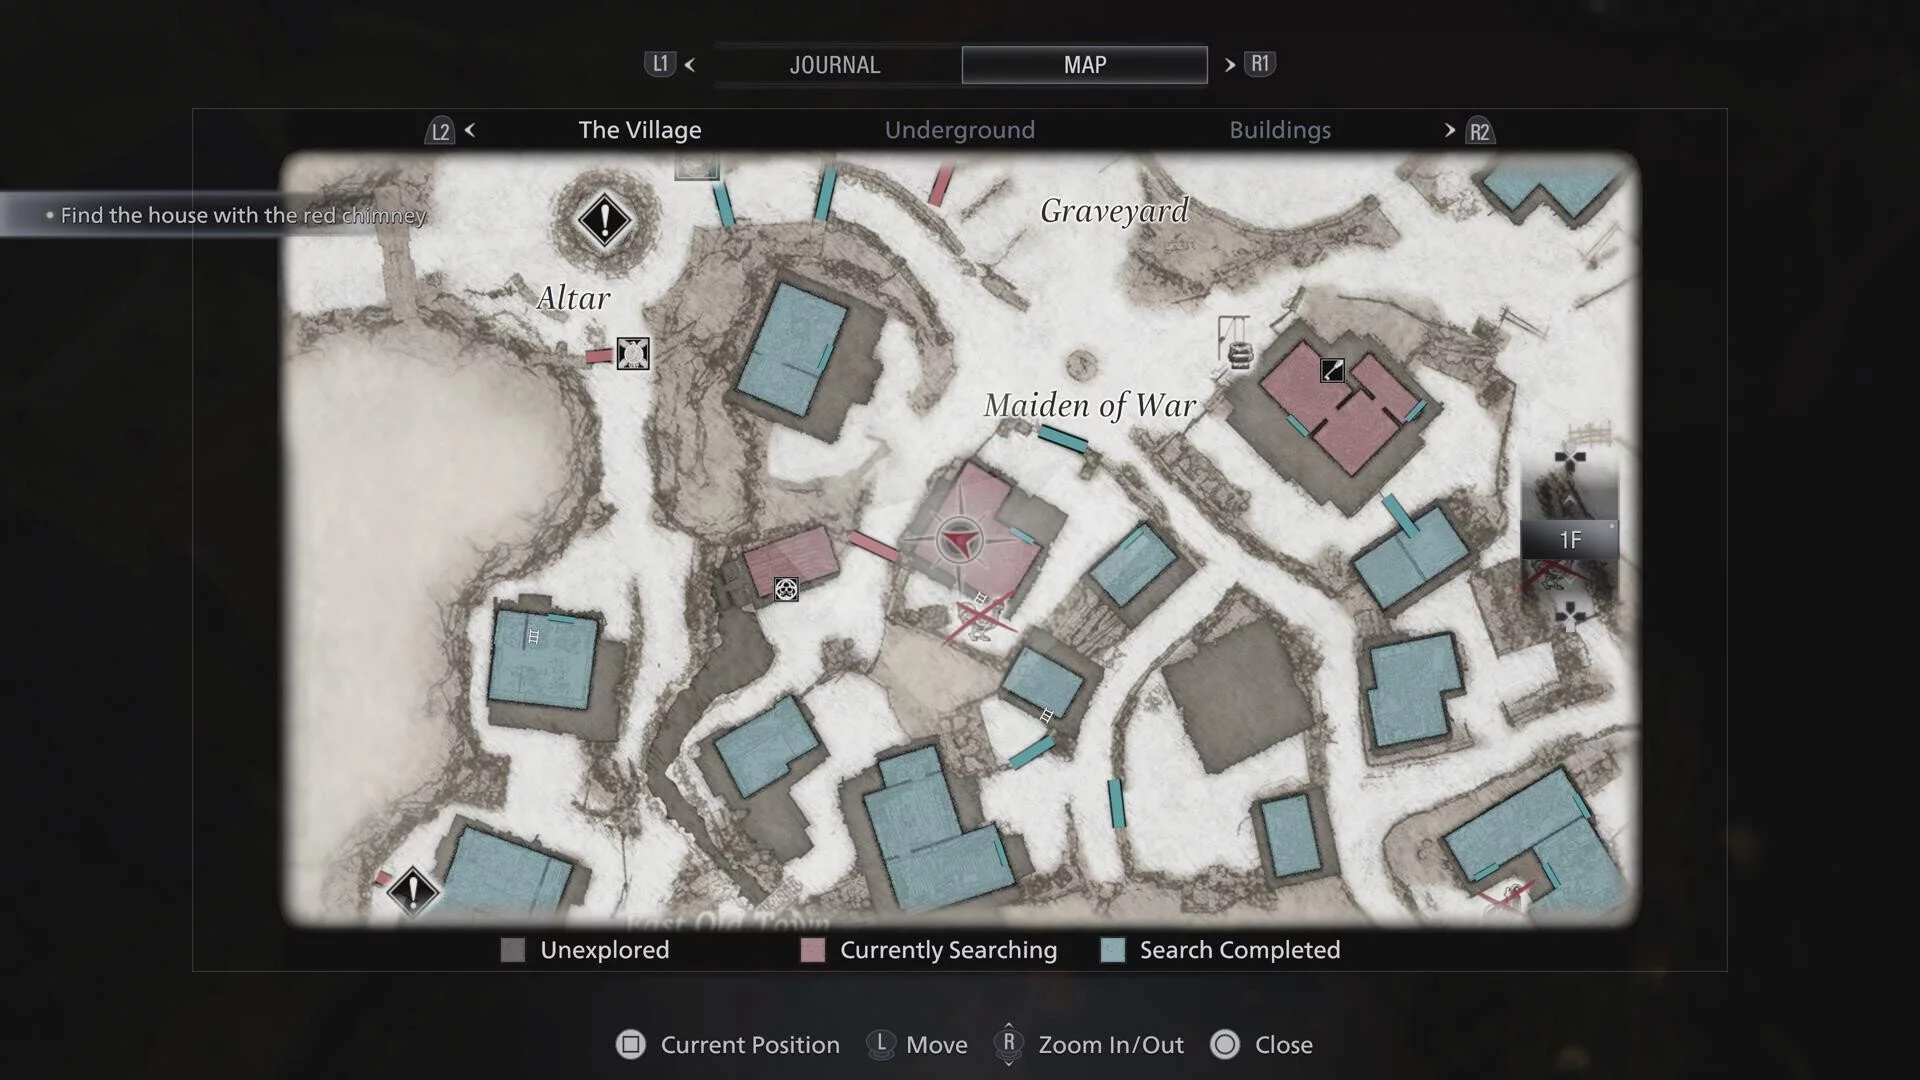
- Church Computer: This is in the Village church, newly placed since the last time you visited (1F Church, Village).
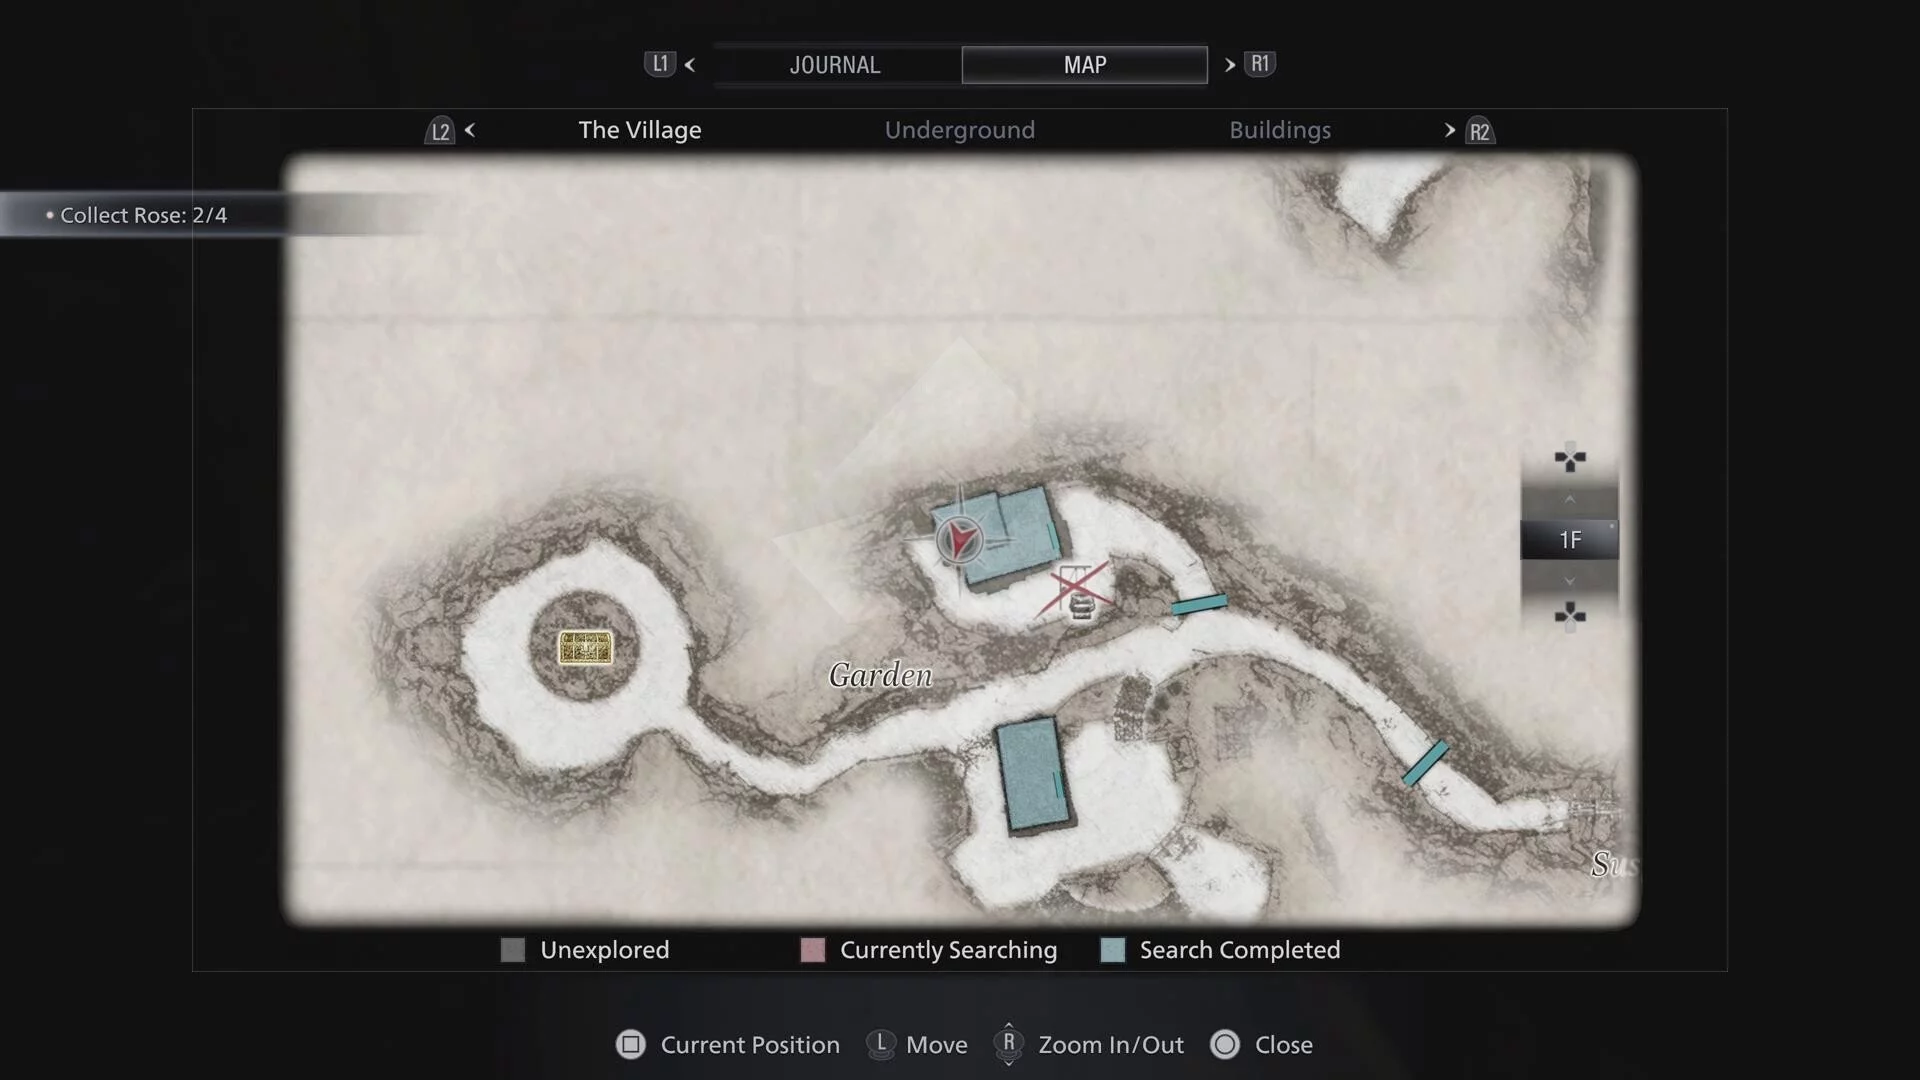
- Gardener’s Diary: After leaving the Beneviento house, a new area opens up along the garden path. This is in the same house with the Sun and Moon Ball key item and Luthier’s Key key item. Check the corner (1F Garden, Village).
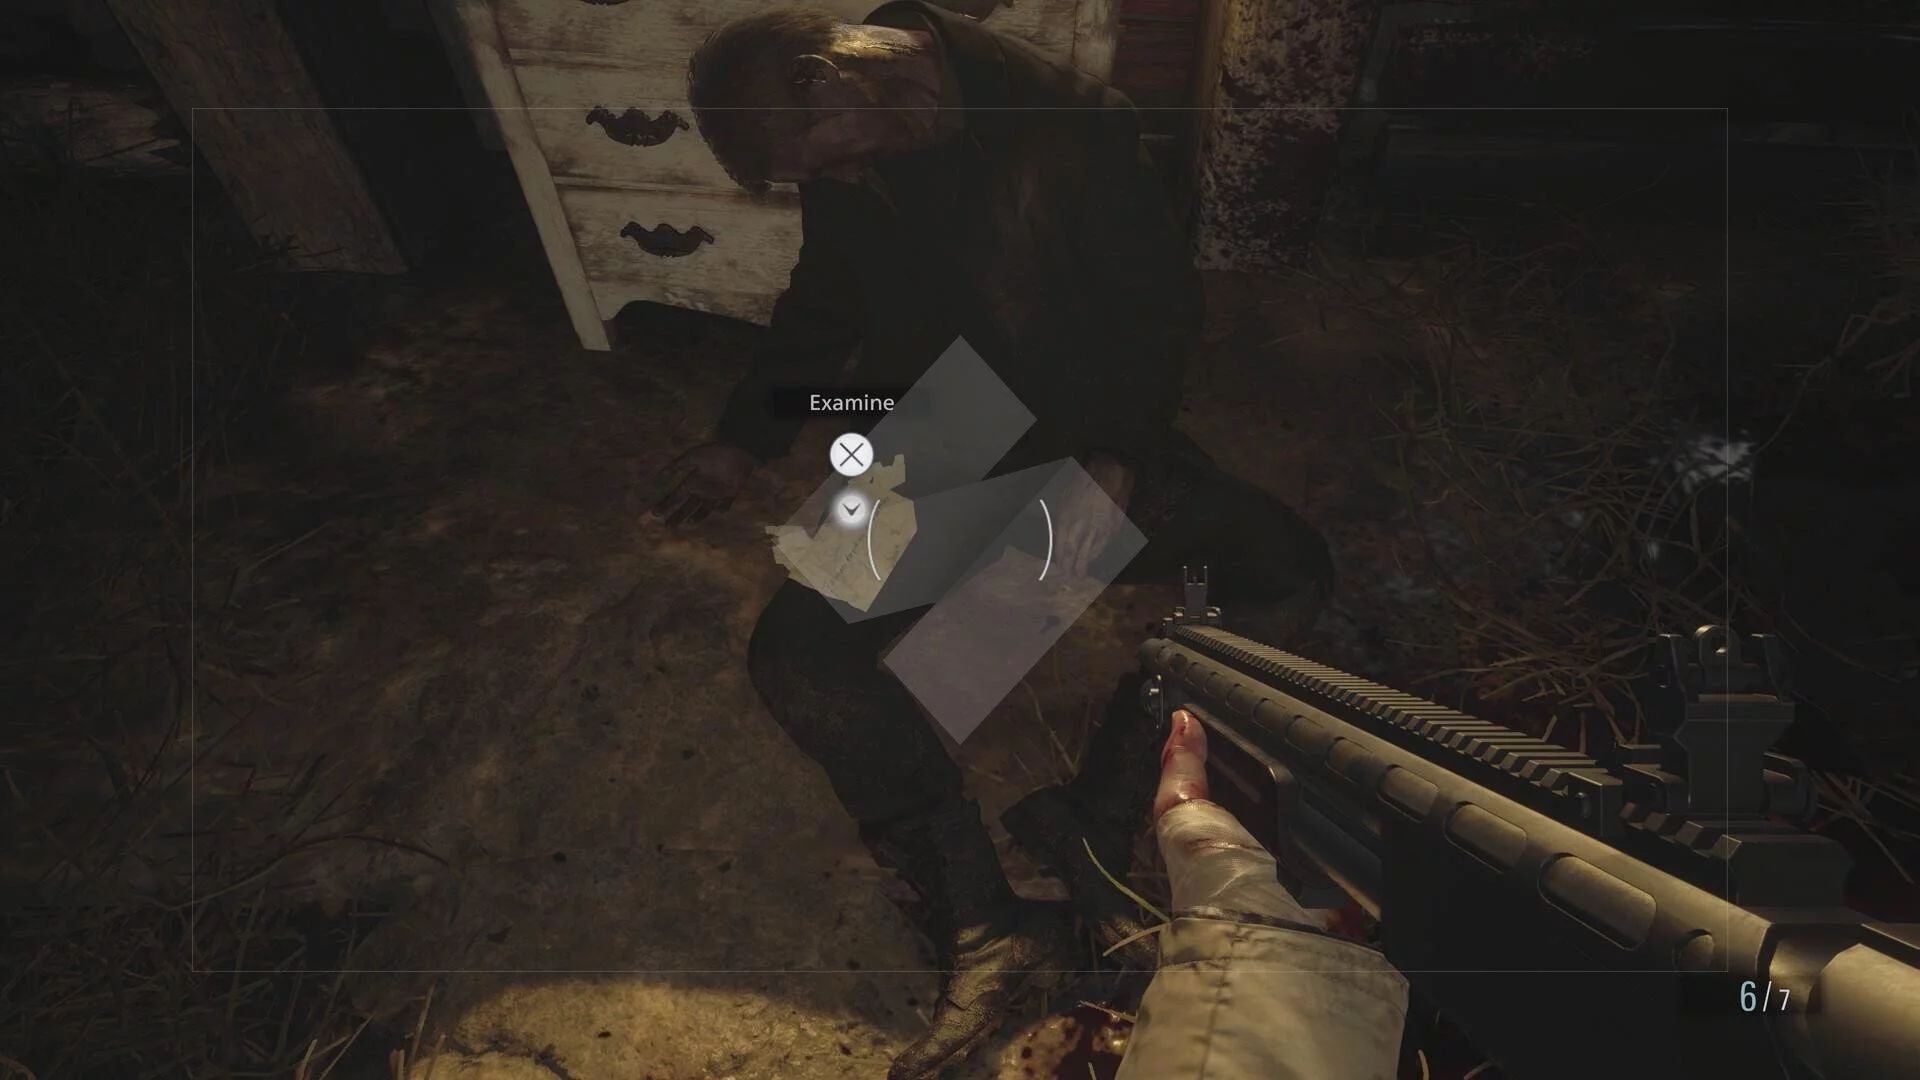
- Vastile’s Final Testament: After opening the Four-Winged Unboard door that leads to Moreau’s area, you’ll encounter a cutscene with a giant, dog-like wolf. When you can control Ethan again, turn around and it’s on a nearby corpse. (1F East Old Town, Village).
- The Reservoir and the Giant Fish: After you leave Moreau’s mine area with the Boat Key key item, this is in the shack near the boat (1F Moreau’s Area).
- Changing the Cranks: After leaving the control room and the Duke’s shop, you’ll find this up a path inside a truck (1F Moreau’s Area).
- Moreau’s Diary 1: After emptying the lake and seeing Moreau run away, this is in the next house on the linear path and should be grabbed BEFORE you jump down into the next area (1F Moreau’s Area).
- Moreau’s Diary 2: After defeating Moreau, follow the only path available and look for a small room off to the left before the locked door. You’ll also find the next piece of the Winged Key key item in the same room.
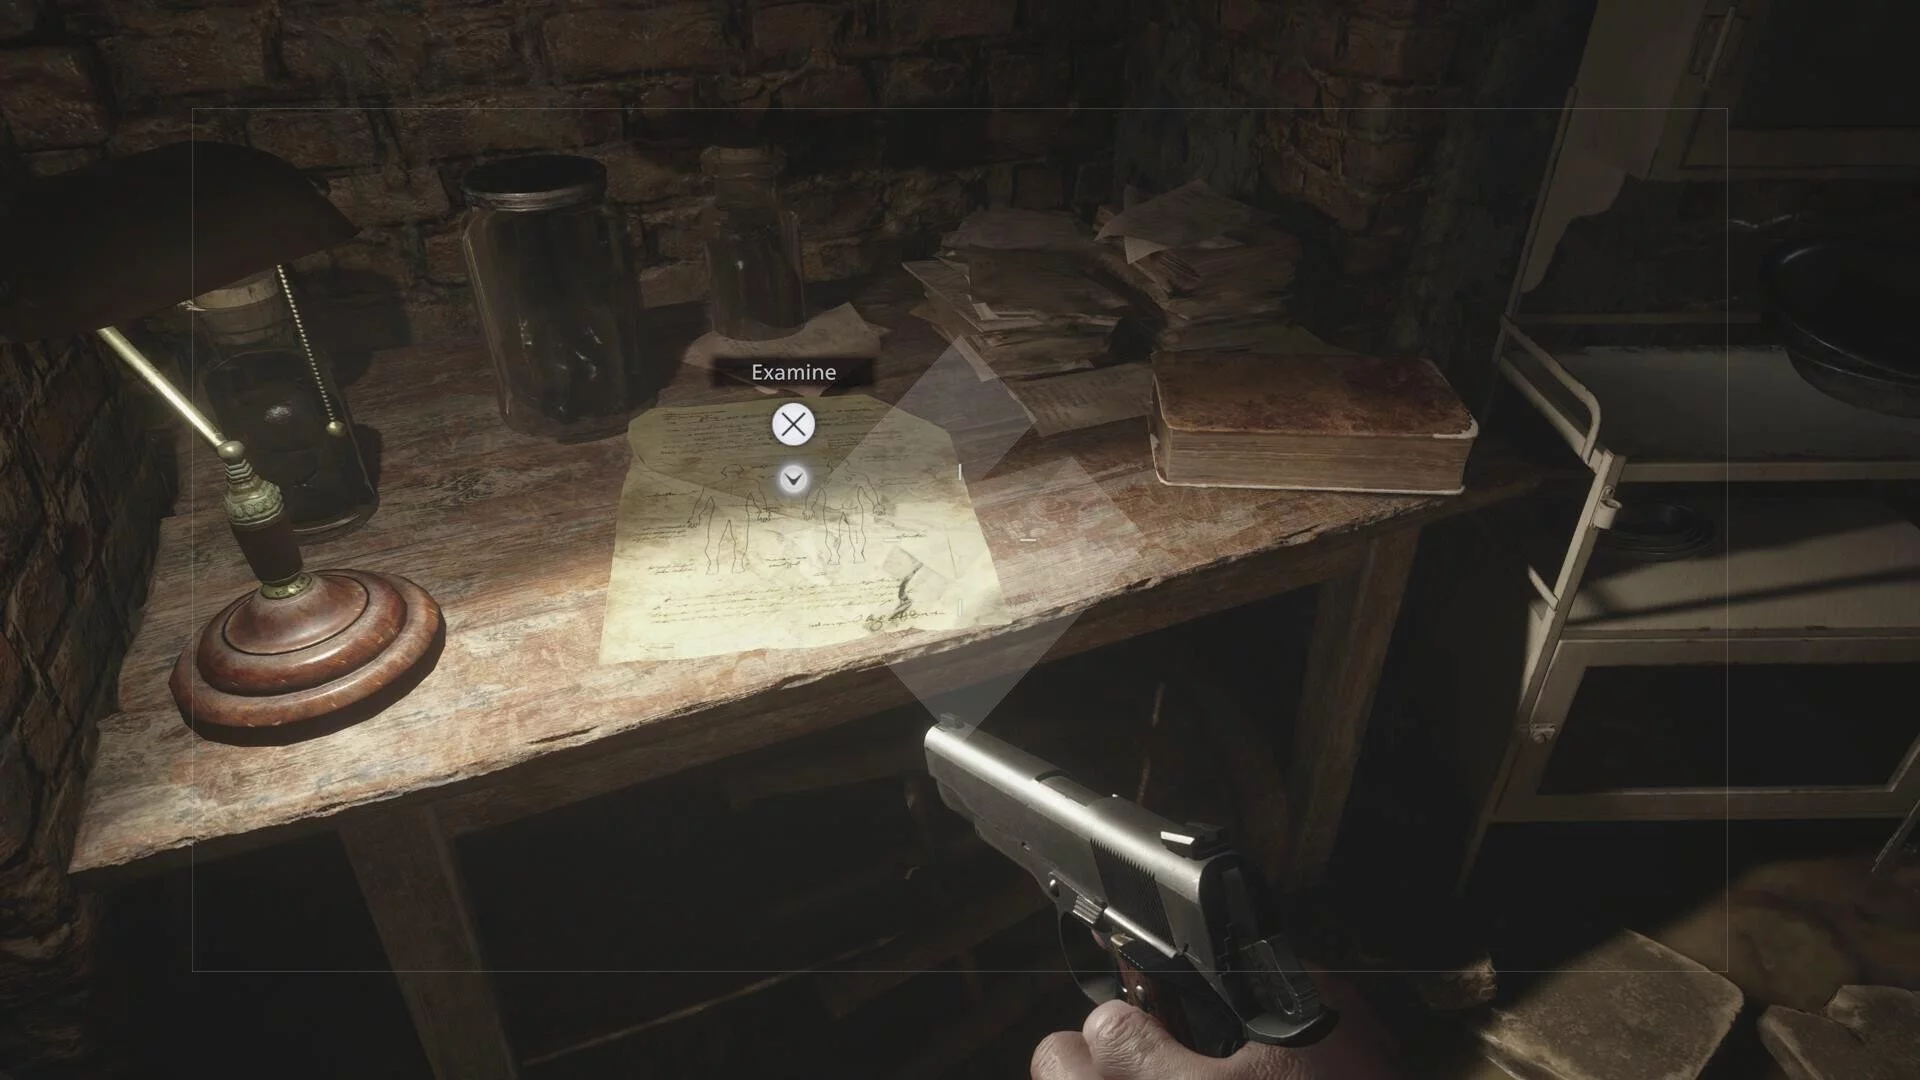
- Moreau’s Diary of Experiments: In the same house at the top of Moreau’s Lab, beside the Magnum (1F Moreau’s Lab).

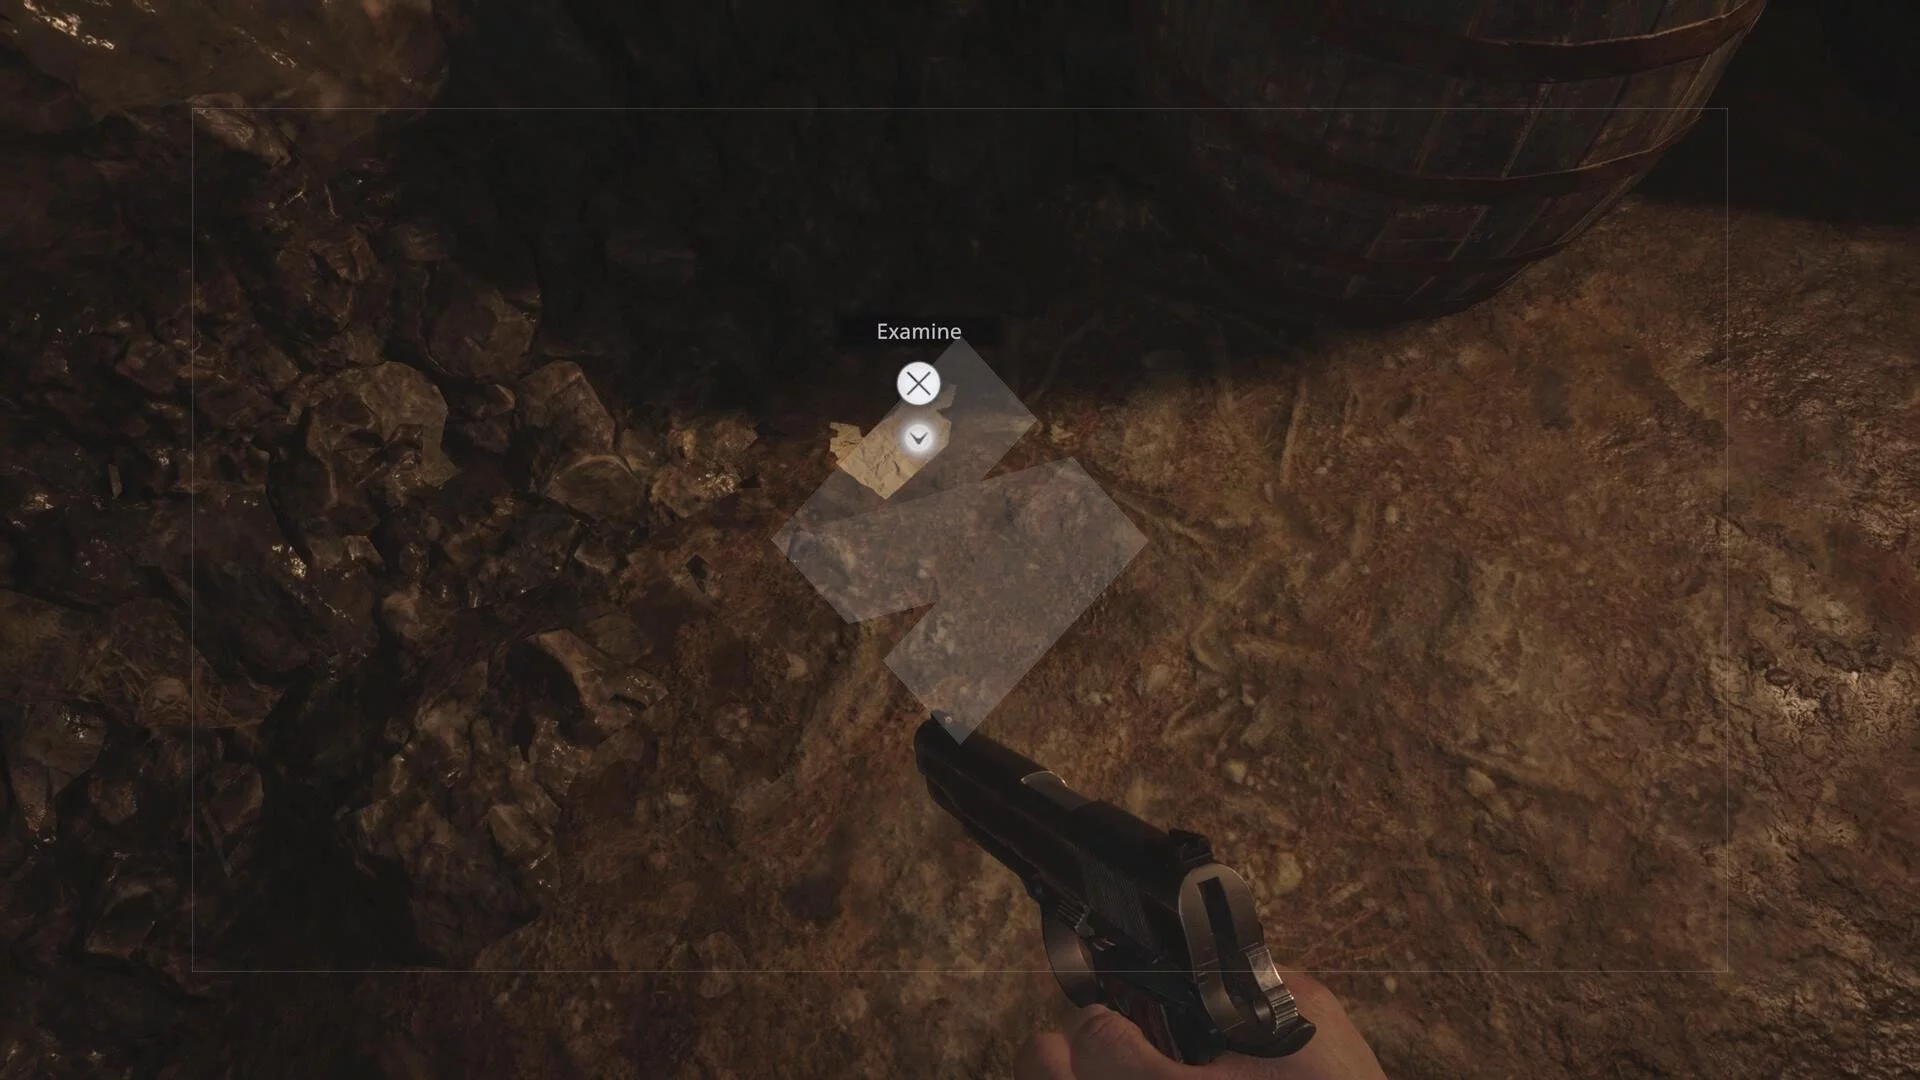
- Analysis Results: Use the Crank from Moreau’s to gain access to the boat that’s between the Altar and the Ceremony site. Take the boat left and head into a cave once back on land. This is with a bunch of ammo and a weapon part (and Antique Coin) (1F Underground).
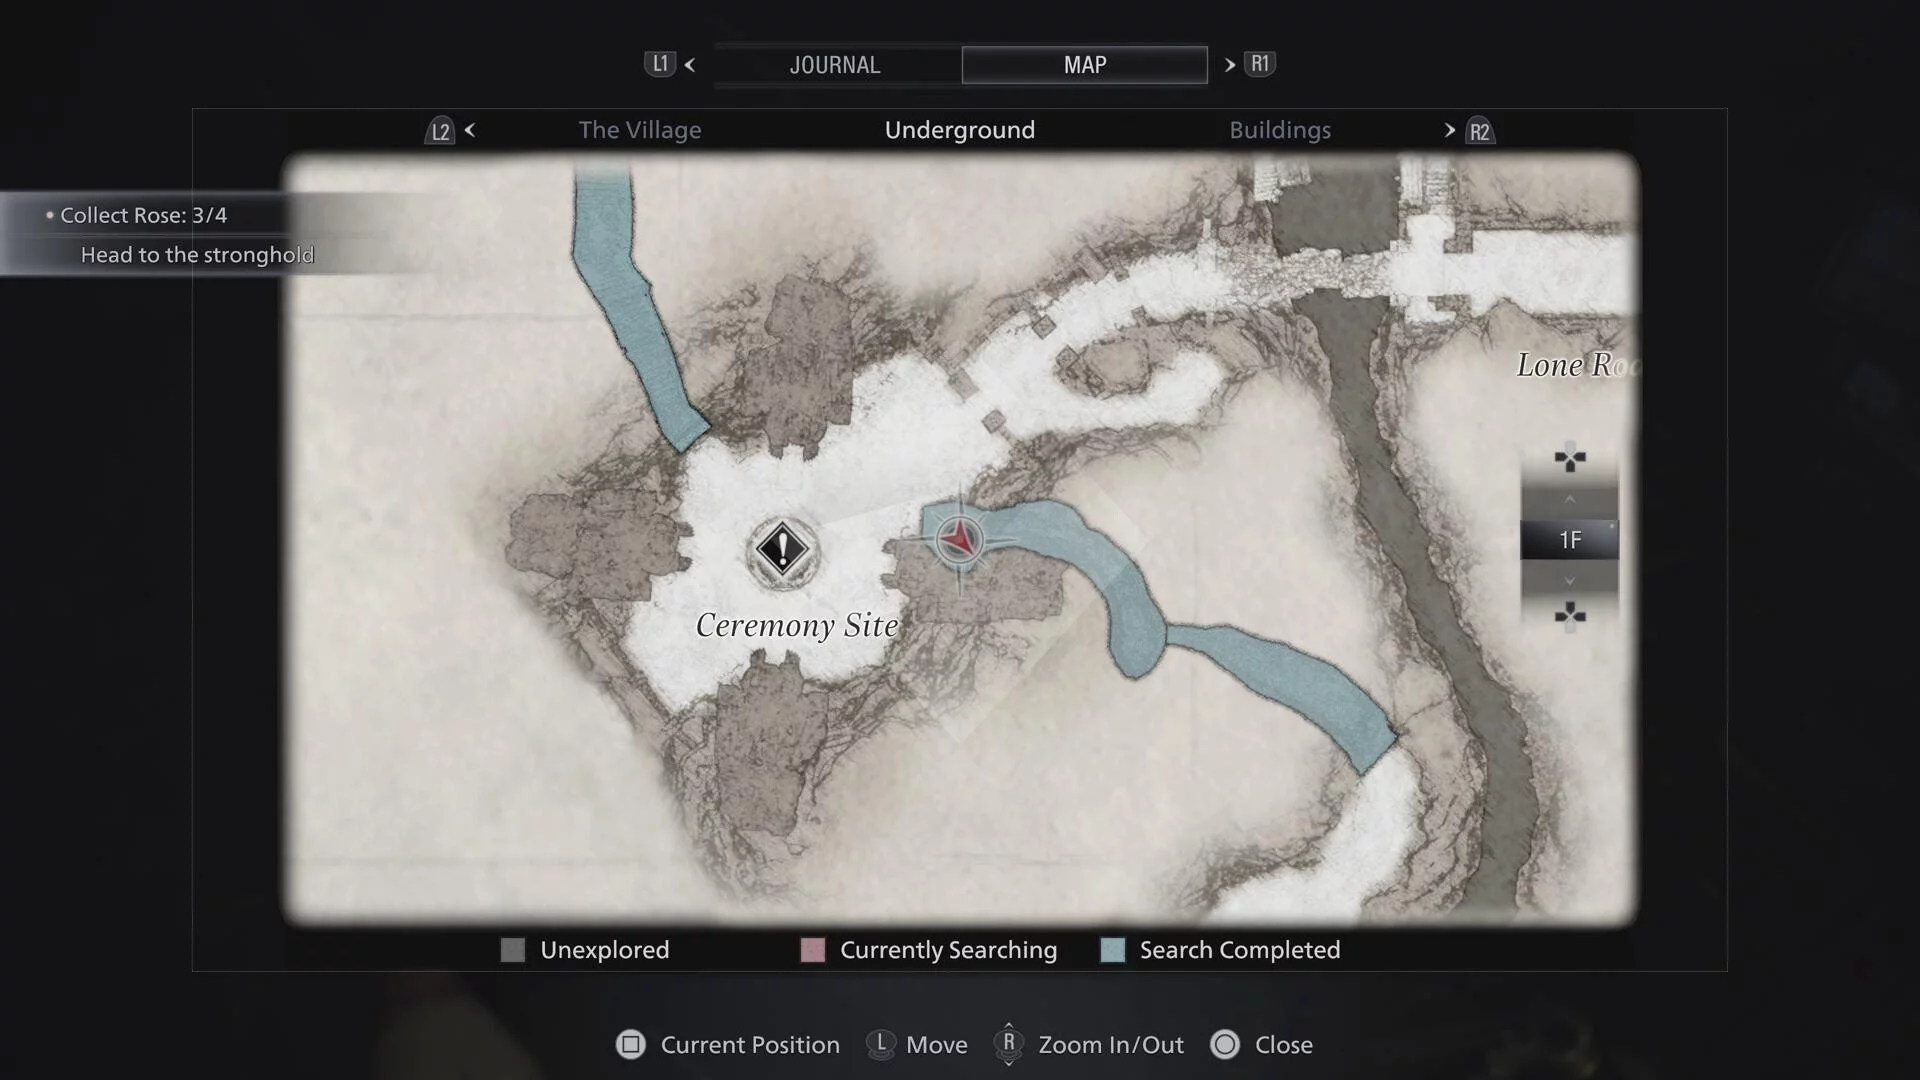
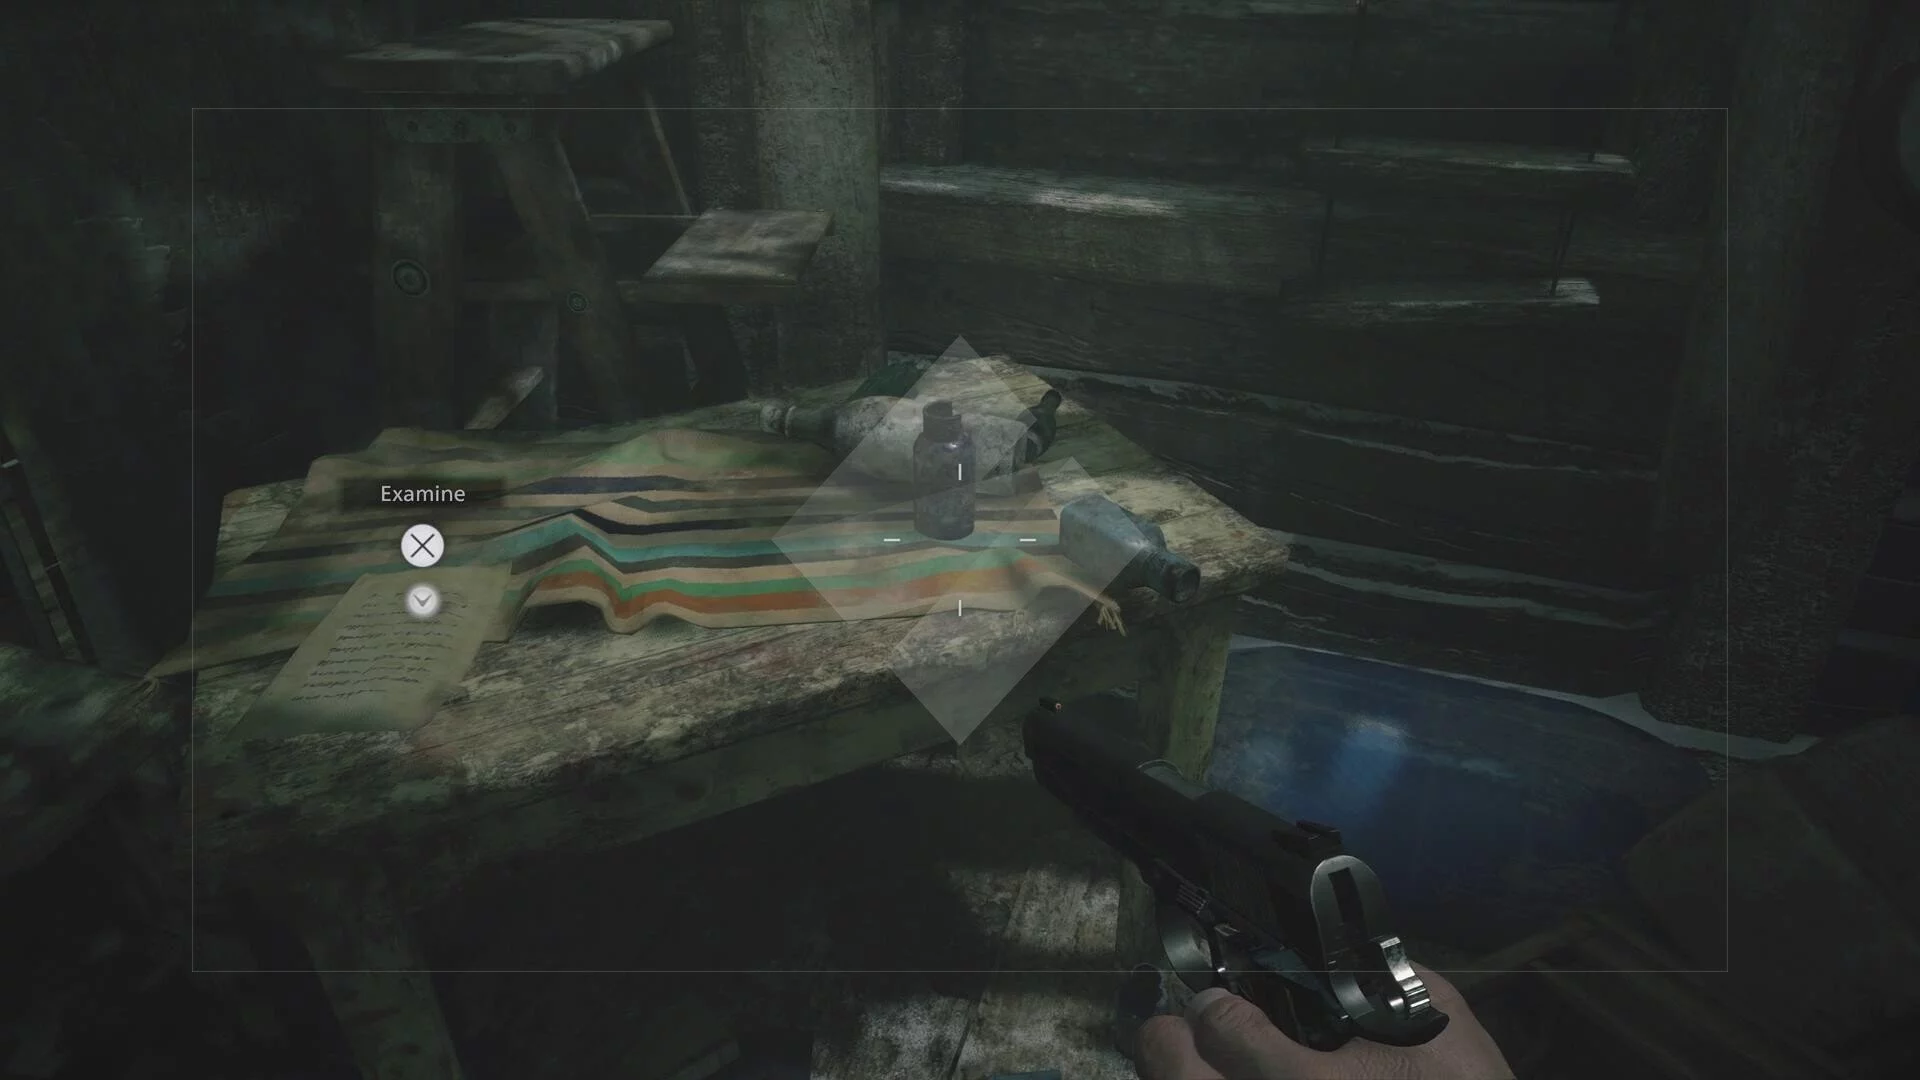
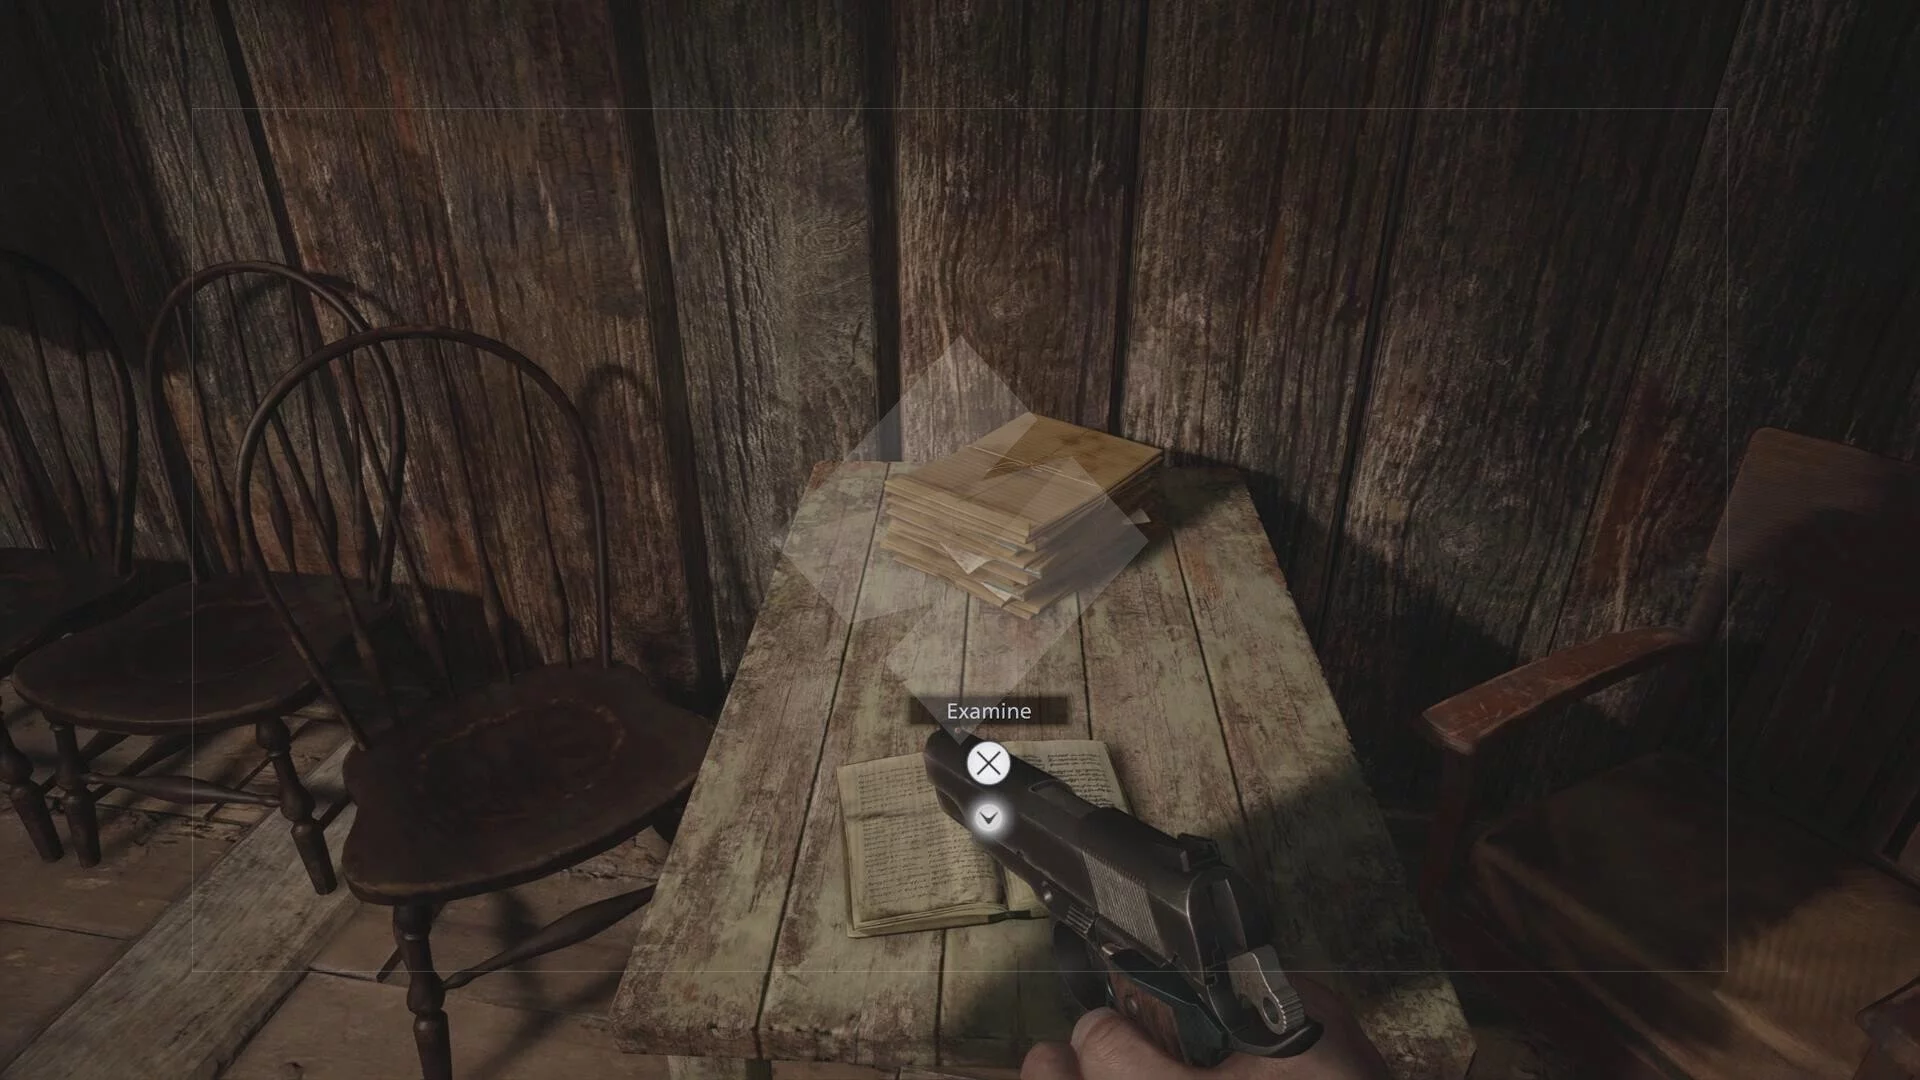
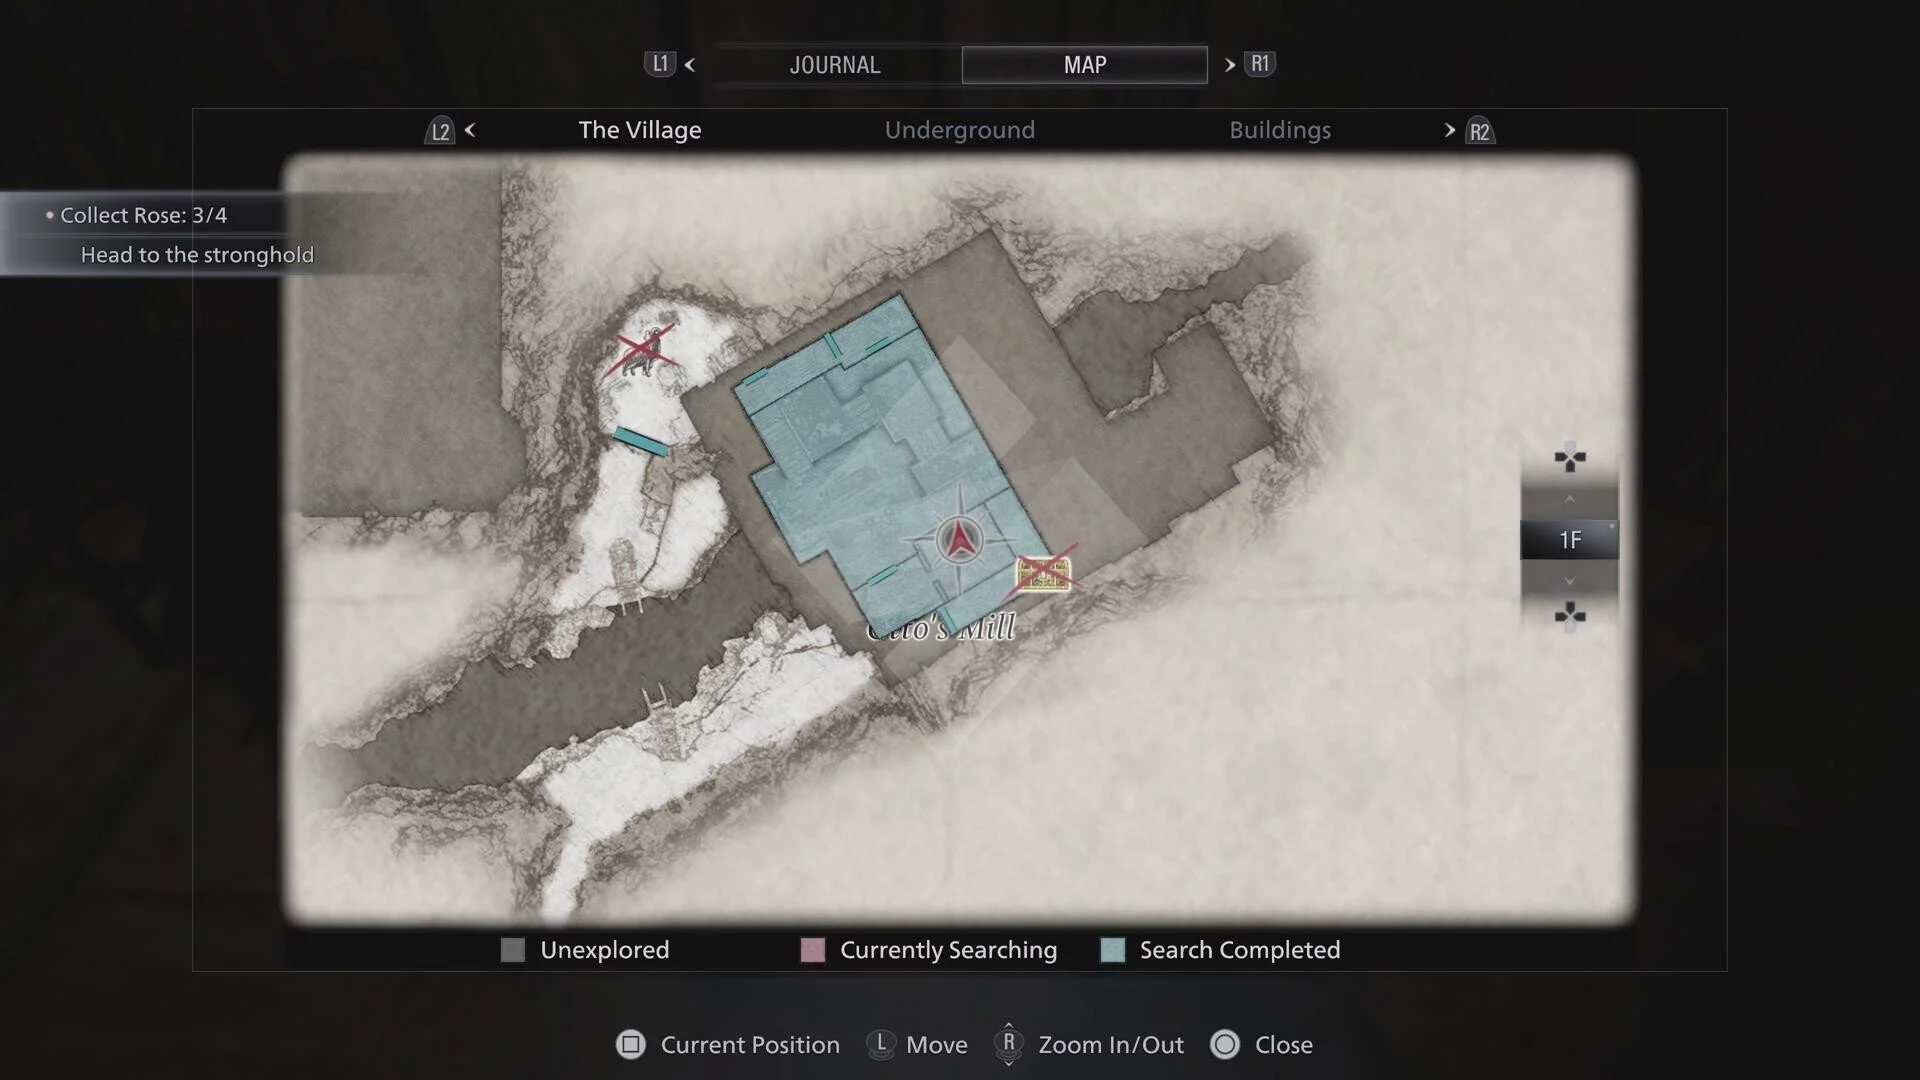
- Ernest’s Diary: In Otto’s Mill around lots of meat and the big boss dude. This is in the room with all the meat, on a table (1F Otto’s Mill, Village).
- Officer’s Diary: After a bunch of Lycan encounters in the Stronghold, you’ll walk down a spiral staircase and squeeze through a wall (don’t miss the Goat of Warding before you do that!). This file is beside a typewriter (B1 Stronghold).
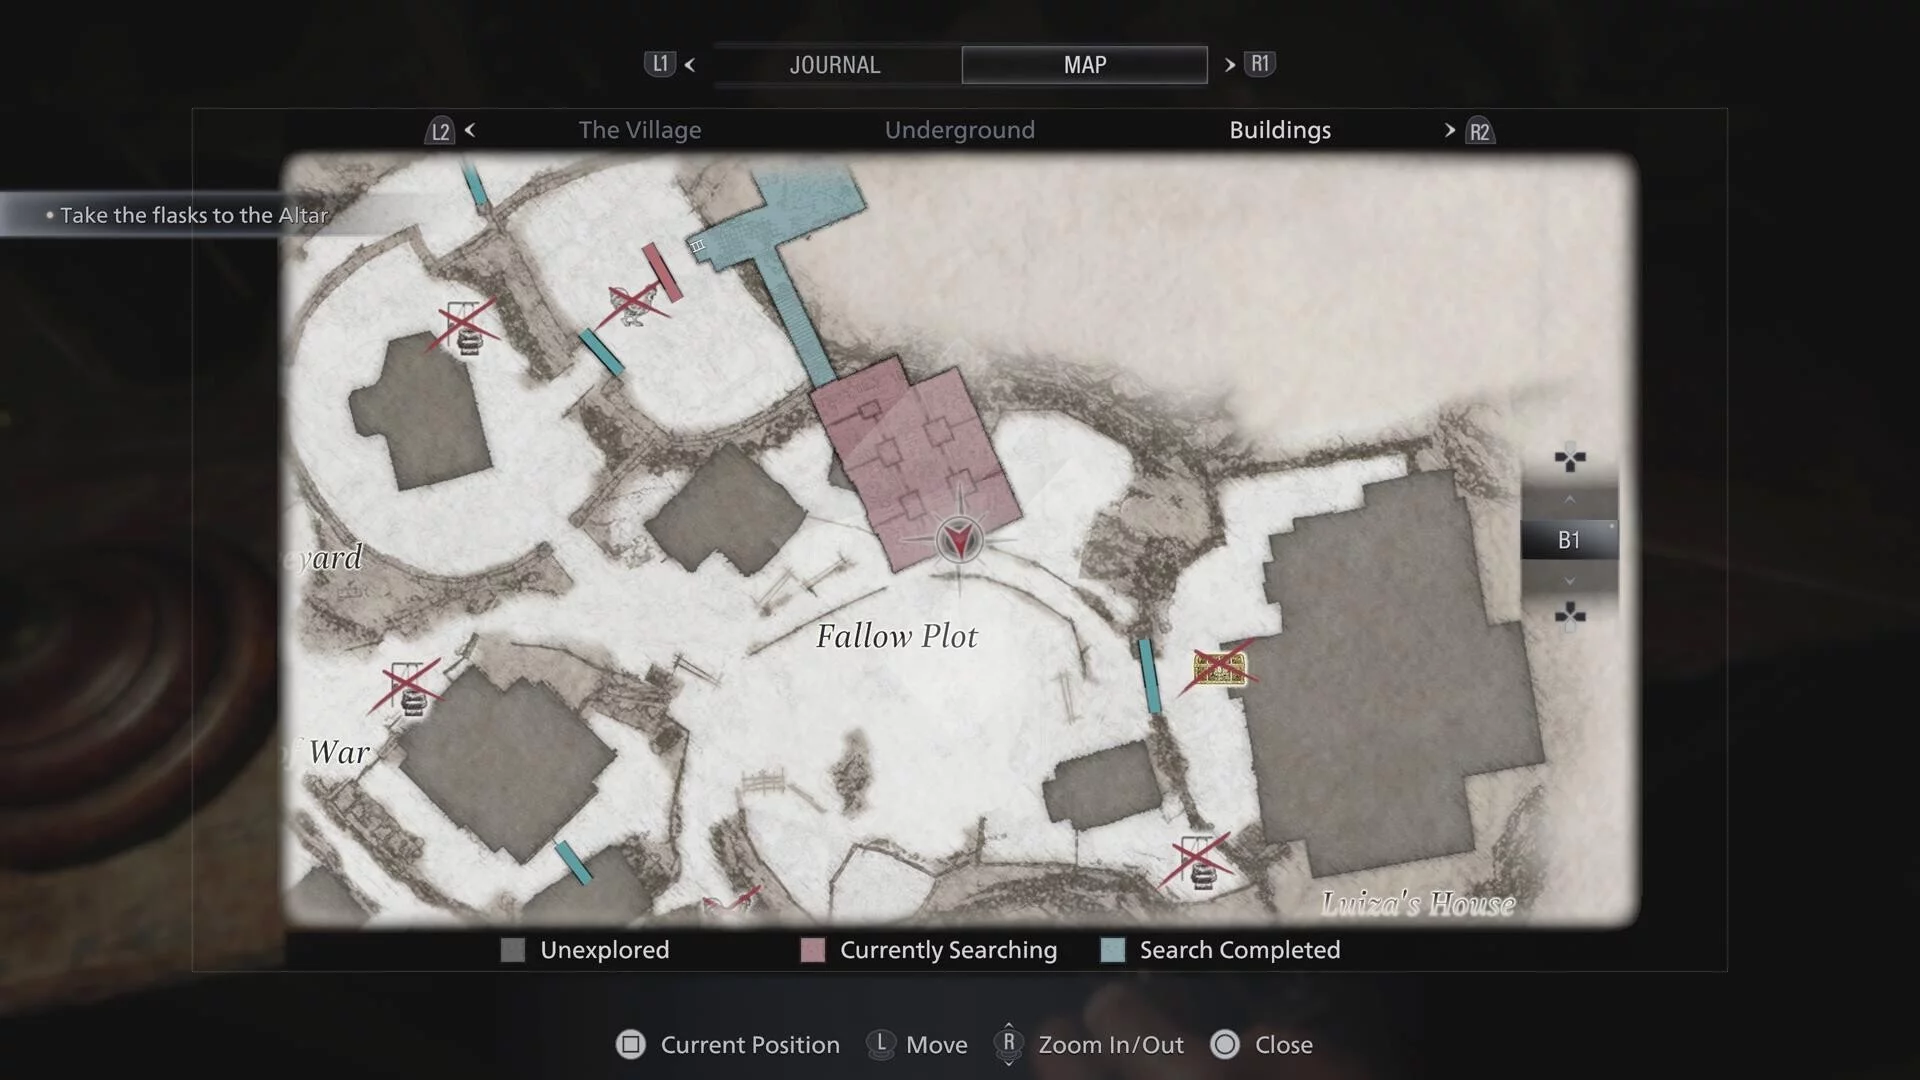
- Experiment Notes: Underground in the Fallow Plot area in the space that looks like a dungeon before going back to the Village after the Stronghold (B1 Fallout Plot, Village).
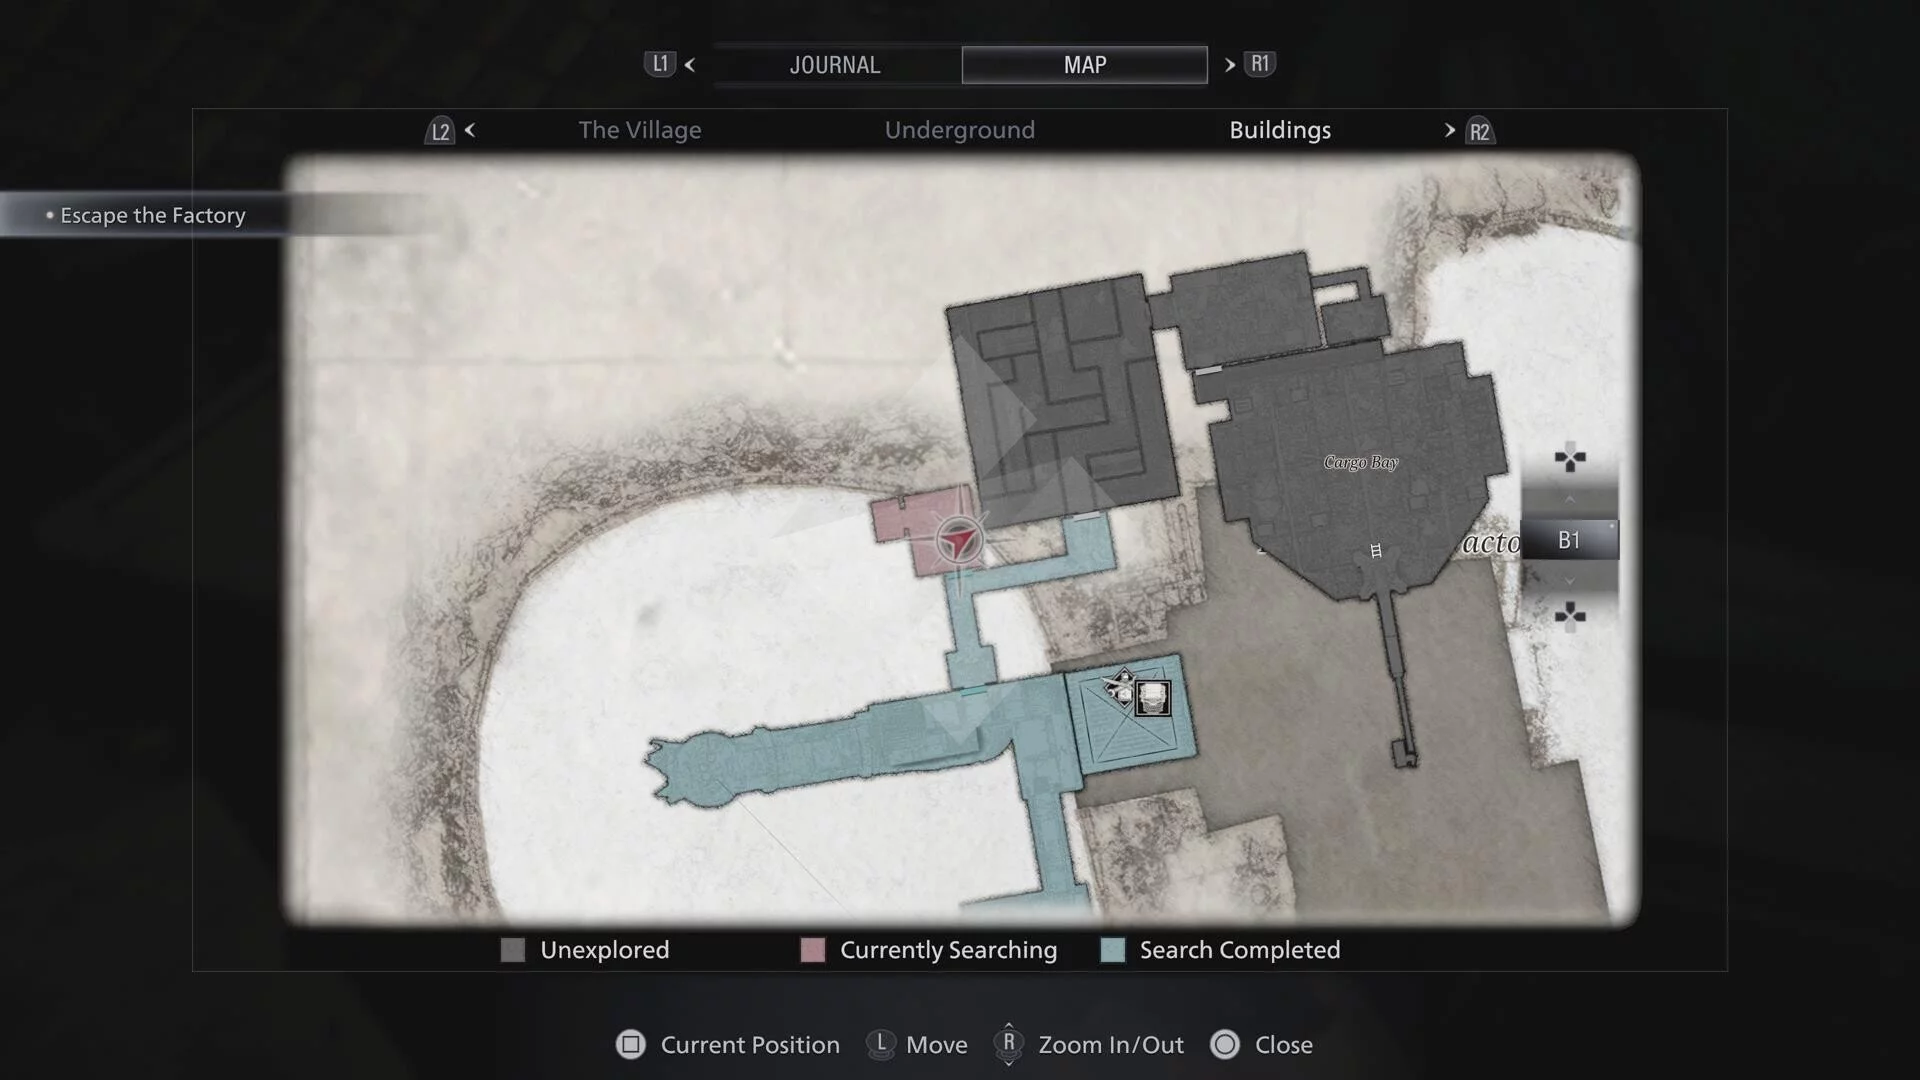
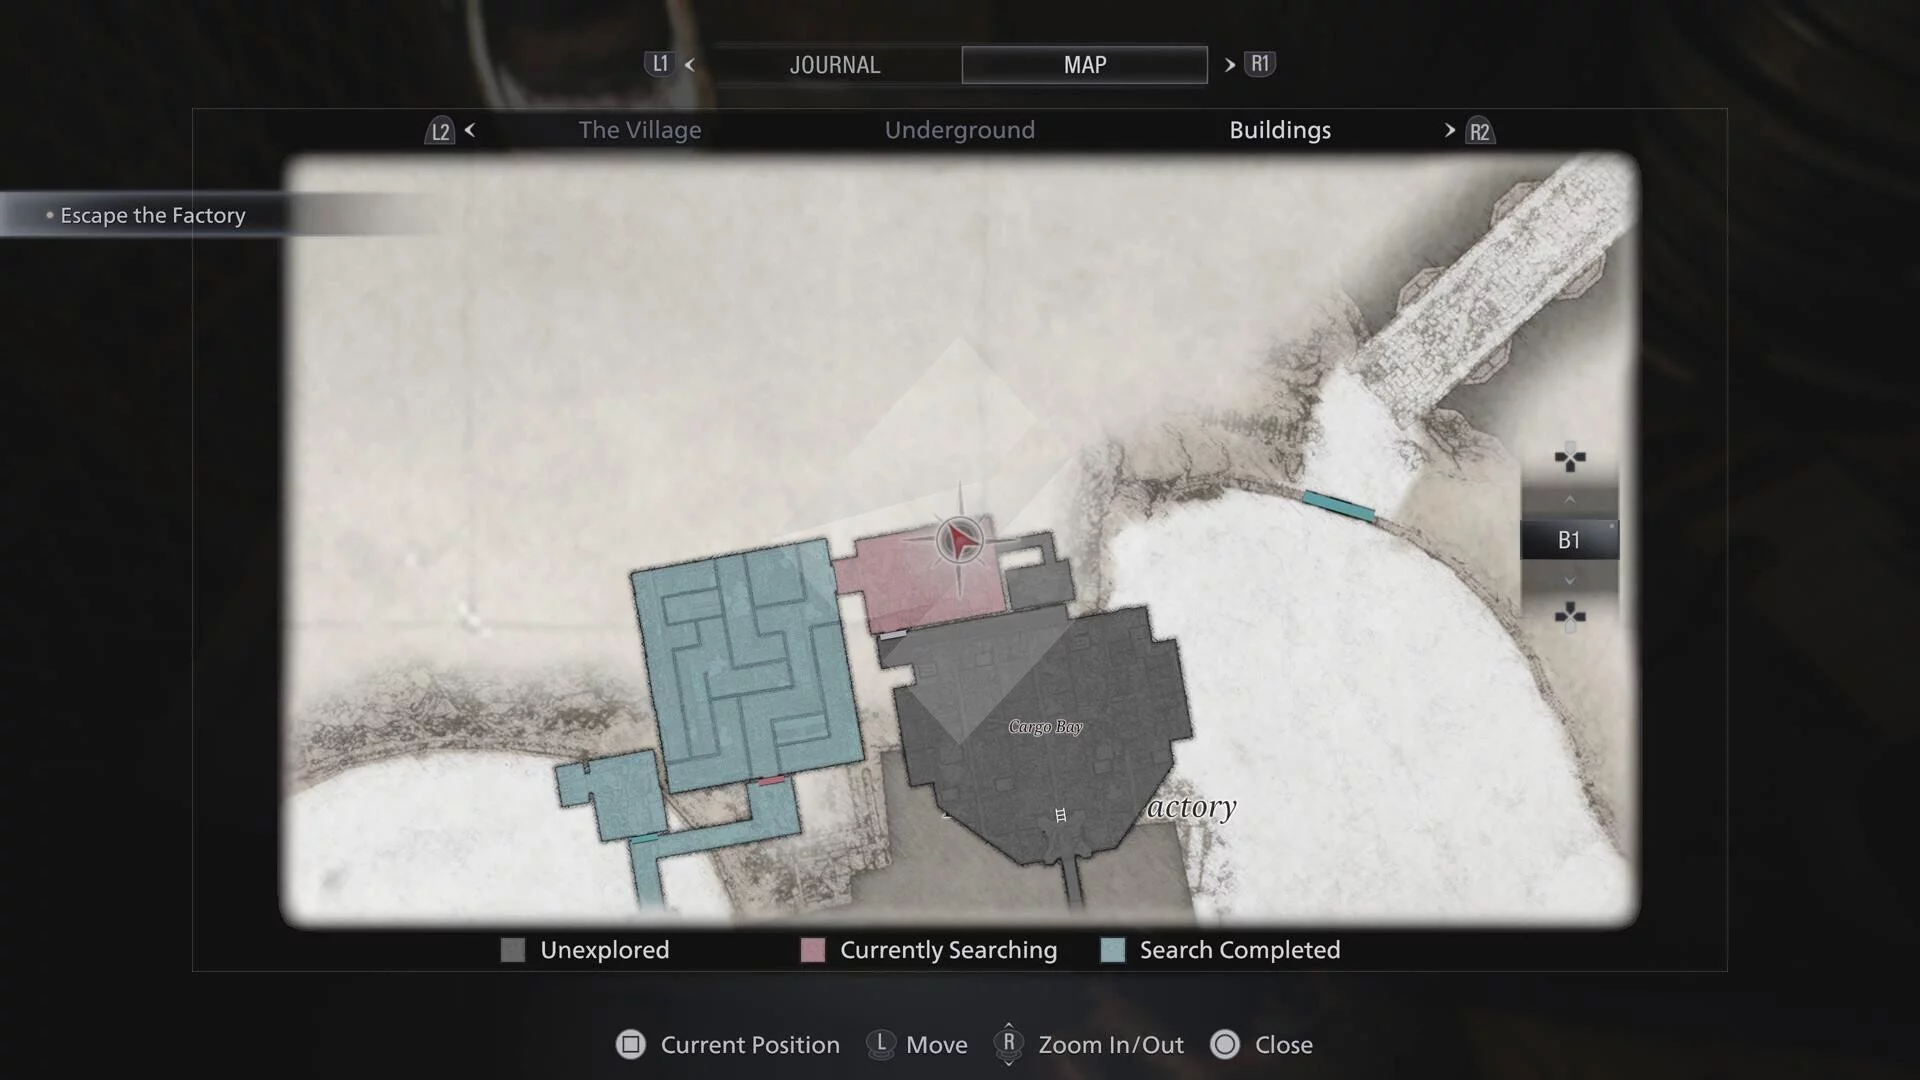
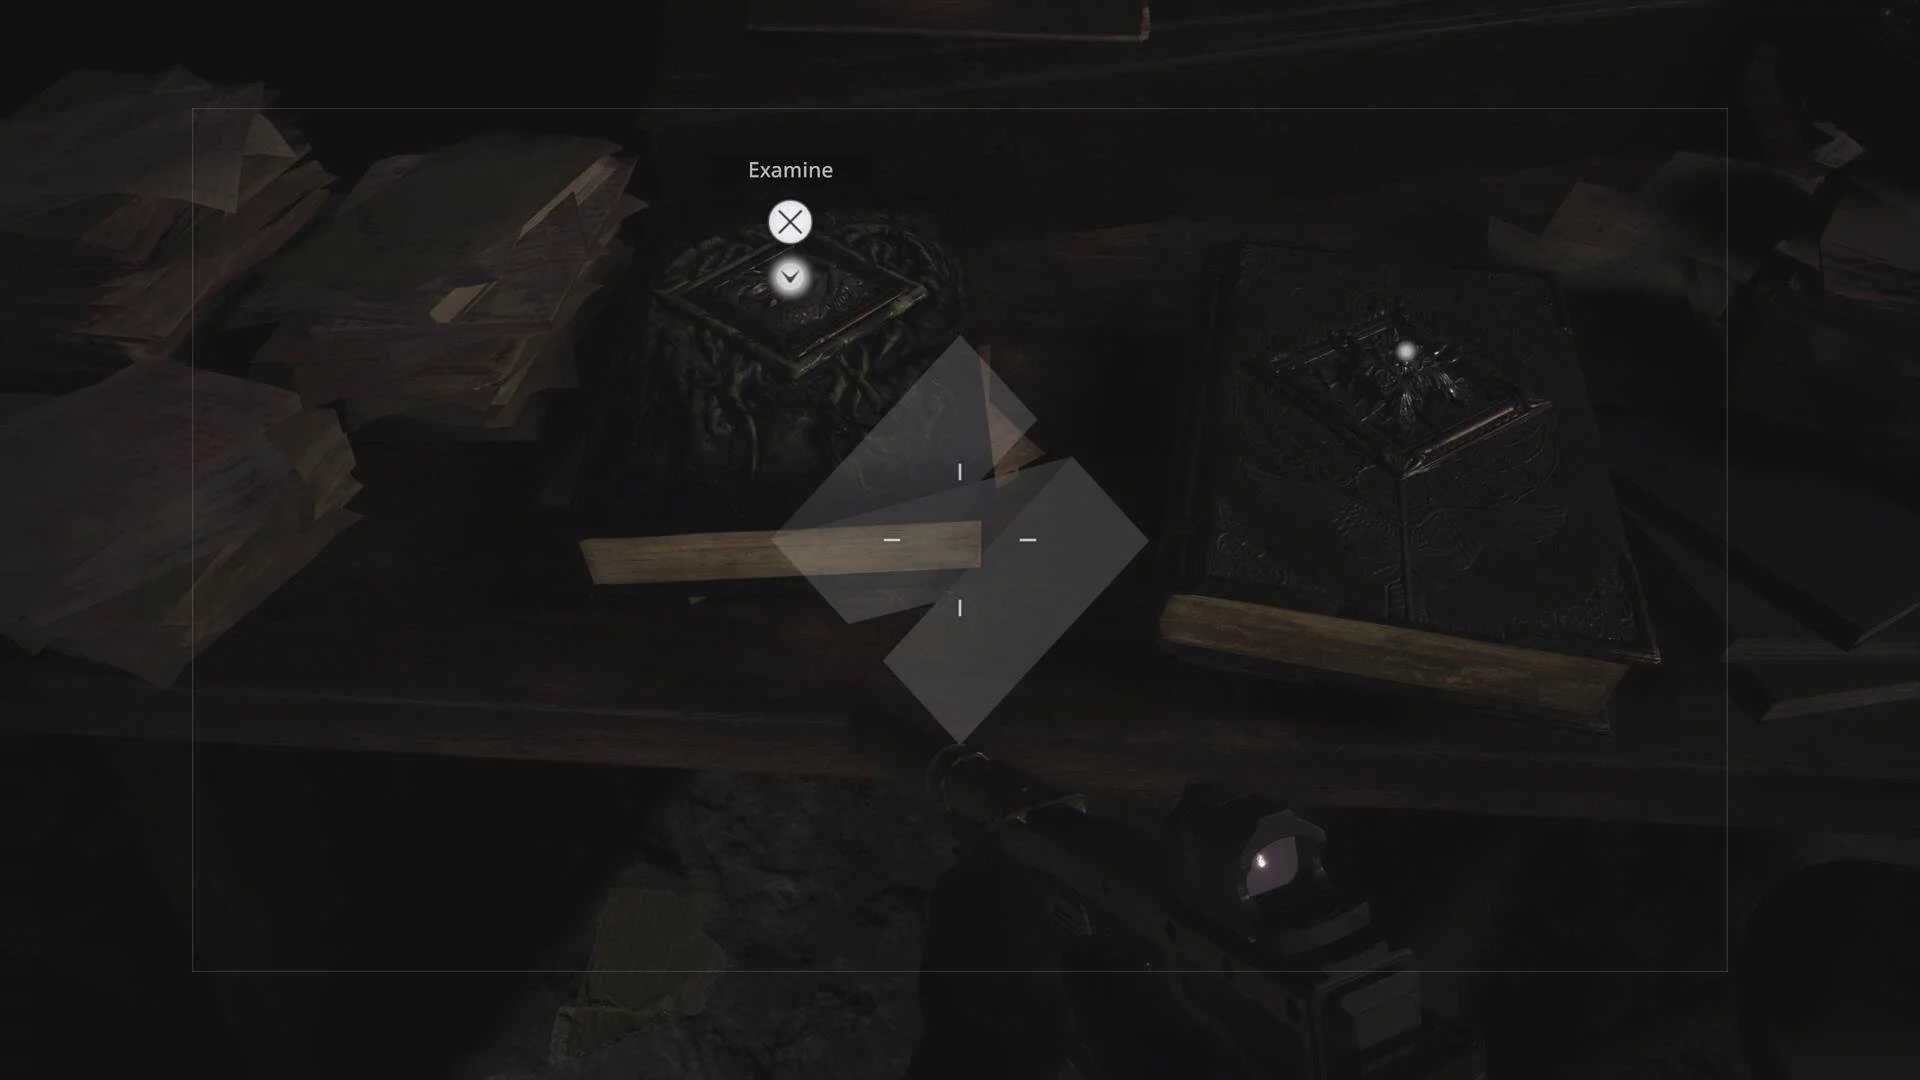
- Development Note 1: In the same room as the Cog Mold key item (MB4, Heisenberg’s Factory).
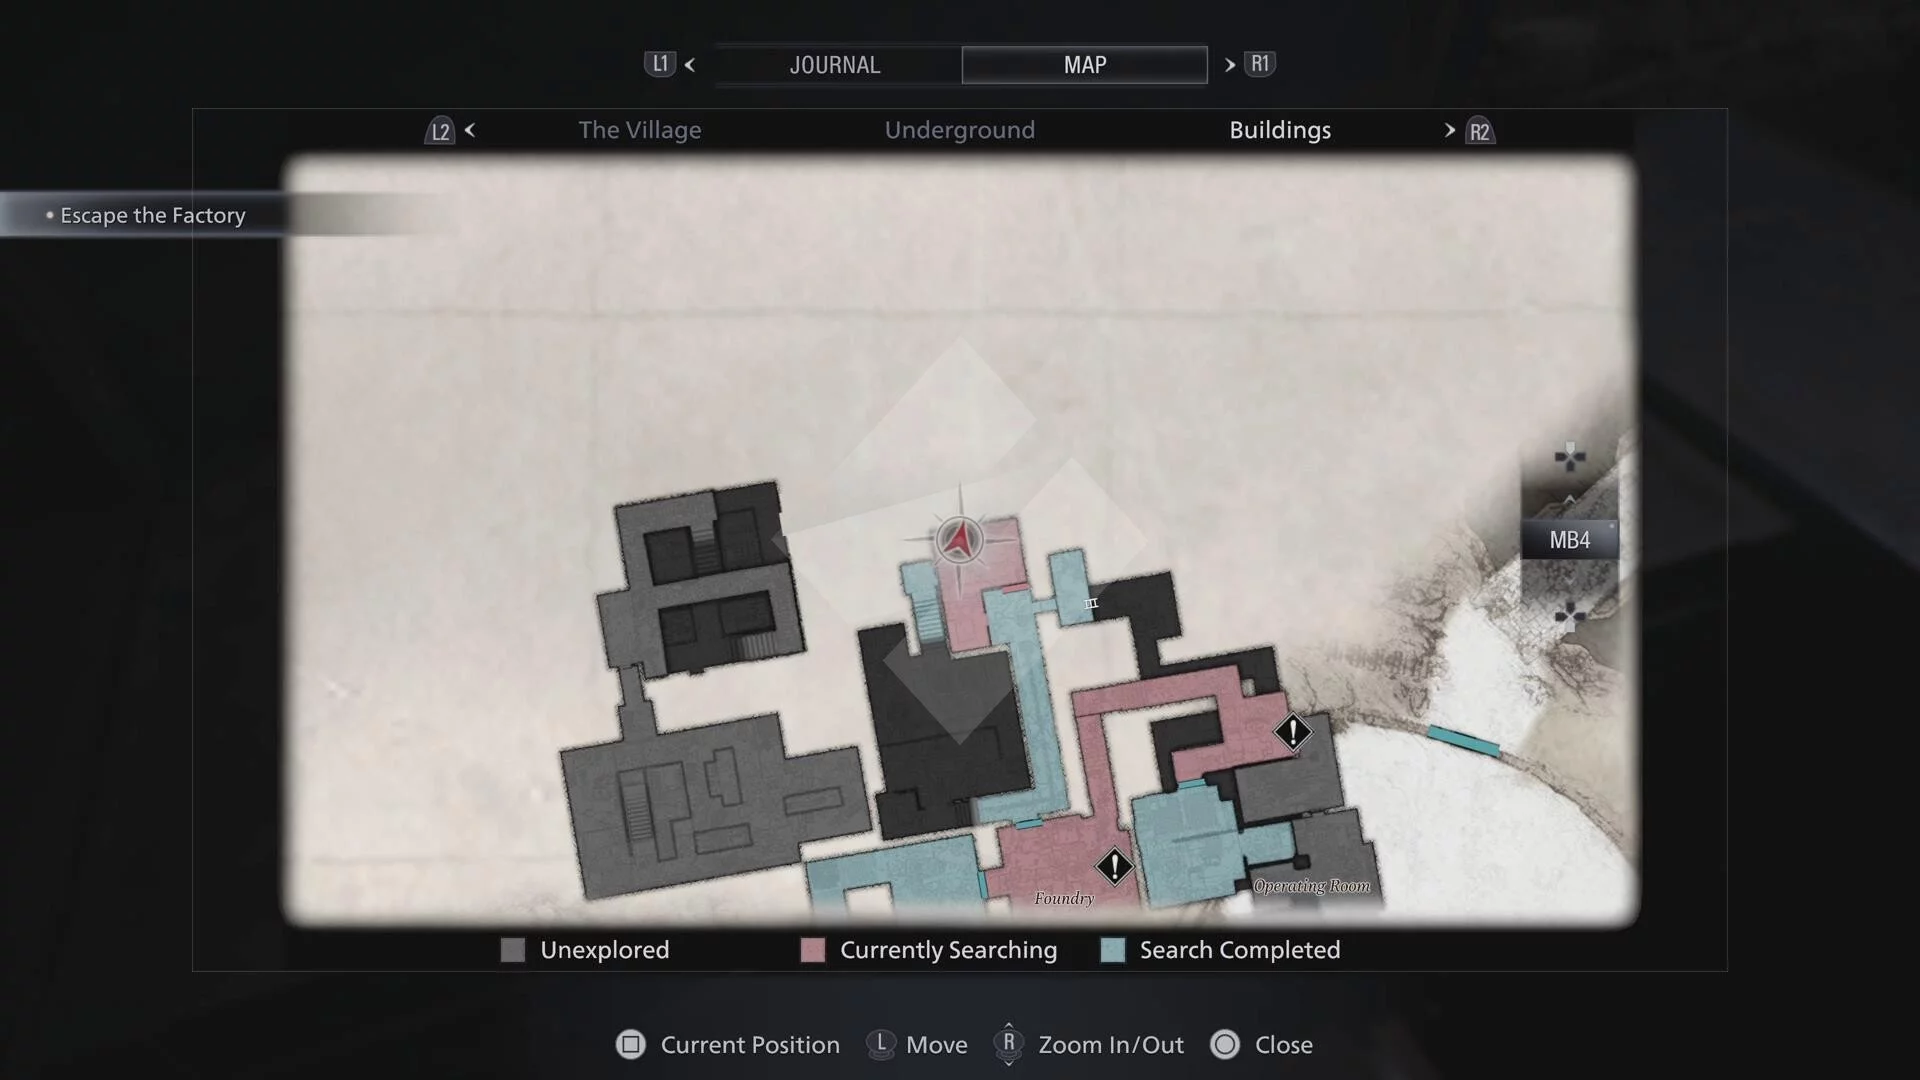
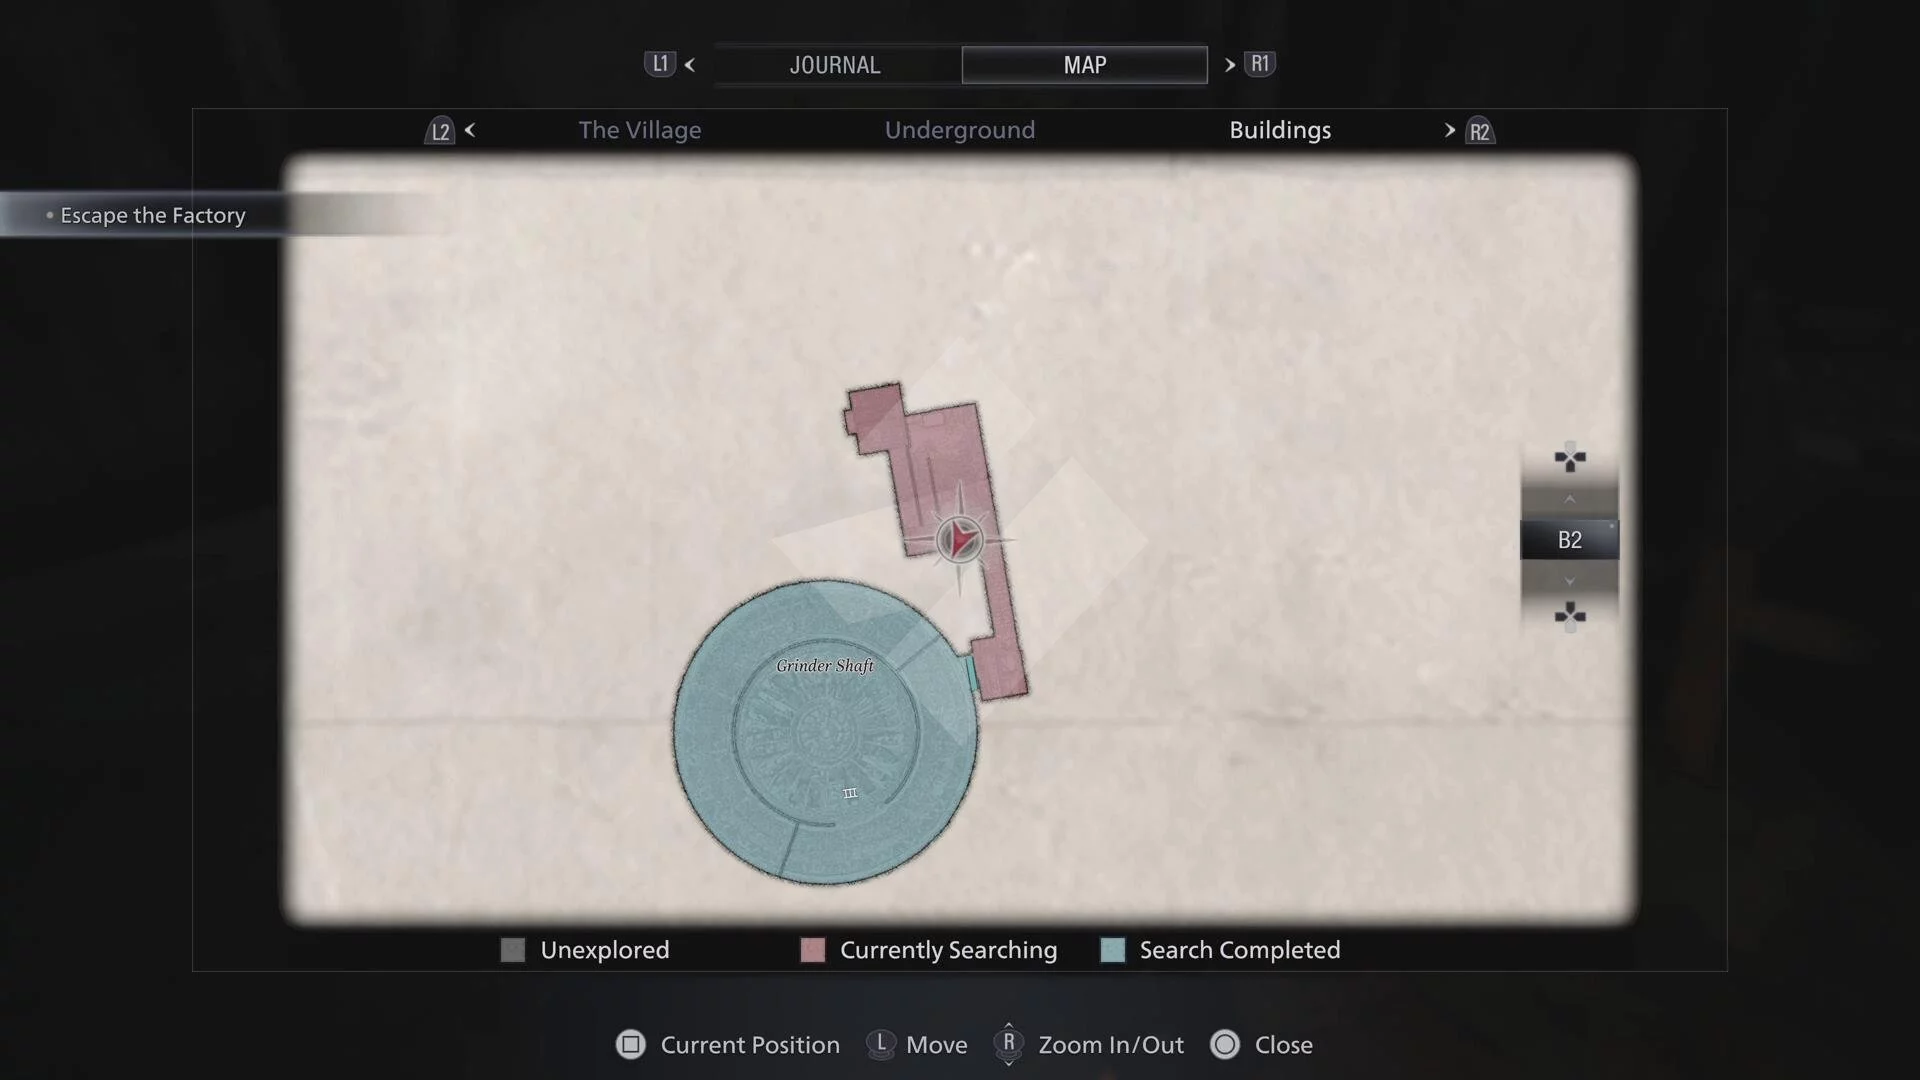
- Development Note 2: After turning off the grinder blades, head up through them and into a new hallway. Check to your left (and back towards the entrance) to find this on a small table. (B2 hallway beside Grinder Shaft, Heisenberg’s Factory).
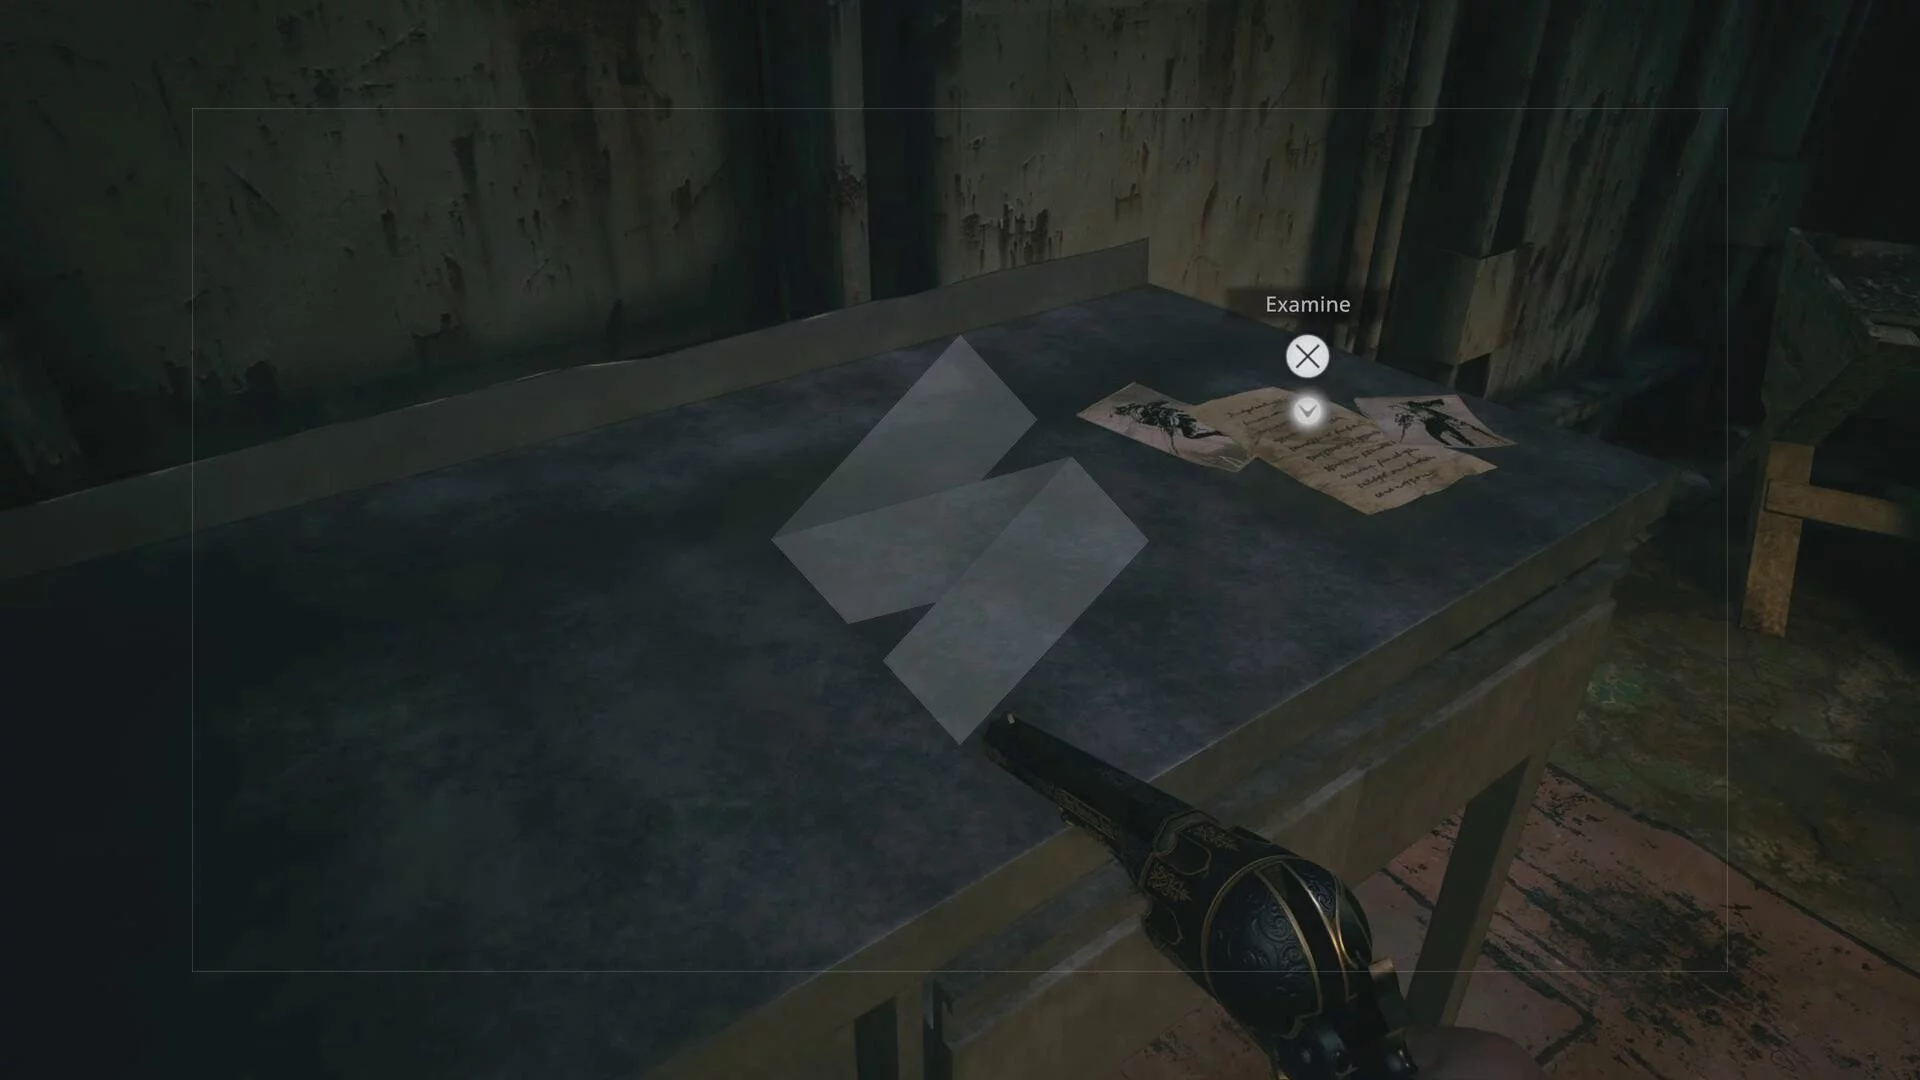
- Sturm: After using the Heisenberg Key on level B1, head through the tunnel and enter the first door you see (B1 Heisenberg’s Factory).
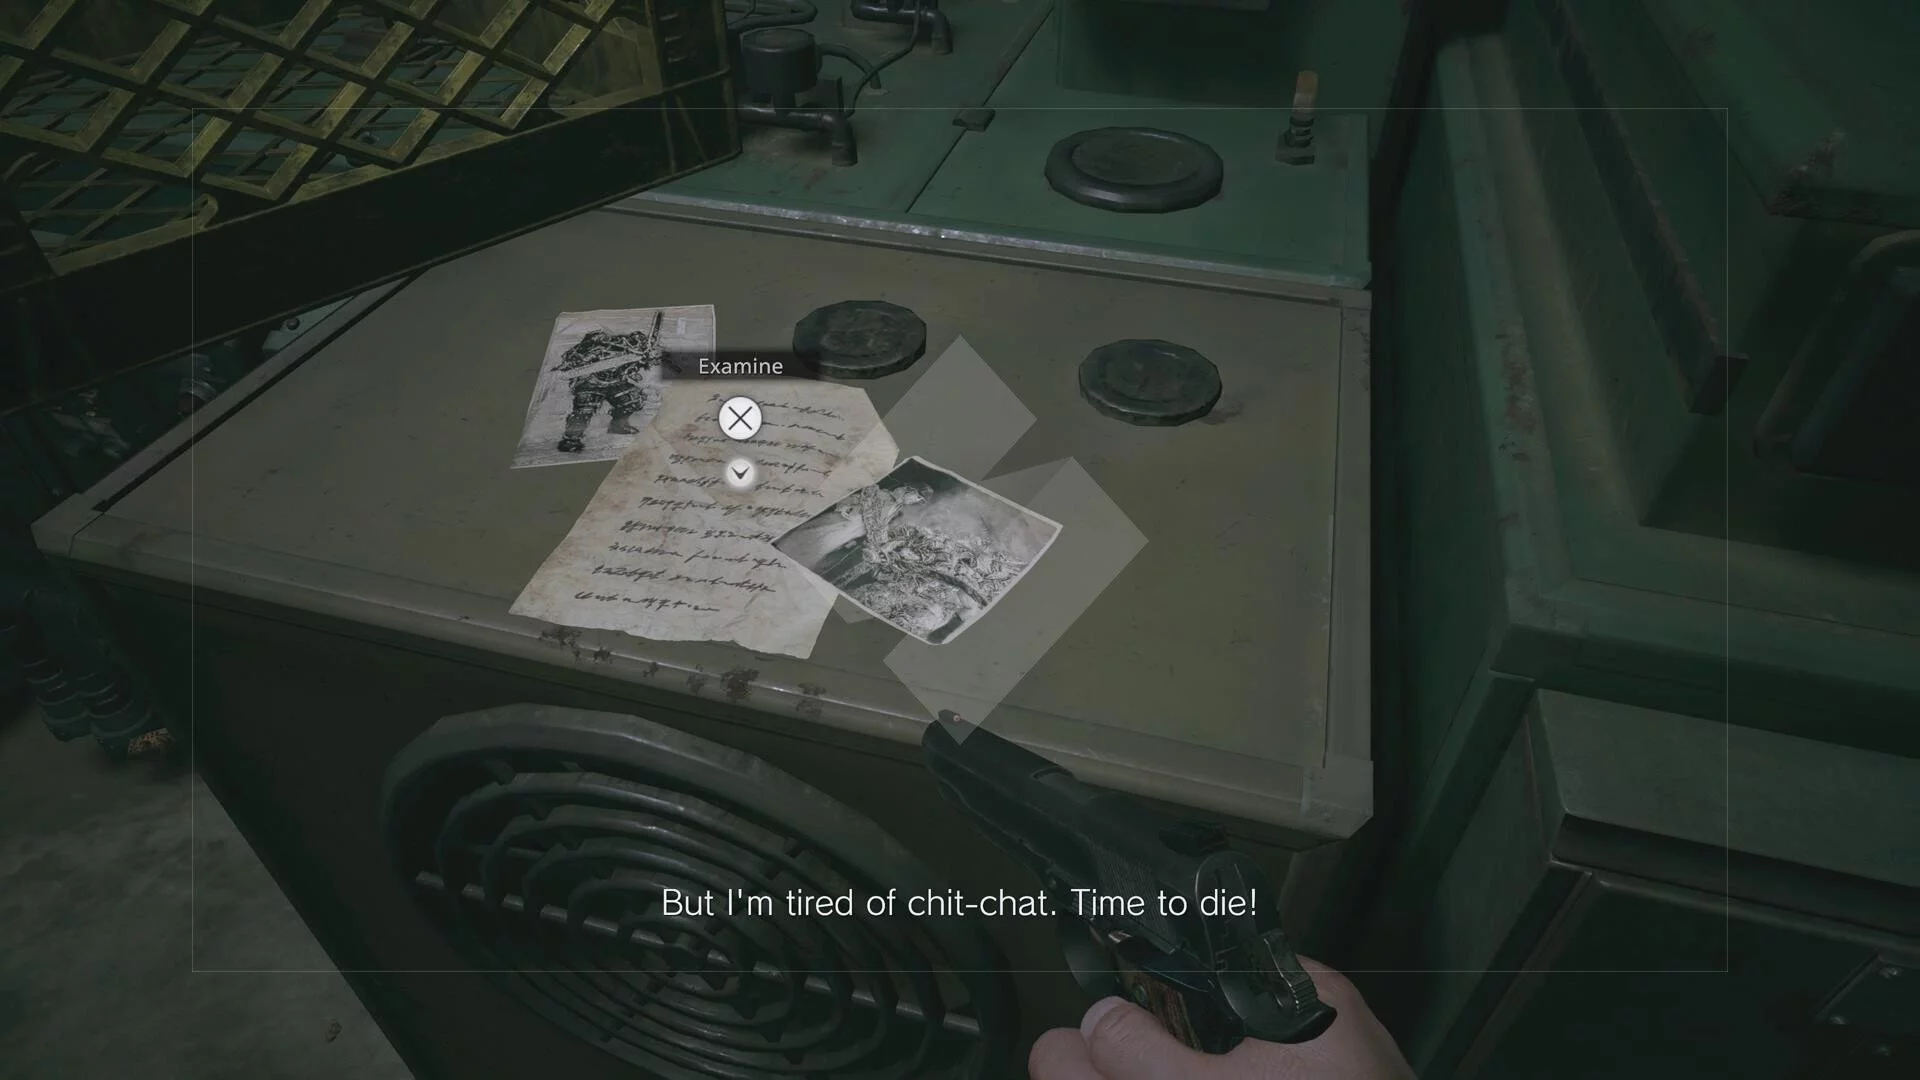
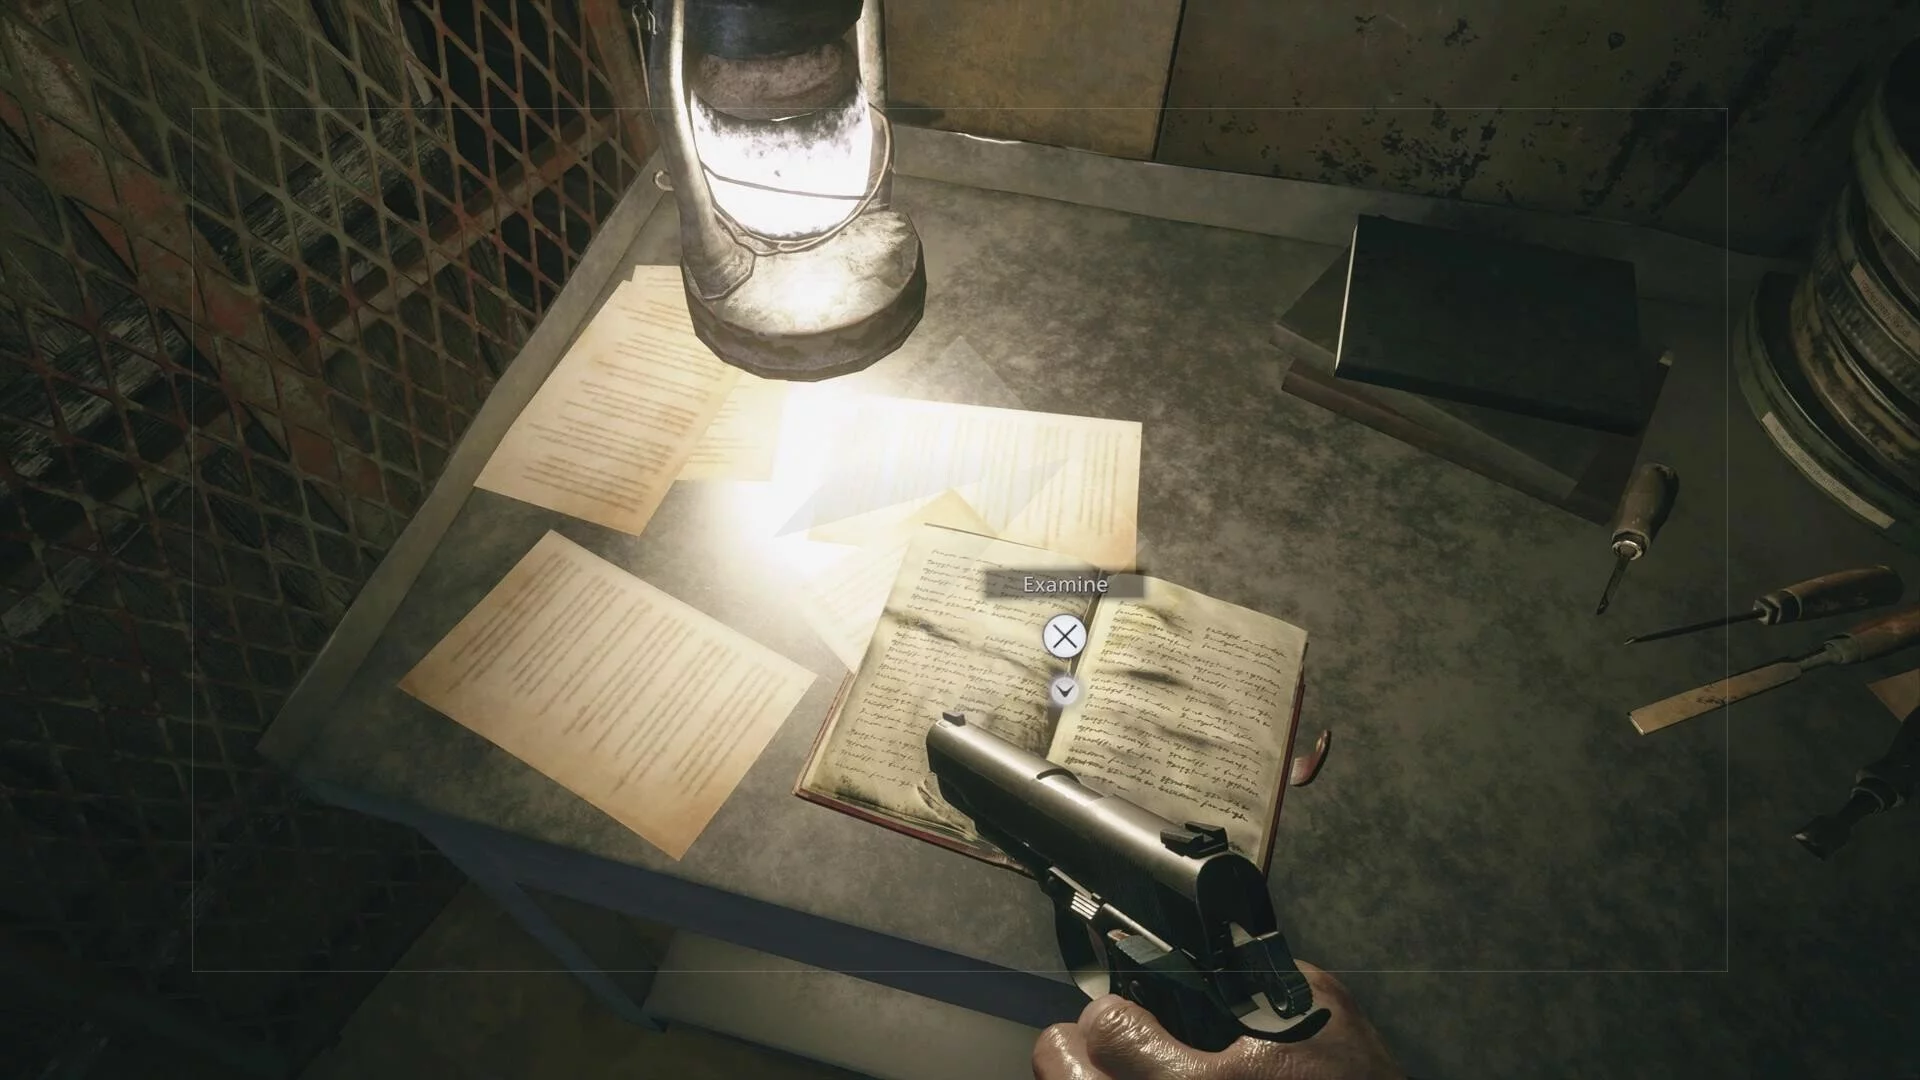
- Heisenberg’s Diary: After the Sturm fight, go into the next room and loop around the corner to find this on a desk — and don’t miss the little hole in the wall that leads to another room (B1 Heisenberg’s Factory)!
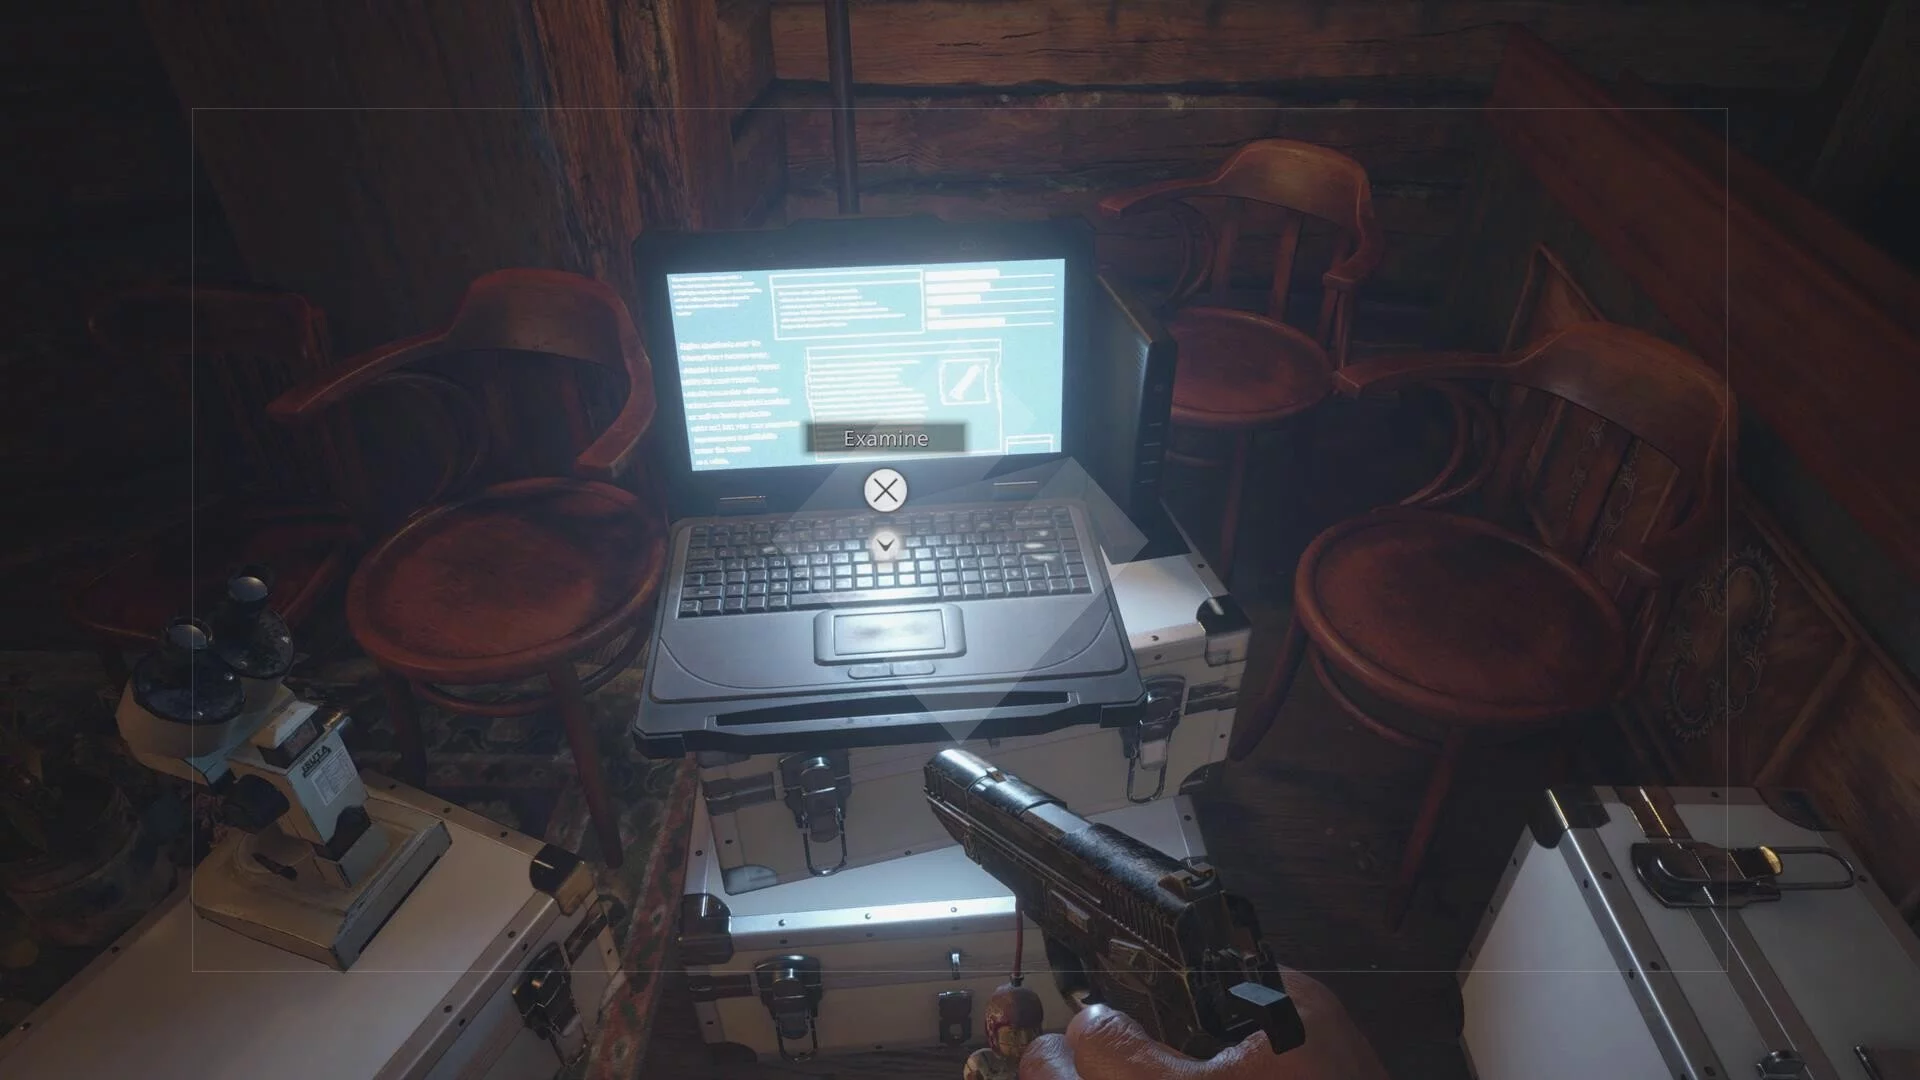
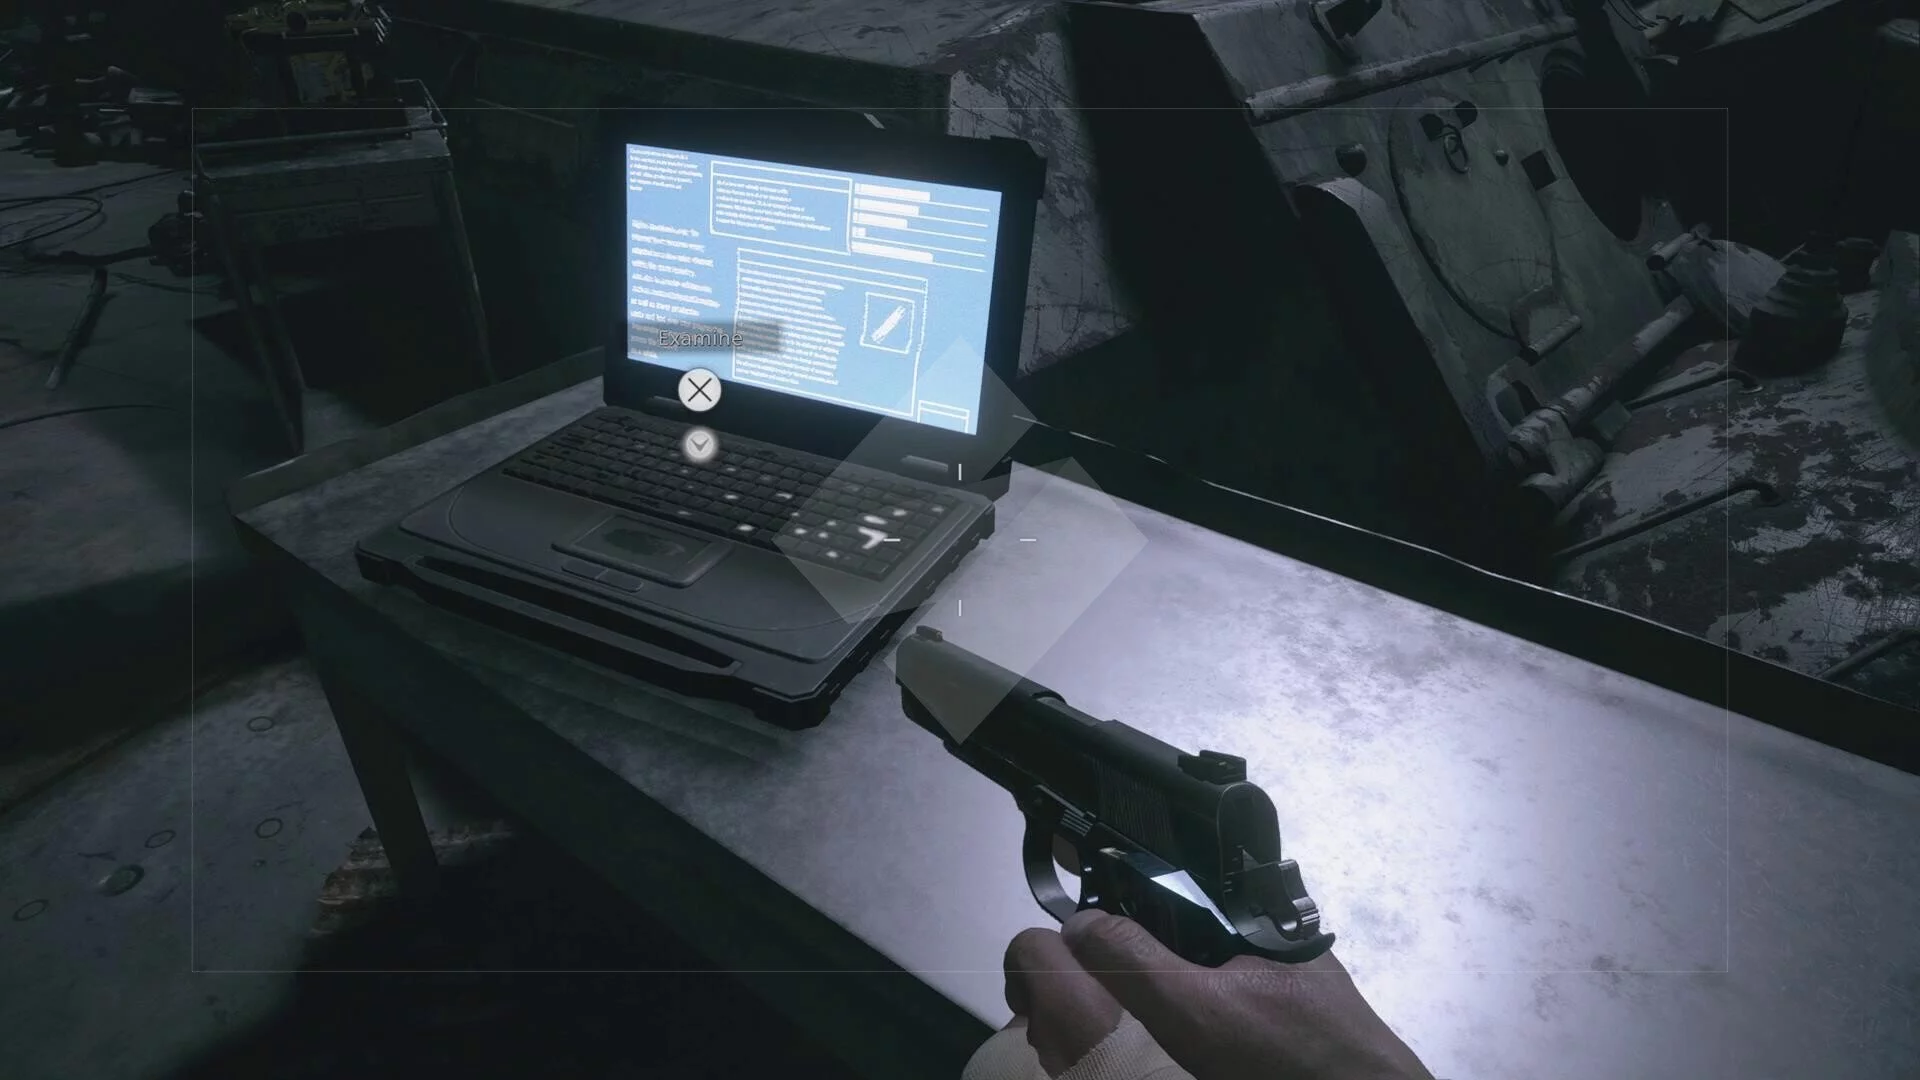
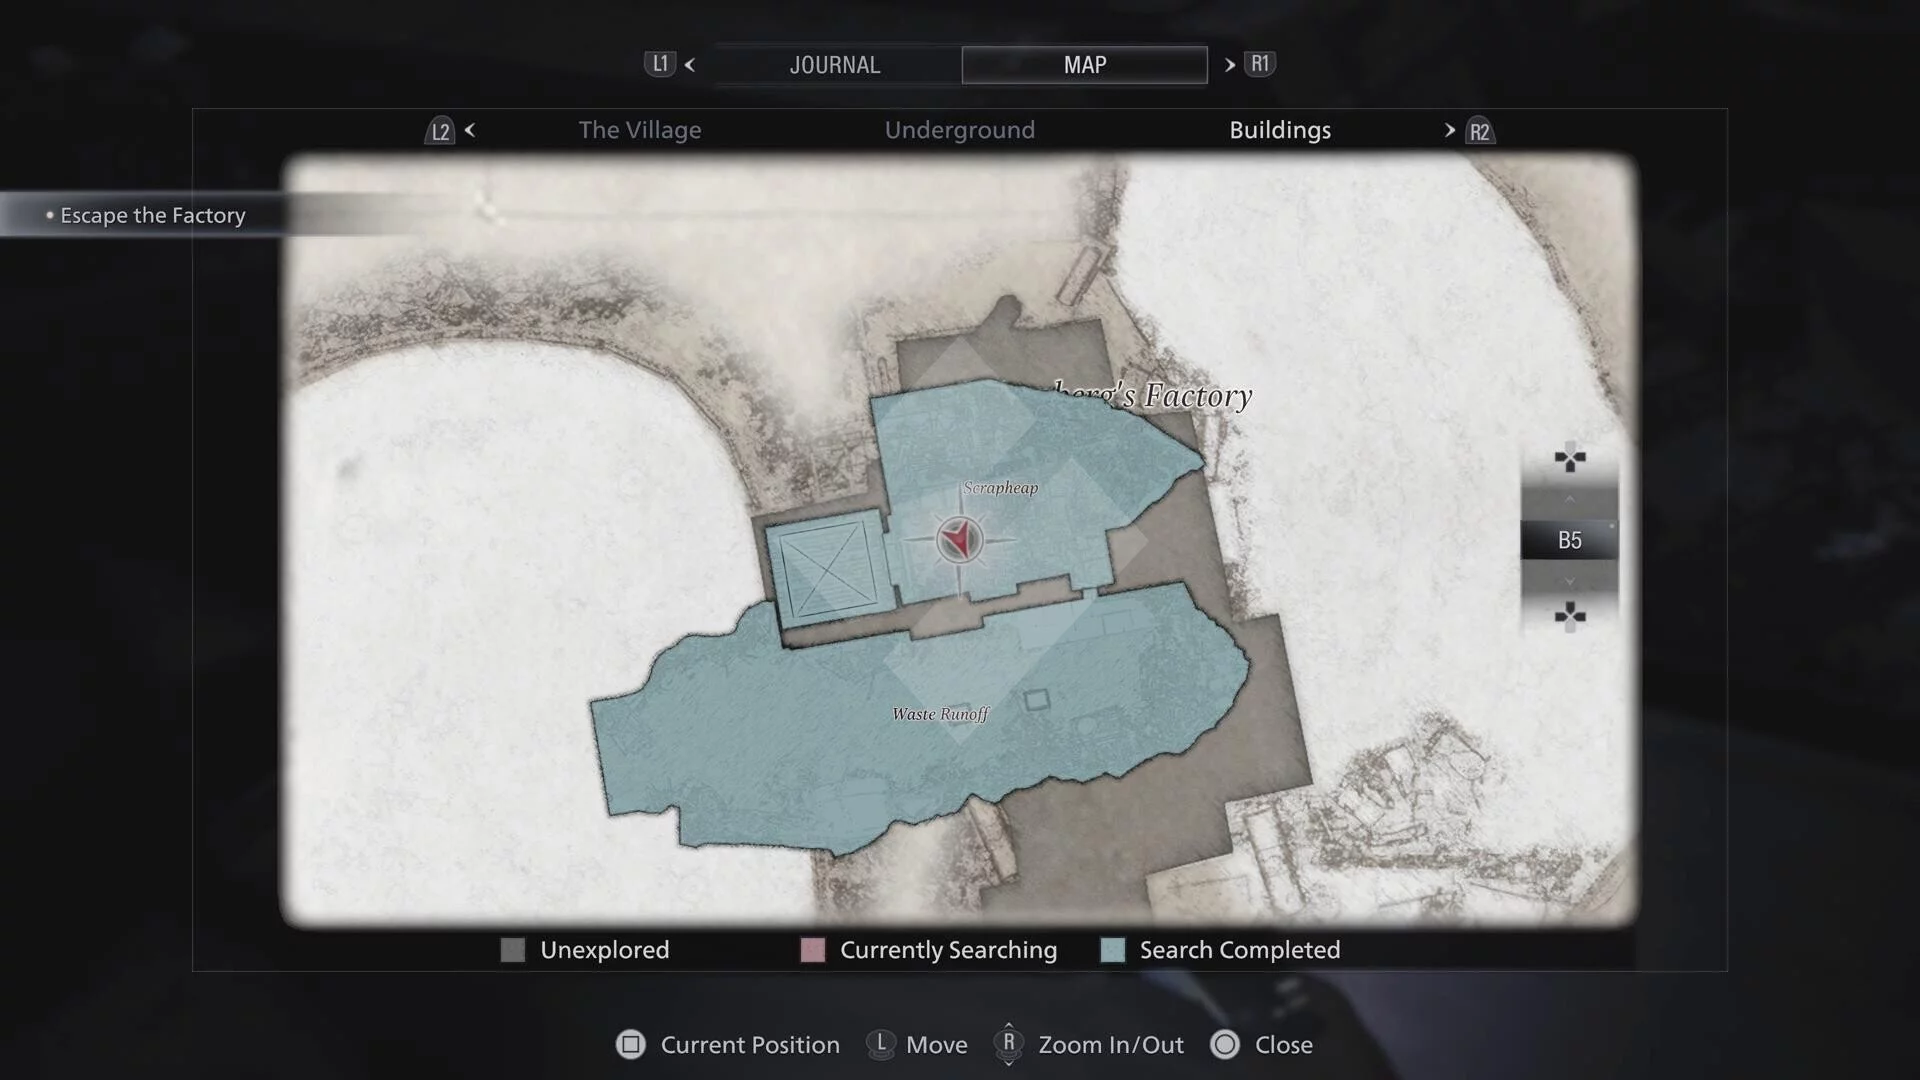
- Chris’s Computer: After the cutscene with Chris, go to the laptop before you board the vehicle (B5 Scrapheap, Heisenberg’s Factory).
Files – Playing as a new character (redacted as not to spoil)
Spoilers continue. You’ll switch over to Chris Redfield and will lose access to a map. Continue forward until Chris audiably says, “This must be Miranda’s lab” to gather the remaining files. Ensure you grab all files before shooting the lock on the nearby door.
- Dimitrescu’s Medial Report, Donna’s Medical Report, Moreau’s Medical Report and Heisenberg’s Medical Report: Once you’re in Miranda’s lab, these four files are on the table directly in front of you as you enter.
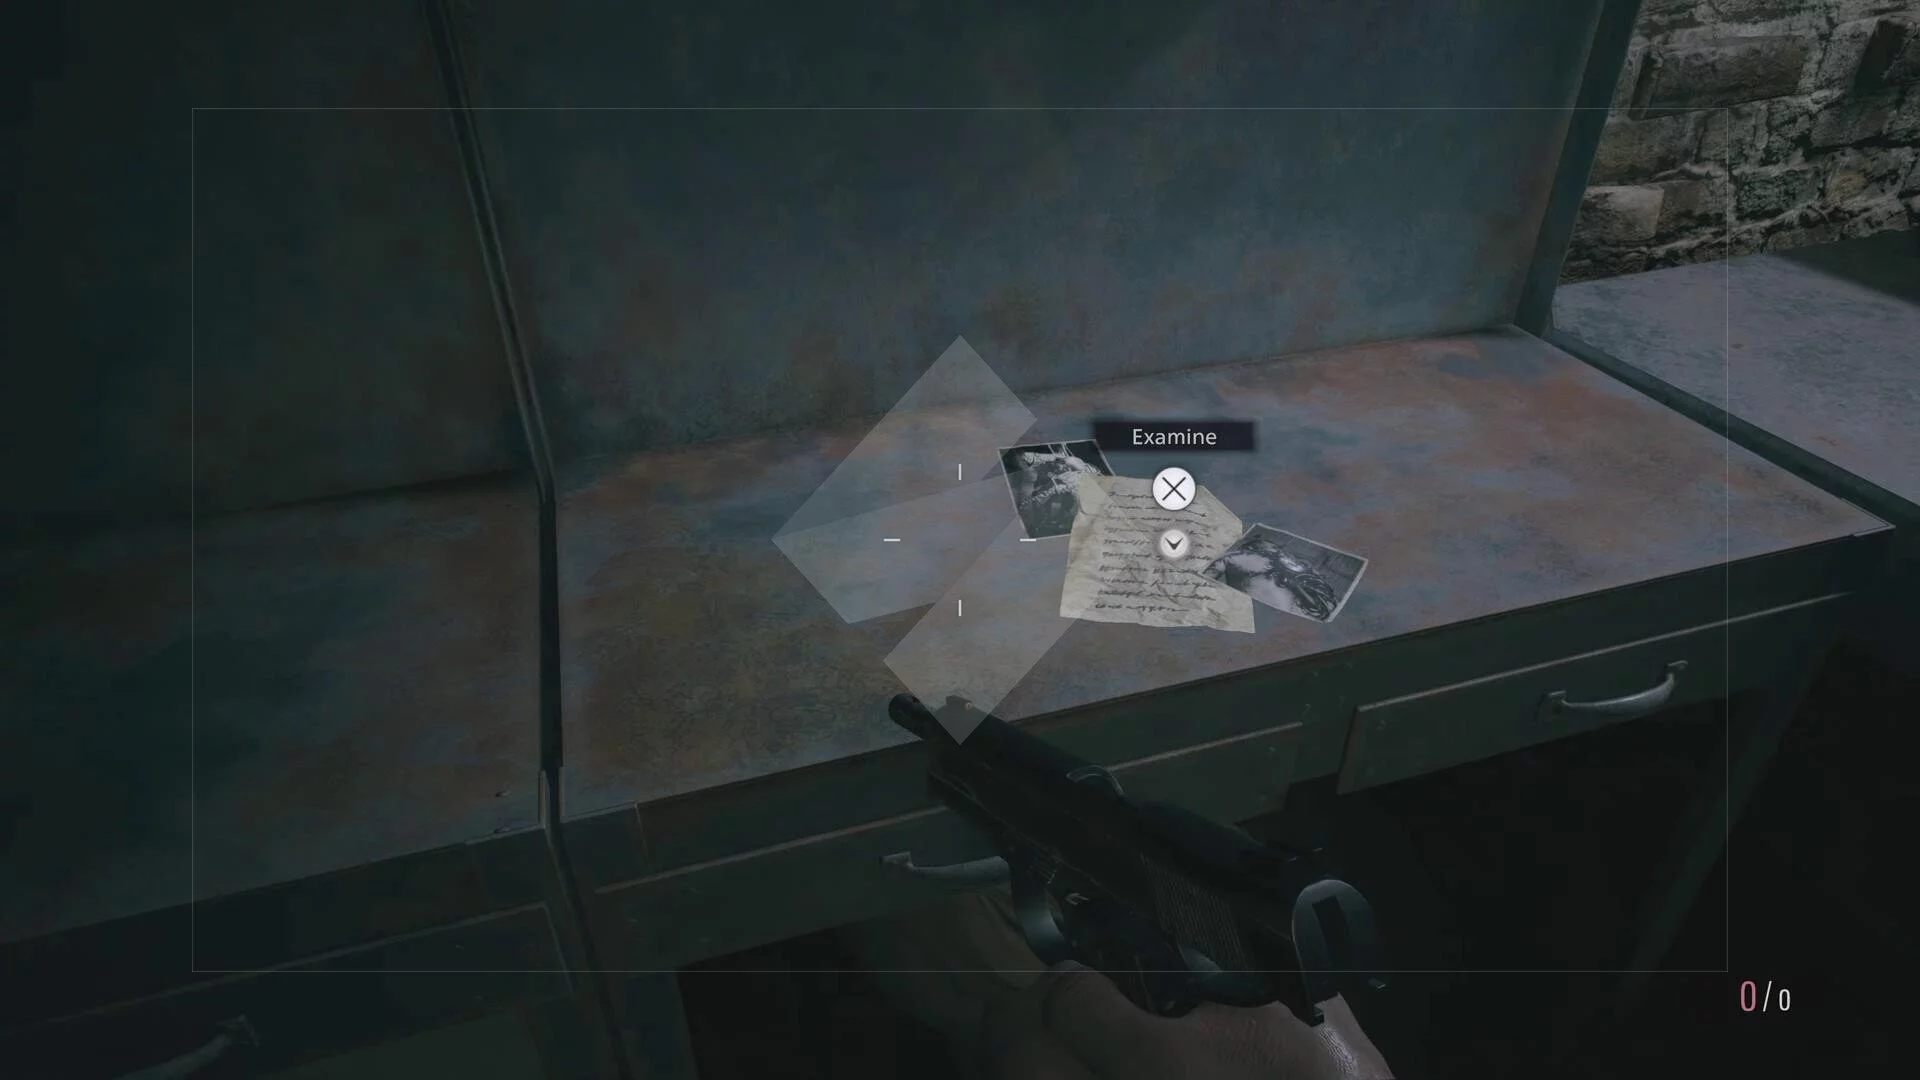
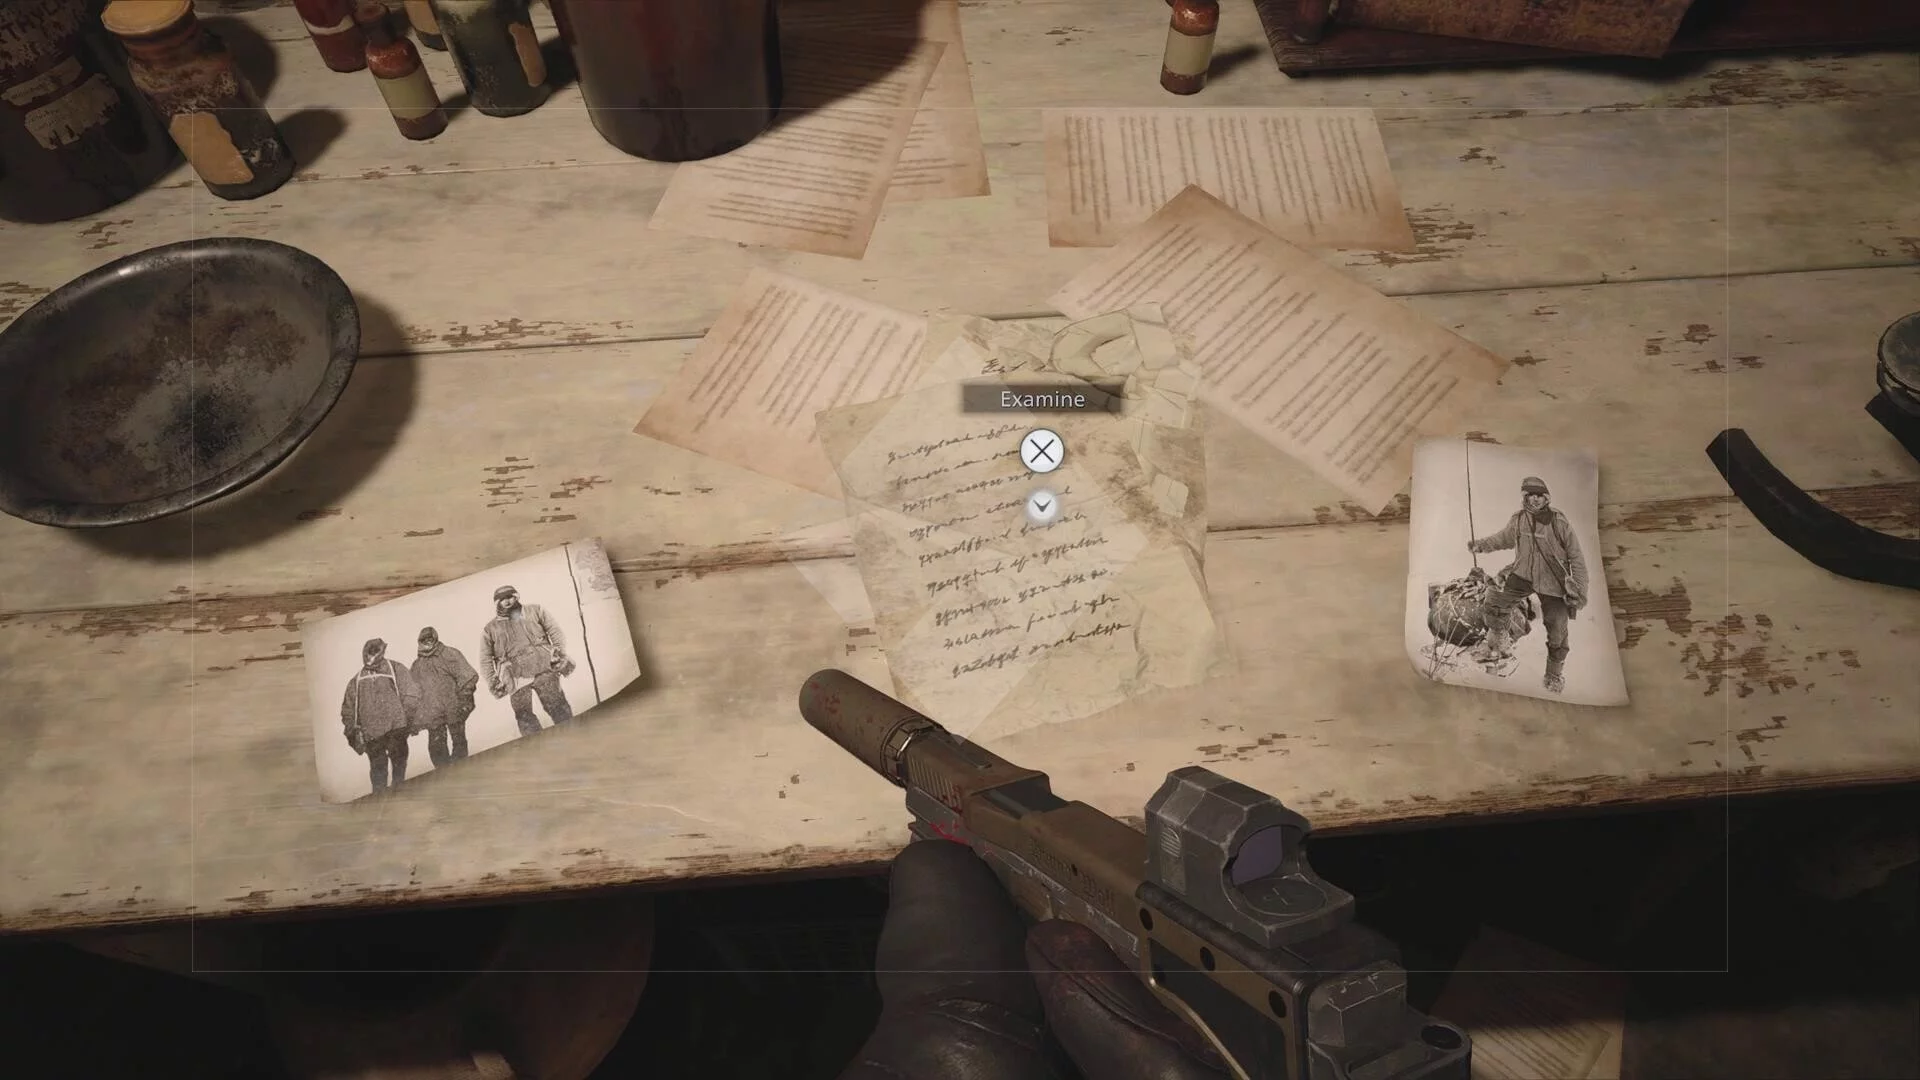
- Spencer’s Letter: Found in the same room, on a table with two photos as you continue on.
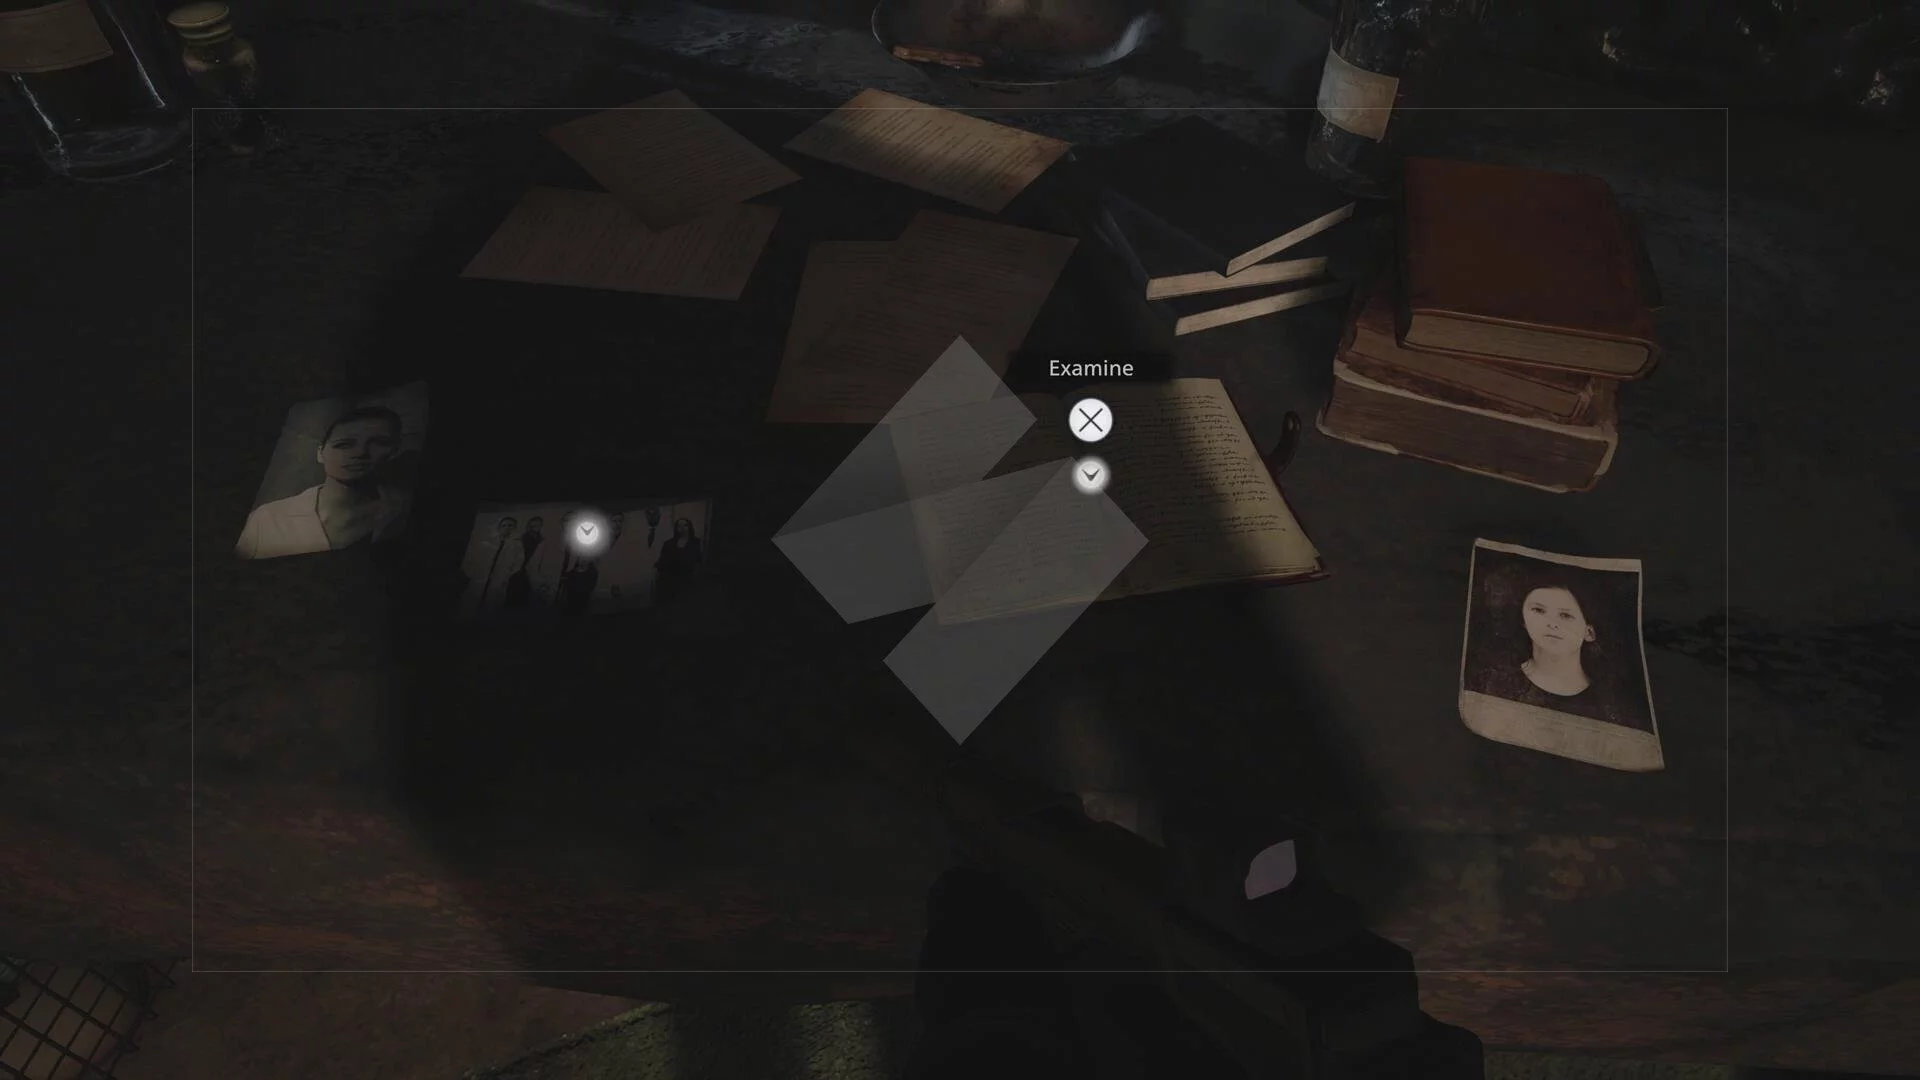
- Miranda’s Diary: On another table, beside more photos.
That’s it — the Bookworm Achievement or Trophy should now be yours.
Resident Evil Village heads to Windows PC, Xbox One, Xbox Series S, Xbox Series X, PS4 and PS5 on 7 May. You can look at all of our various guides below.
Resident Evil Village Guides
- Challenges Guide (including Achievements and Trophies)
- Files Guide (Bookworm Achievement or Trophy)
- Goats of Warding Guide (Cynic and Heretic Achievements and Trophies)
- Weapons Guide (including weapon and parts locations alongside weapons, parts and upgrades pricing)
- Combinable Treasures Guide (Repairer Achievement, Trophy, Challenge and Treasure Hunter Challenge)
- Hooligan Guide (all Castle Dimitrescu breakable windows)
- When You Gotta Go… Guide (all Village outhouses)
 |
Resident Evil Village7 May 2021PC PS4 PS5 Xbox One Xbox Series S & X
|
This article may contain affiliate links, meaning we could earn a small commission if you click-through and make a purchase. Stevivor is an independent outlet and our journalism is in no way influenced by any advertiser or commercial initiative.
