


Resident Evil 7‘s full of puzzles and collectible items, and Stevivor’s here to help you out as you play.
Up today is a listing of Madhouse mode Antique Coin locations, useful to buy steroid and stabilizer upgrades as well as the all-powerful Magnum pistol. Finding all Coins unlocks the Achievement or Trophy “Mad Pelicans”.
Here’s how to find every single Antique Coin in Madhouse mode — all 33 of ’em.
Looking for Easy/Normal mode Coins? Click here for a full guide.
How to use this guide
This guide will be split up into “point of no return” sections, meaning you should collect all items on a page before continuing on in Resident Evil 7‘s story. Each page will be marked by a spoiler, though as small of one as we can muster, telling you the action that will stop you from collecting items. The files themselves are then split up into sections of the map. They are not necessarily chronological.
Ready to go?
Point of no return for this page: Grab the first coin before you insert the fuse into the fuse box in the Guest House living room.
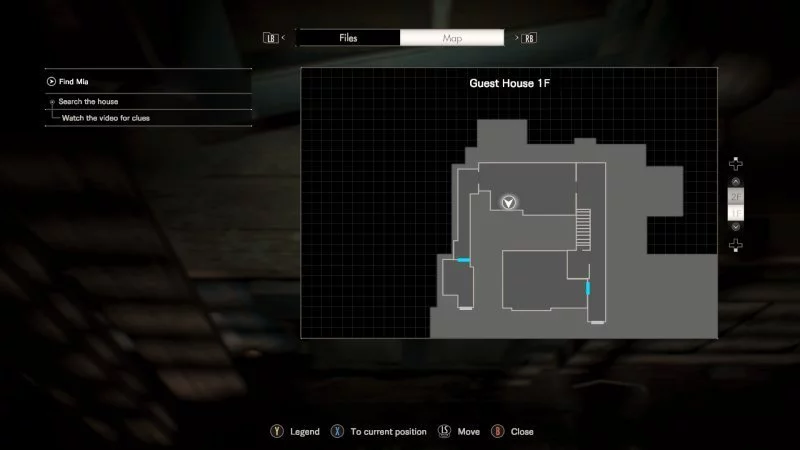
Guest House 1F (VHS and present)
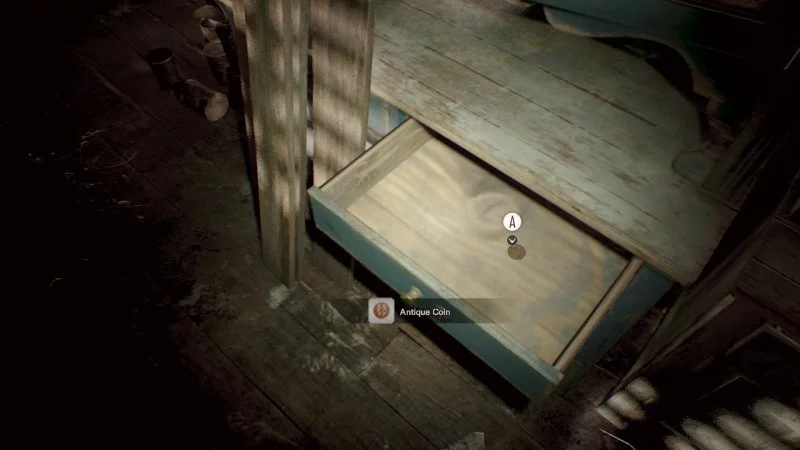
The first Antique Coin is a two-step process.
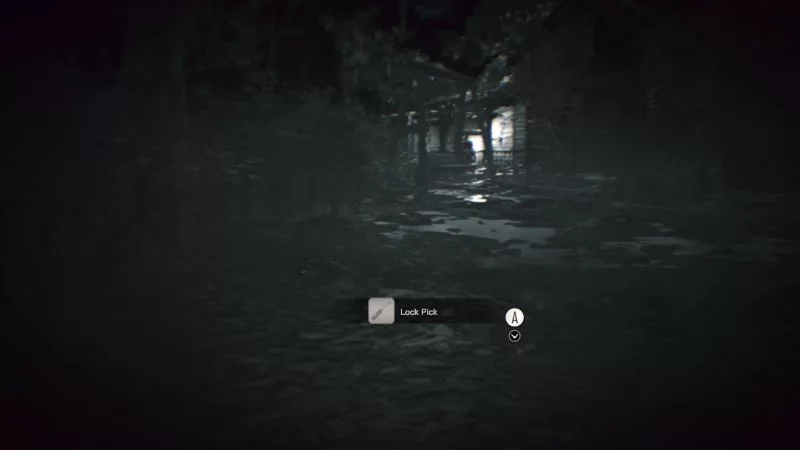
- Step 1: Play the “Derelict House Footage” VHS tape. As the tape begins, immdiately turn around and pick up the lockpick (the same very one we were wondering about). Use that lockpick to unlock a drawer in the kitchen. You can then stop the tape or continue playing through the footage if you so choose.
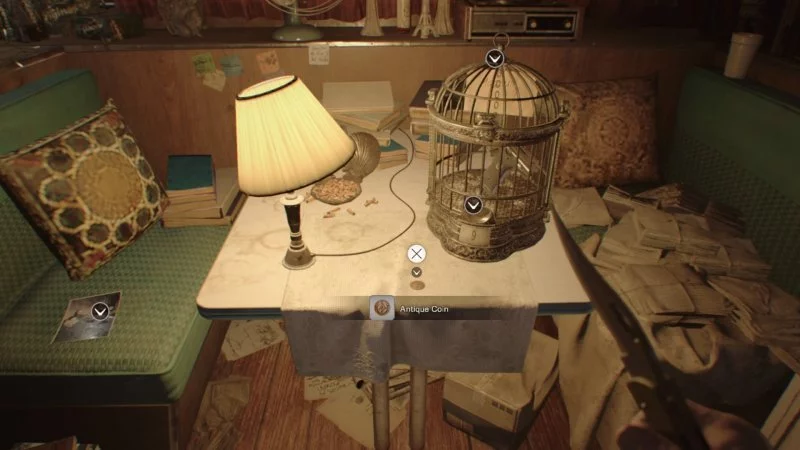
- Step 2: Back in the present as Ethan, go and open the drawer.
Point of no return for this page: Solving Lucas’ birthday puzzle and heading to the pier.
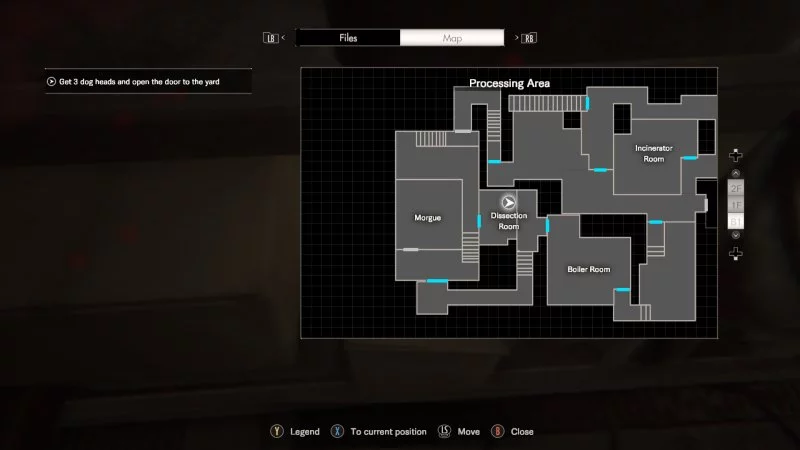
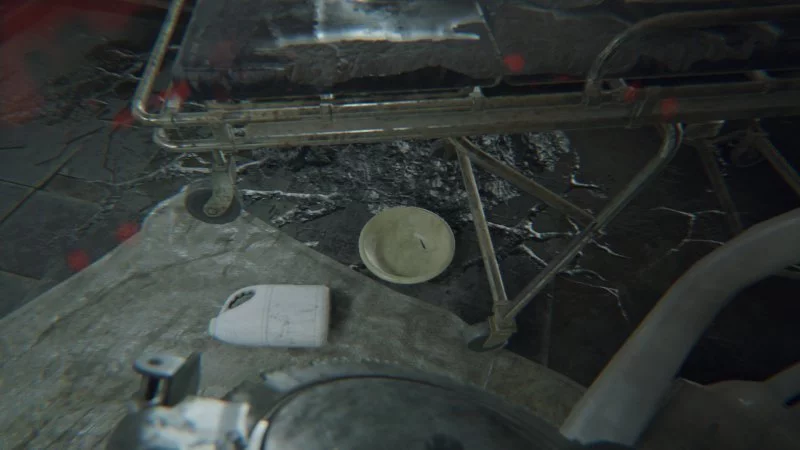
Main House B1 (Processing Area)
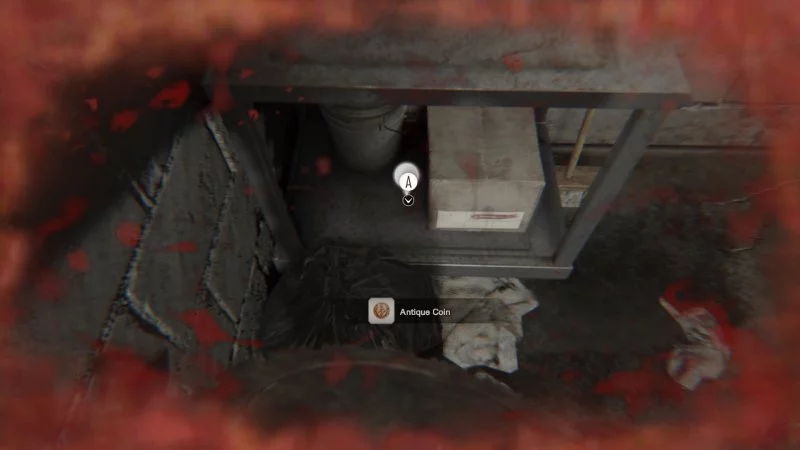
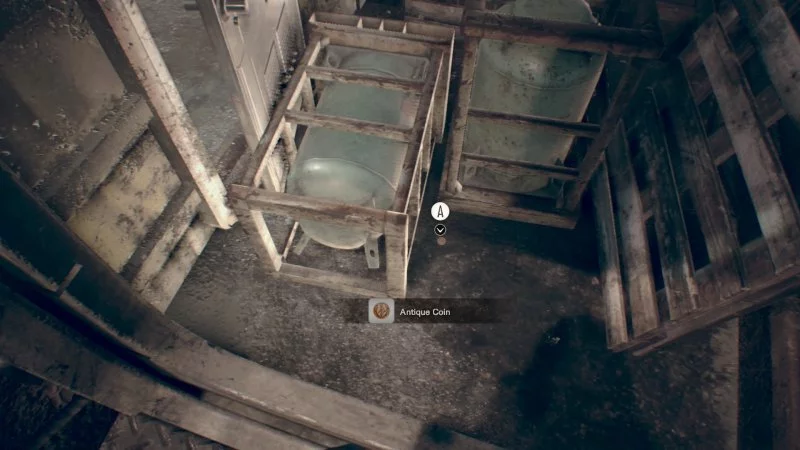
- Incineration Room: At the back of the room, under a trolley inside a yellow dish.
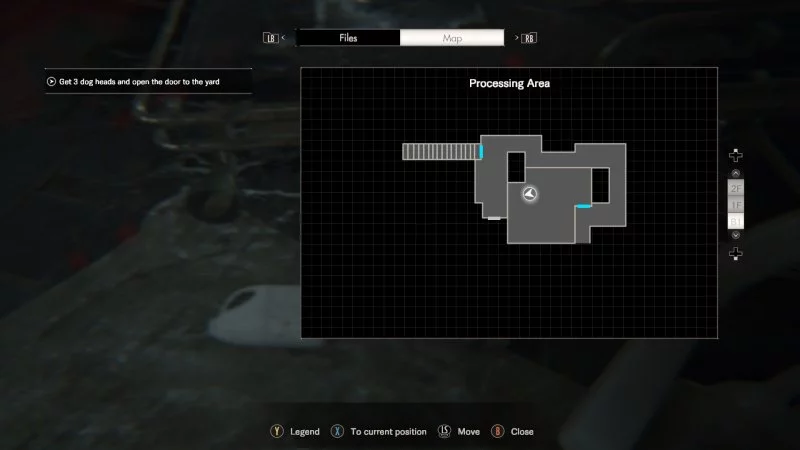

- Stairwell: In the stairwell locked by the Snake key.
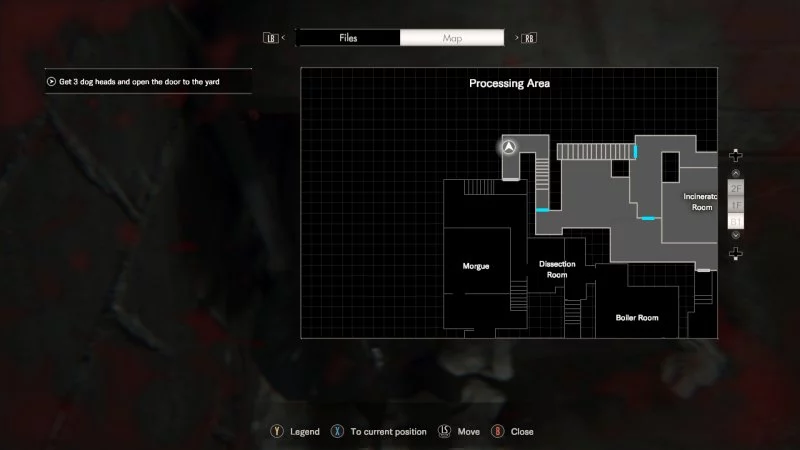
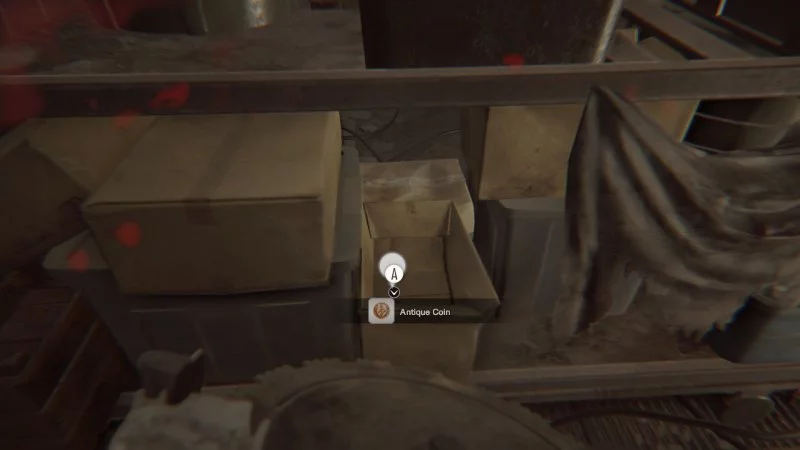
- Dissection Room: In a box on the shelf.
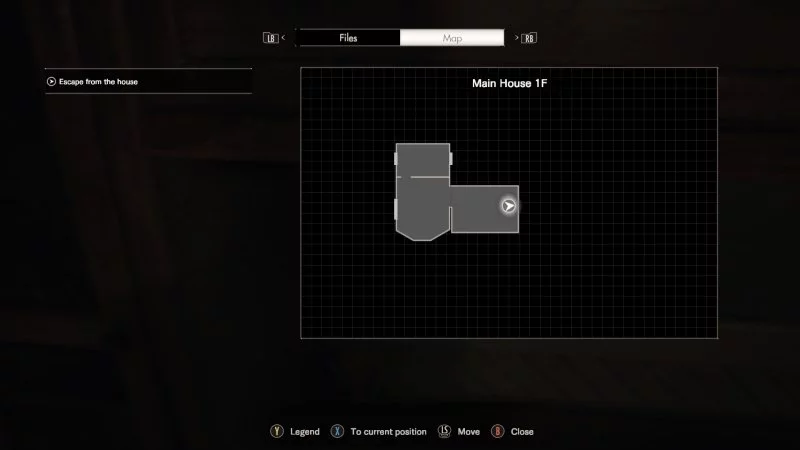
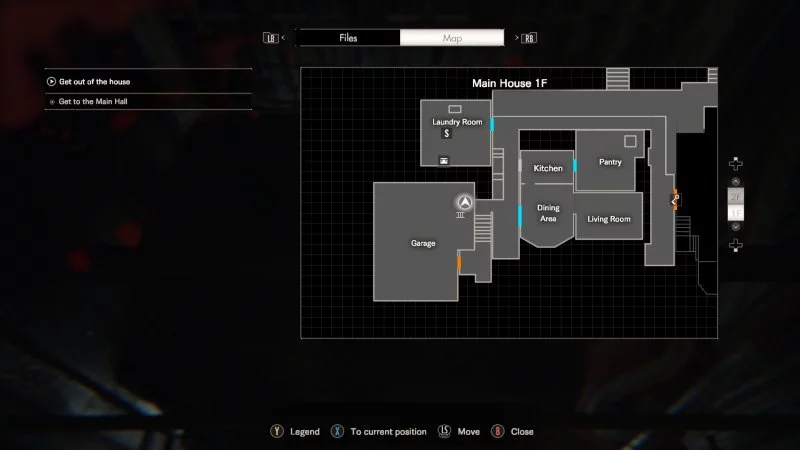
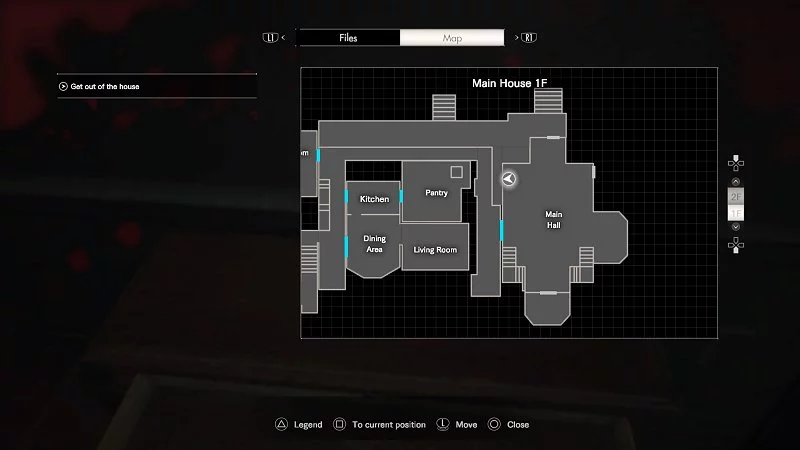
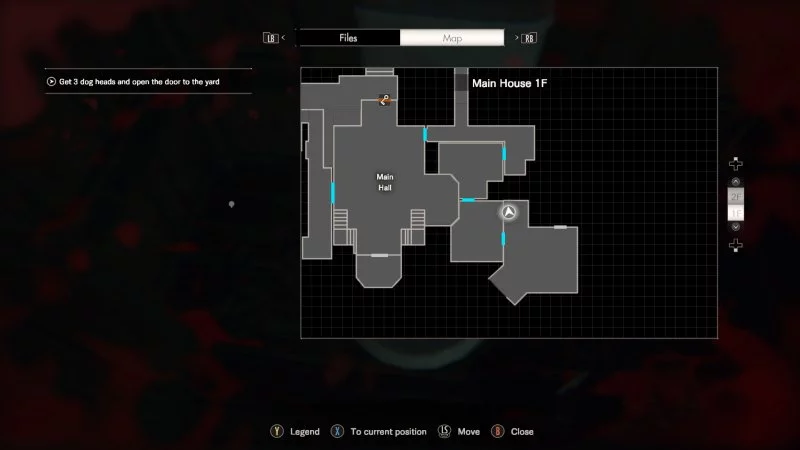
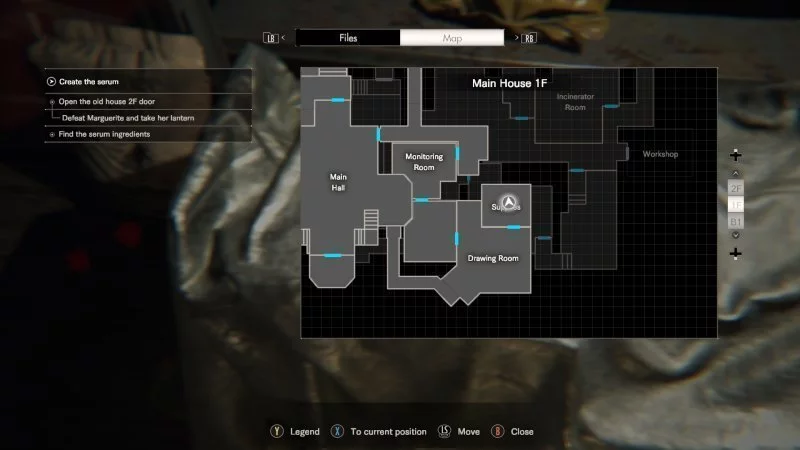
Main House 1F
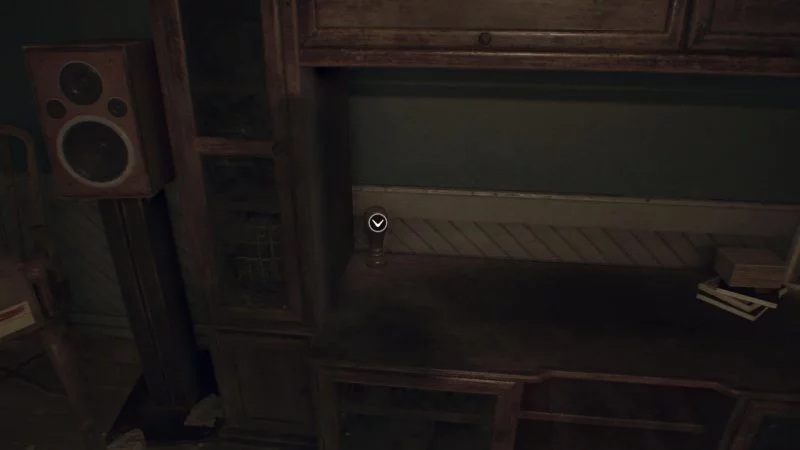
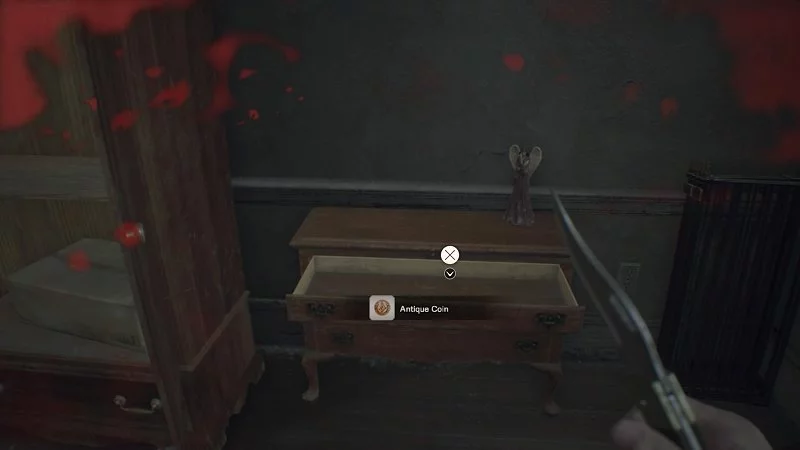
- Living Room: Inside a vase on the TV stand. This room is just to the side of the Dining Room where you meet the family.
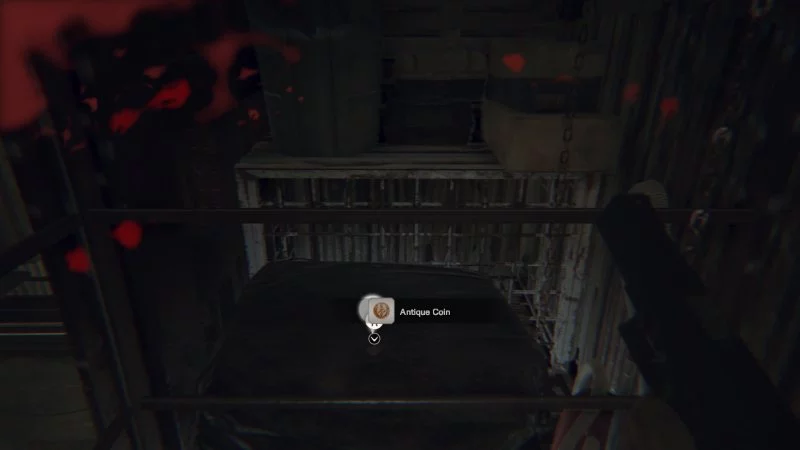
- Garage: Just to the left after you climb the ladder. Sitting on top of a tyre.
- Main Hall: In a drawer on the same wall as a Mr. Everywhere.
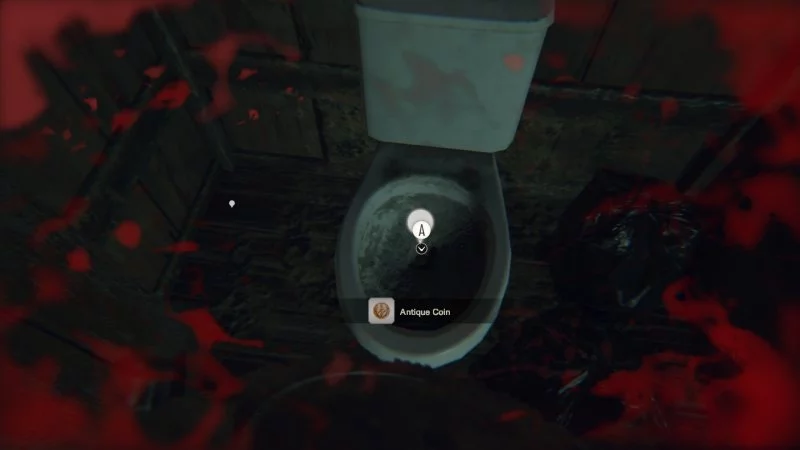
- Drawing Room: In the toilet.
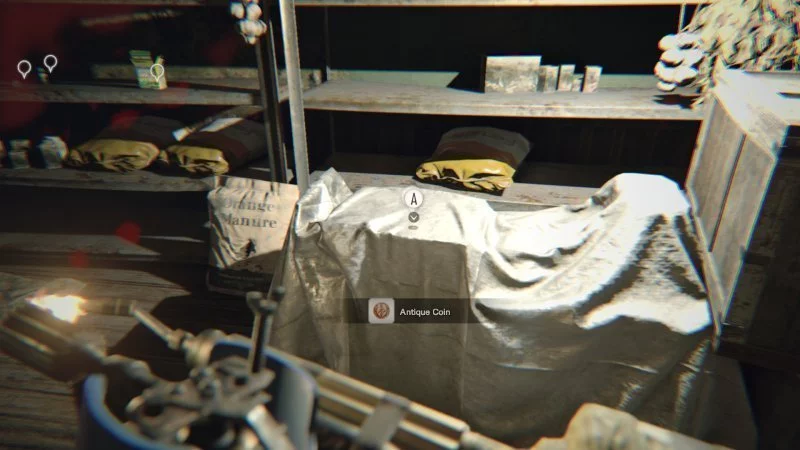
- Supply room: In the room locked by a Crow Key. This is where the Grenade Launcher was in Easy/Normal.
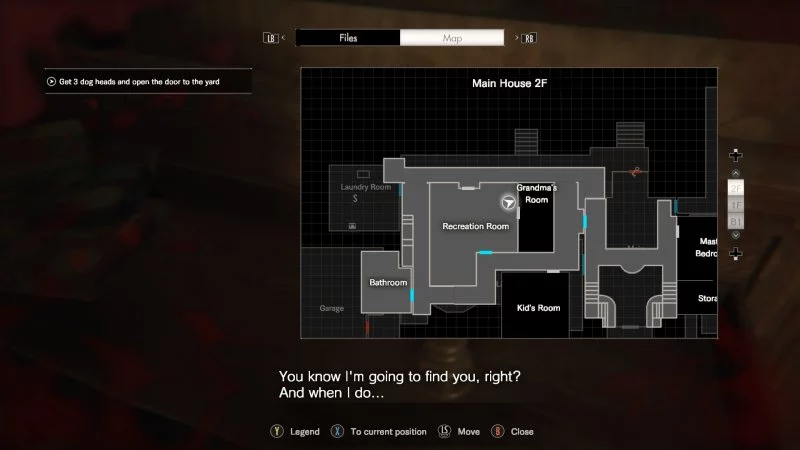
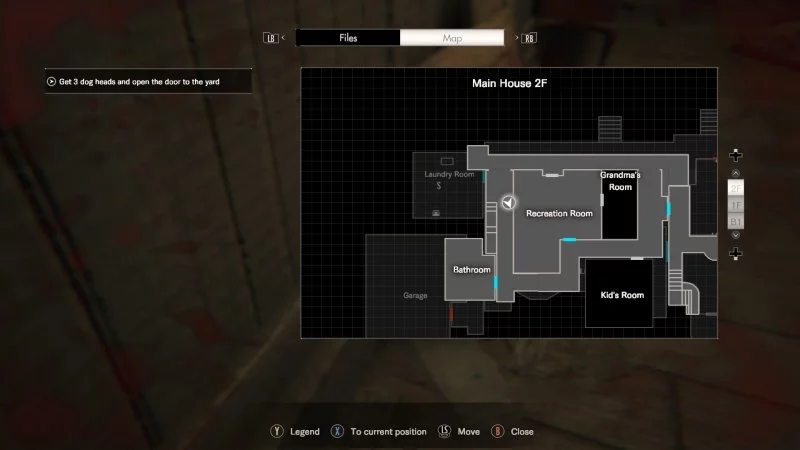
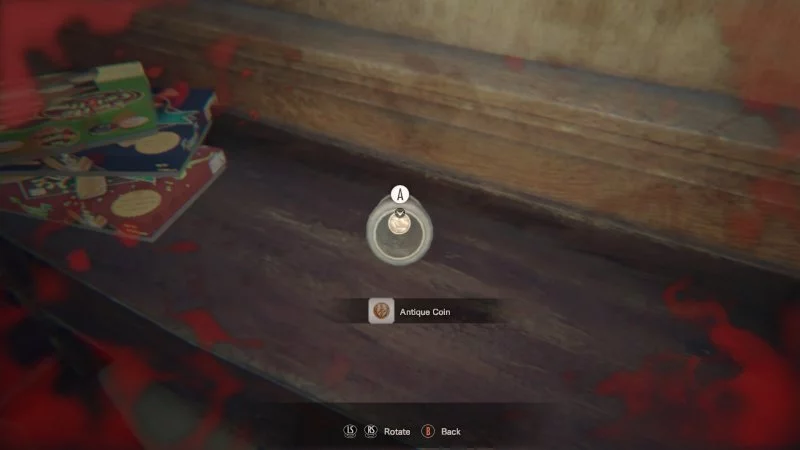
Main House 2F
- Recreation Room: On top of the piano, inside a vase.
- Hallway: In the hallway, near the drop down to the first floor Dining Room. It’s behind a board.
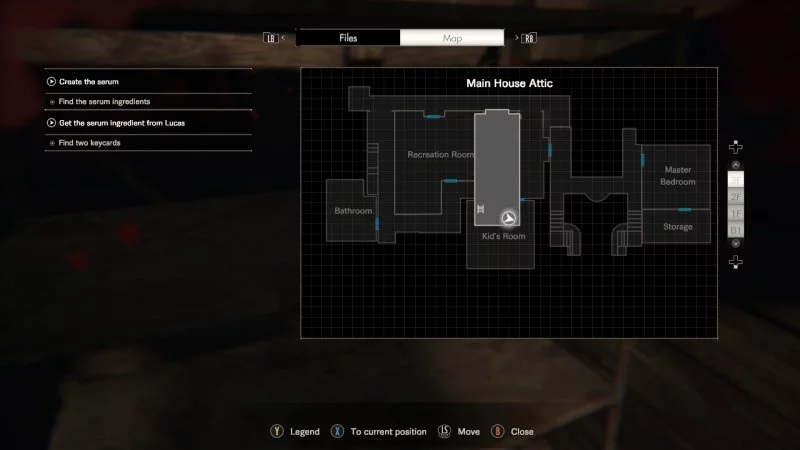
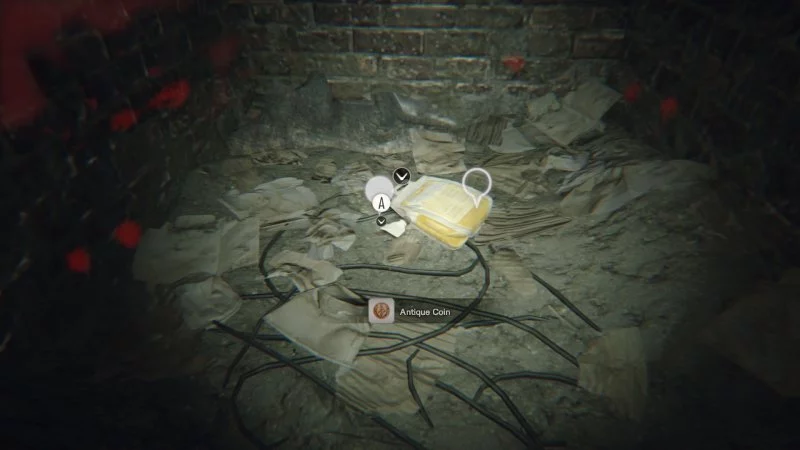
Main House Attic
- Attic: Accessible from Kid’s Room (after obtaining the Snake Key), this is where the Model Shotgun was in Easy/Normal.

Yard
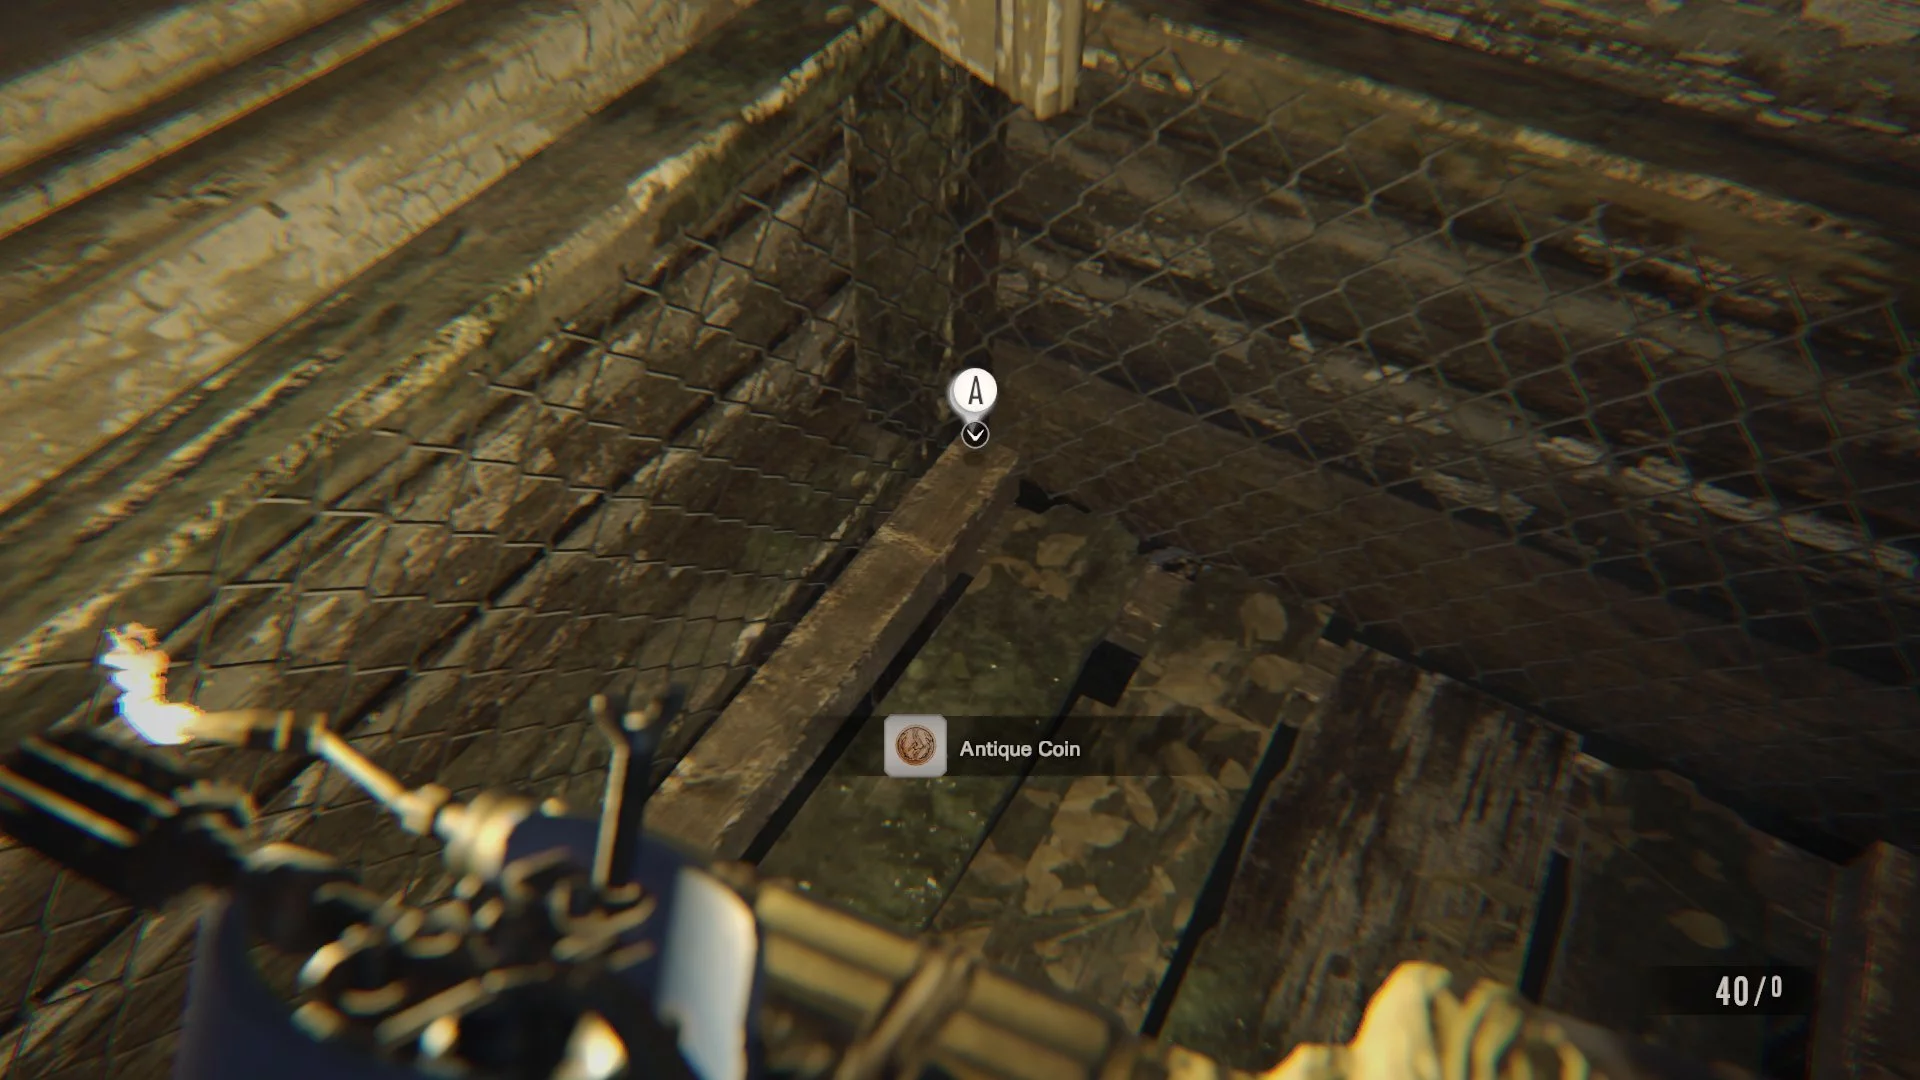
- Crawlspace under Main House 1F: You’ll have to pull a board from in-between the two staircases that lead from the Yard to the Main House. It’s where a Repair Kit can be found in Easy/Normal.

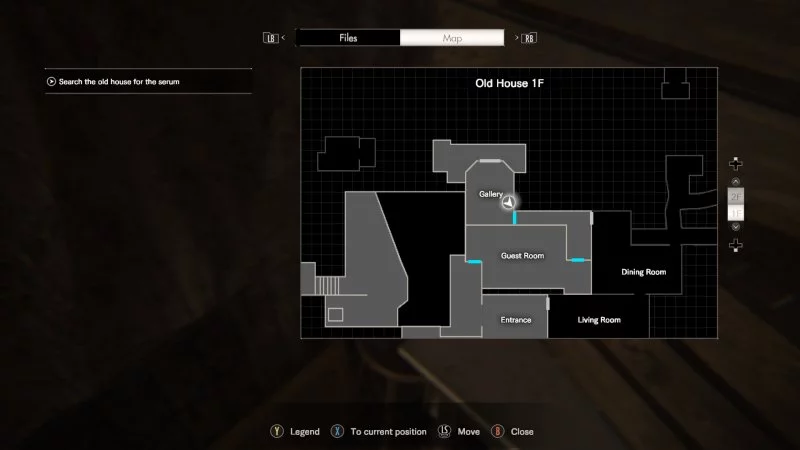
Old House 1F
- Outside of Kitchen: Just on the balcony off the kitchen, in the corner.
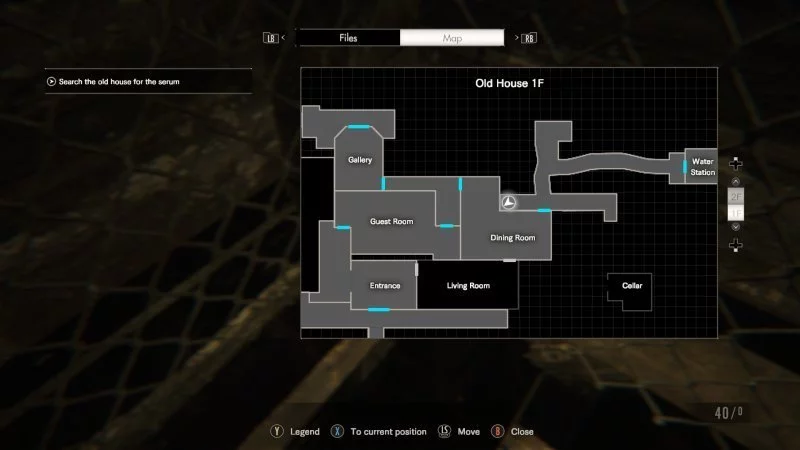
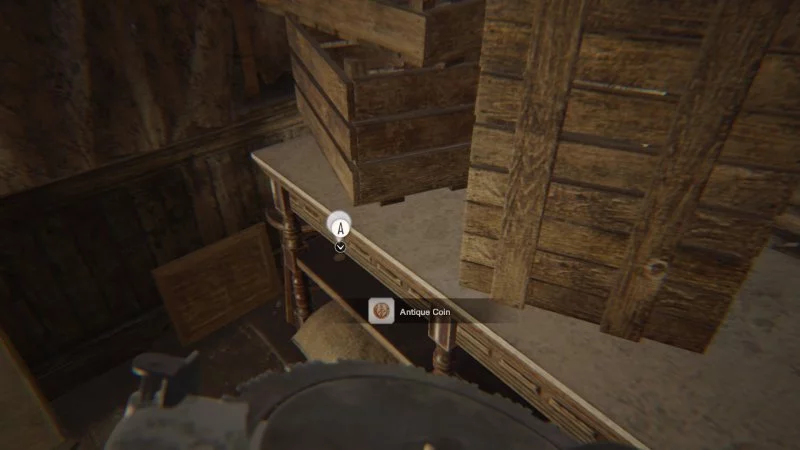
- Gallery: In a corner in the room with the shadow puzzle.
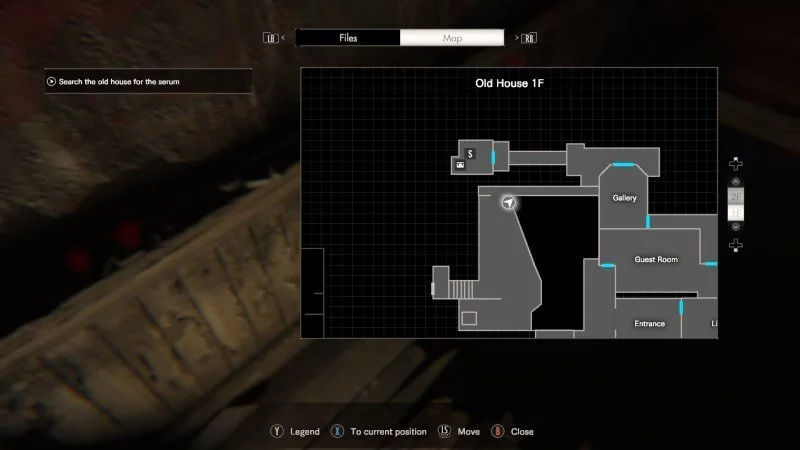
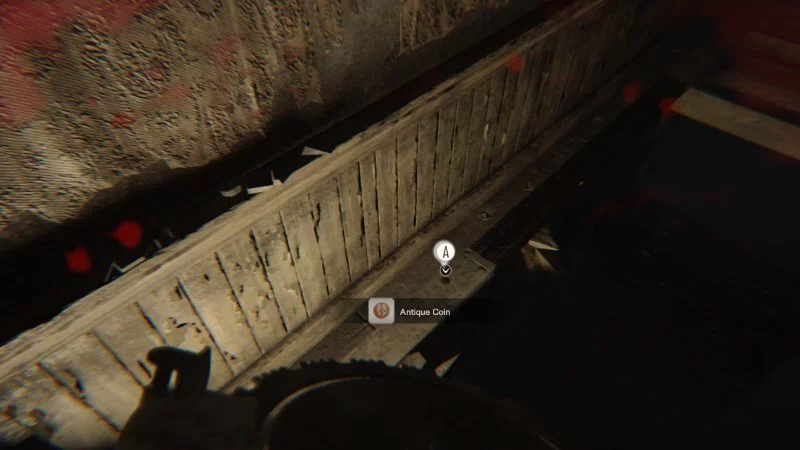
- Near the Crow Key door: Just after you complete the shadow puzzle and go through the narrow passage, the coin is near the gap.
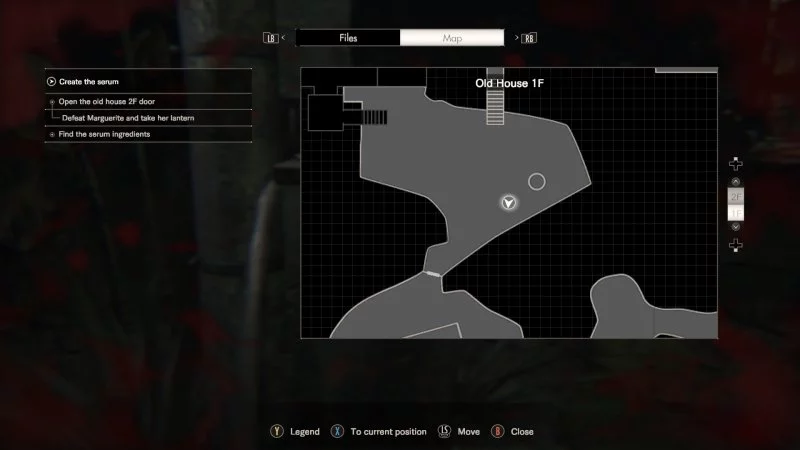
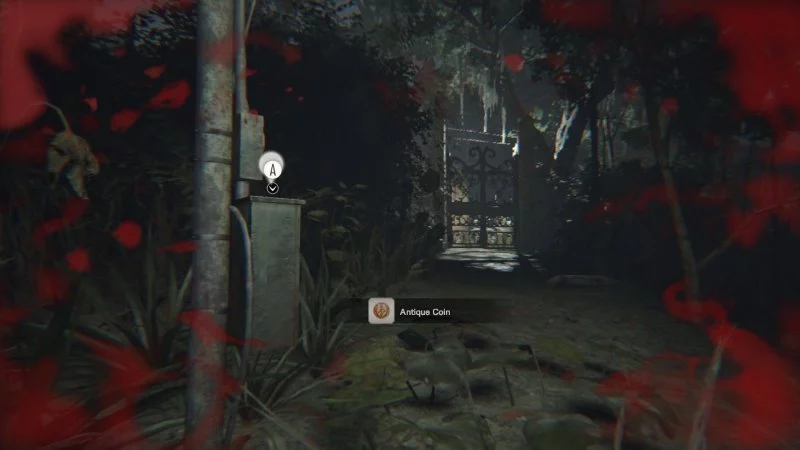
- Yard between Old House and Main House: The map for this says Old House 1F, but it’s really in the secondary Yard, between Marguerite’s underground path and Zoe’s trailer.
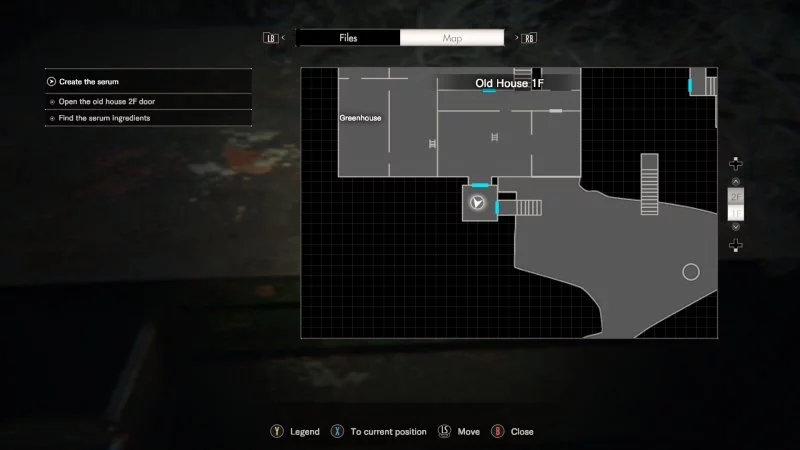
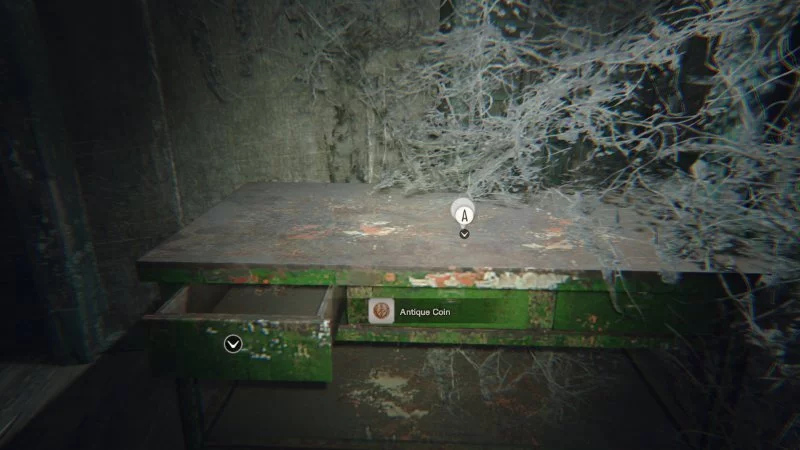
- Gate room: After you defeat Marguerite and the gate blocking your exit opens up, it’s on the green desk.
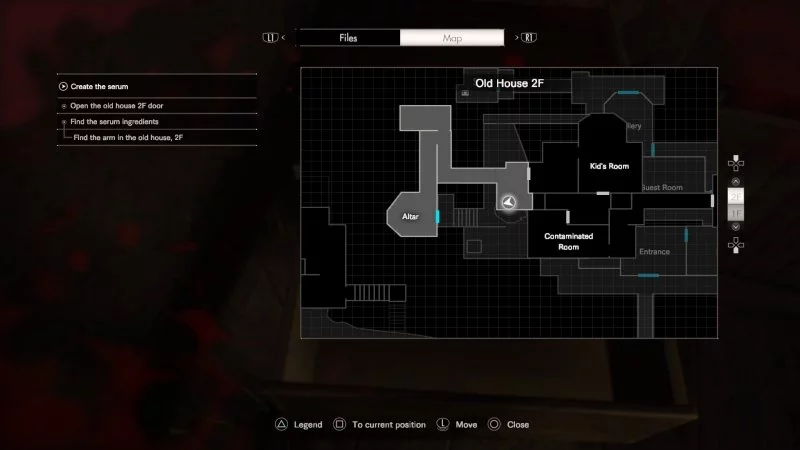
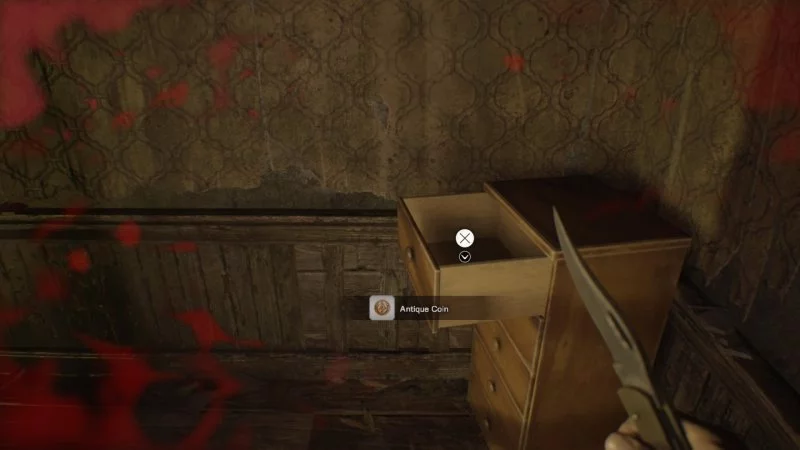
Old House 2F
- Lantern lock room: In the corner of the room.
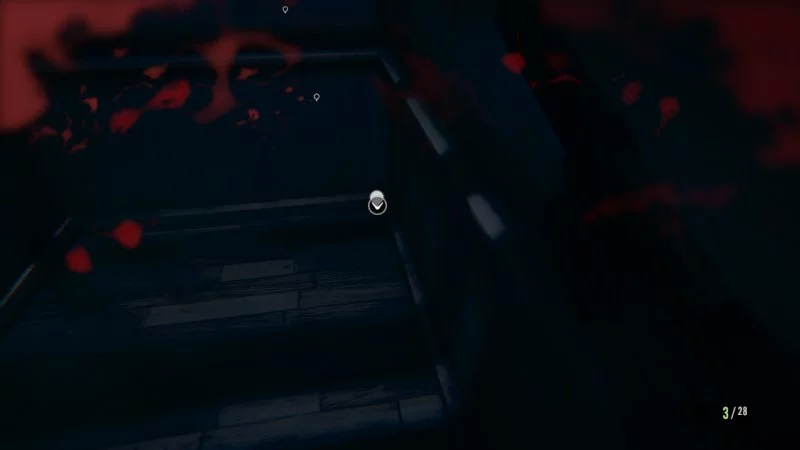
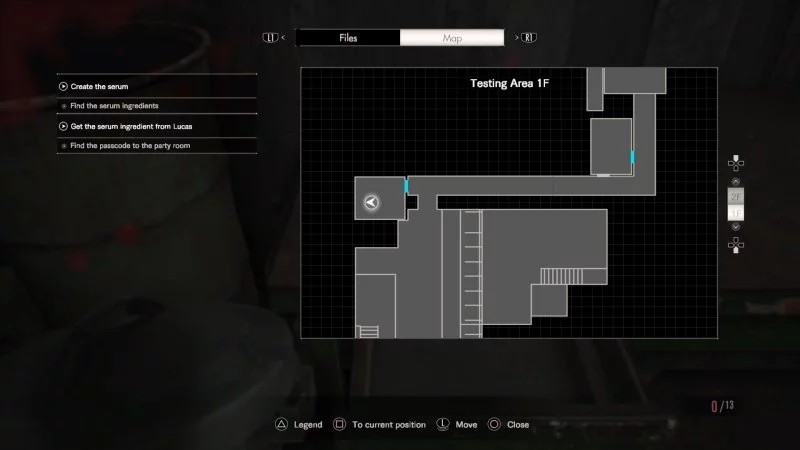
Testing Area 1F
- Hallway before Keypad room: At the end of the hallway — this is where the stairs will come down when you finish the fetch quest for the code that gets you into Lucas’ puzzle room.
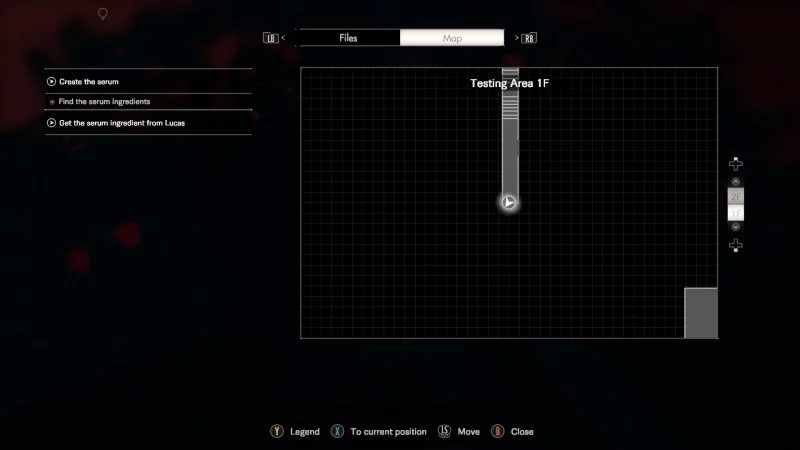
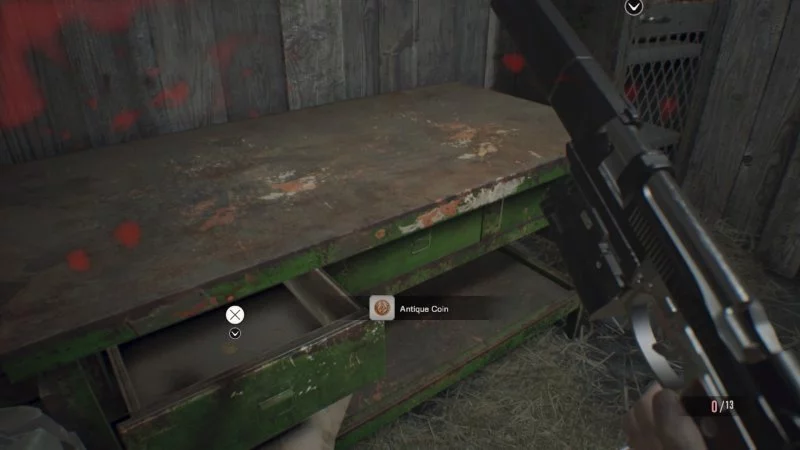
- Booby trapped room: At the end of a corridor, in a desk drawer, beside a locker that contains Steroids.
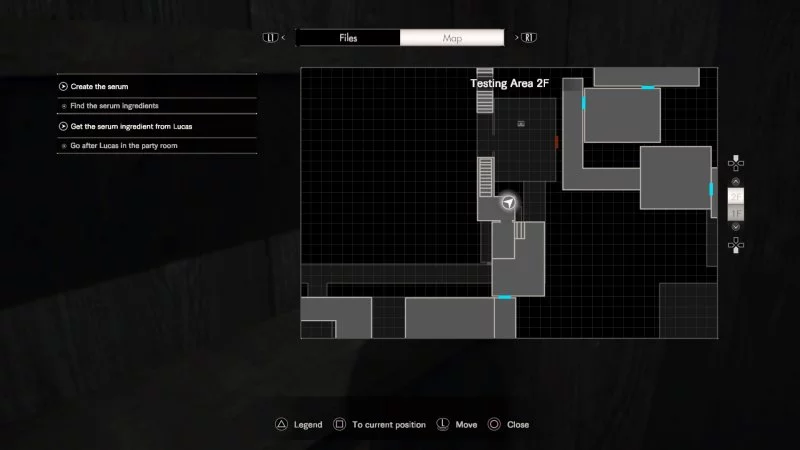
Testing Area 2F
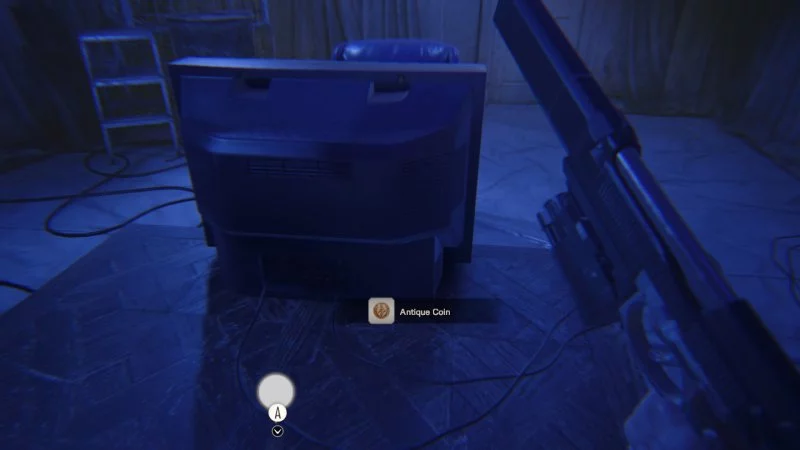
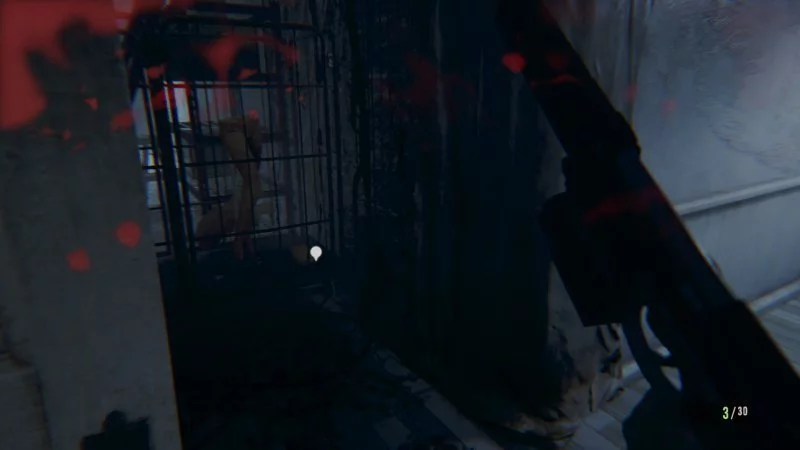
- Waiting Room: Right behind the first TV Lucas uses to talk to you.

- Hallway: After the second booby-trapped room (where you can find the Treasure Photo-supplied Repair Kit Treasure), it’s down a dead-end hallway to the left.
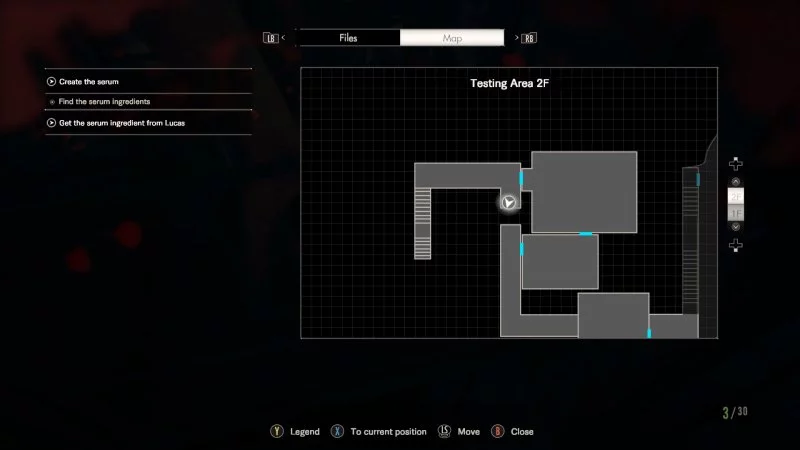
- Stairwell: In the corner of the room where you have to deploy a set of stairs to head back to Lucas’ puzzle.

Point of no return for this page: This has to be done playing as Mia, and before you locate Ethan.
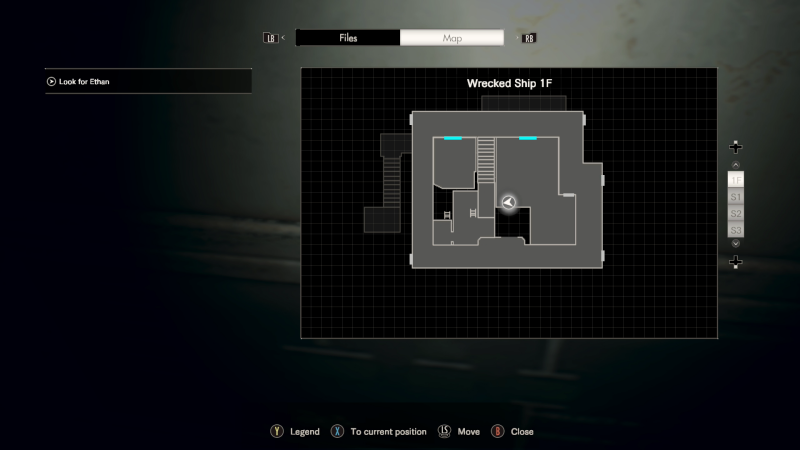
Wrecked Ship 1F
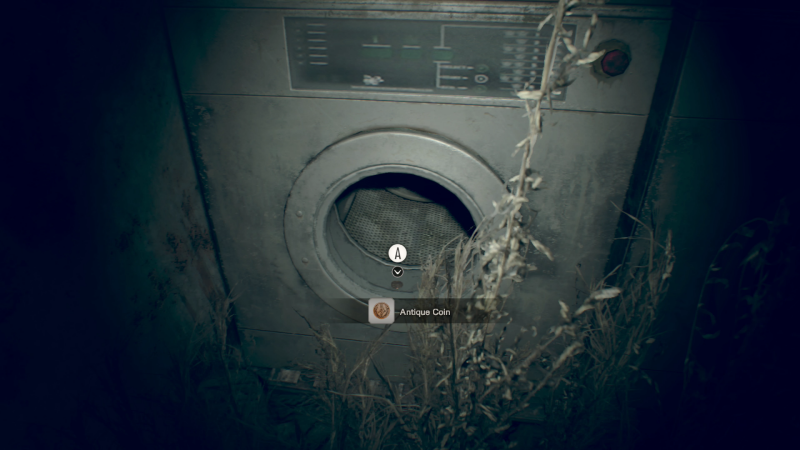
- Laundry Room: In the leftmost, bottom washing machine. This is the same room the Fuse is in.
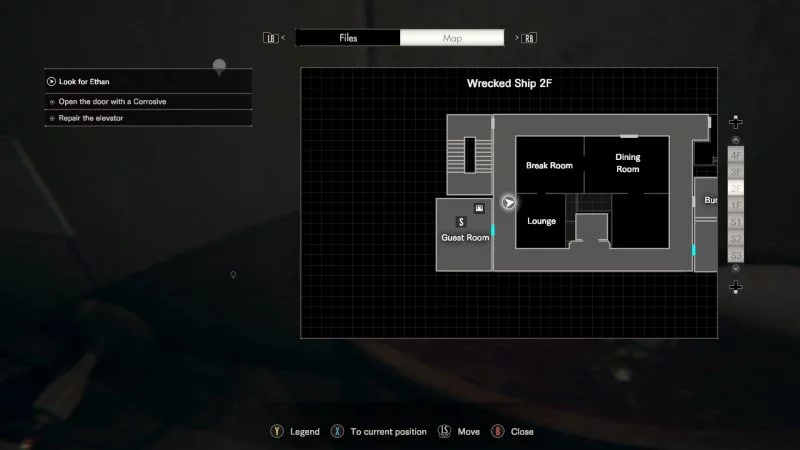
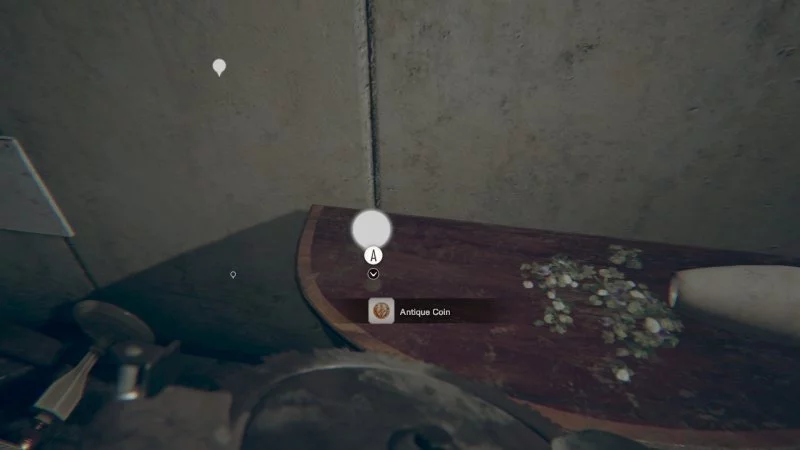
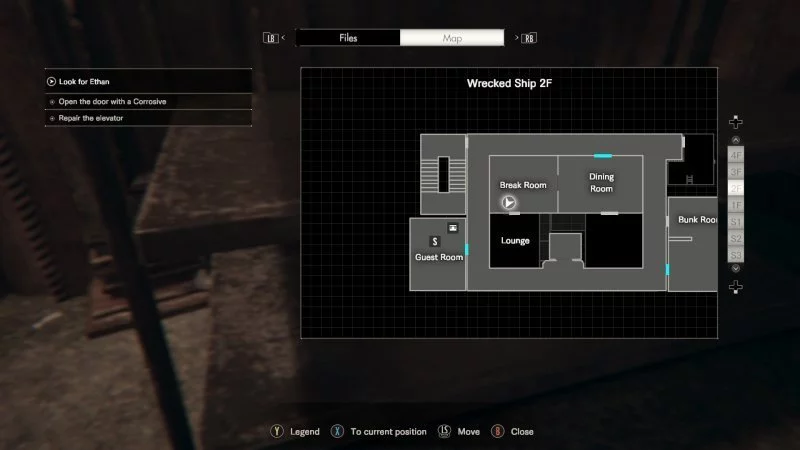
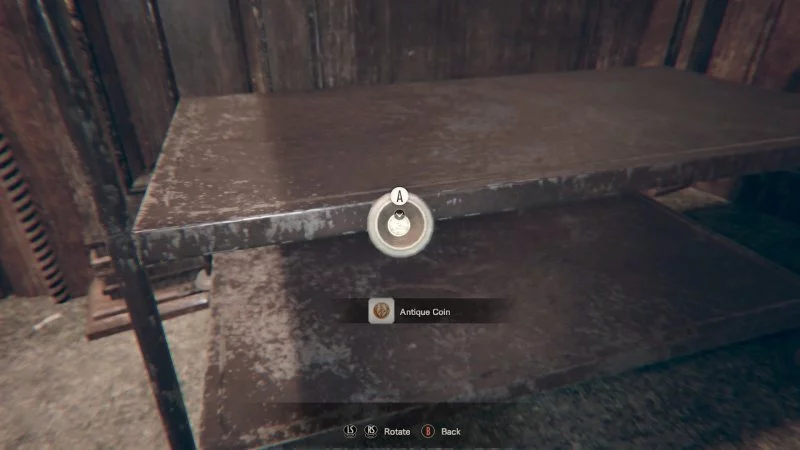
Wrecked Ship 2F
- Hallway: On a desk in the hallway, right near the Guest Room.
- Break Room: In a vase on a trolley.
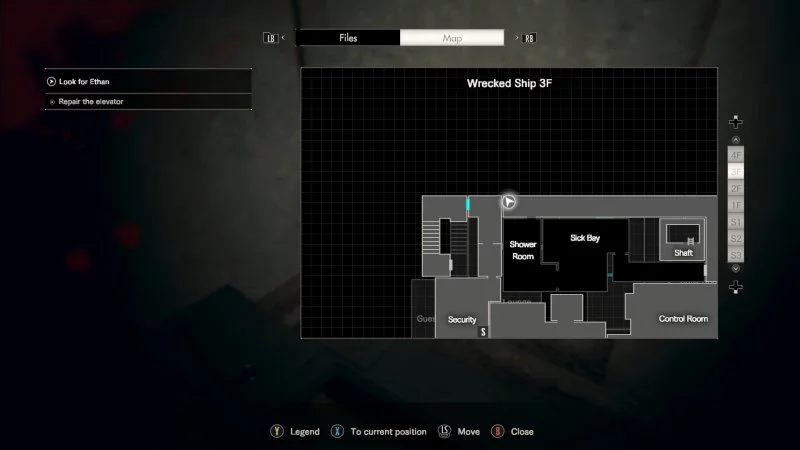
Wrecked Ship 3F
- Hallway: At the end of the long hallway (where Eveline once stood) on your way to the Power Cable.
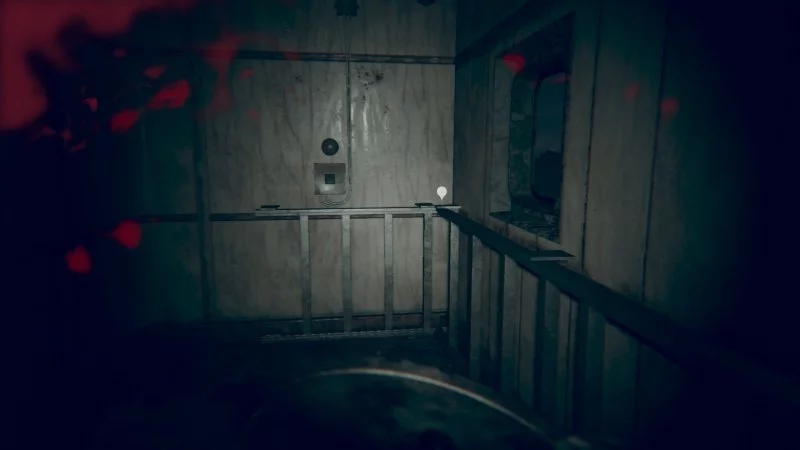
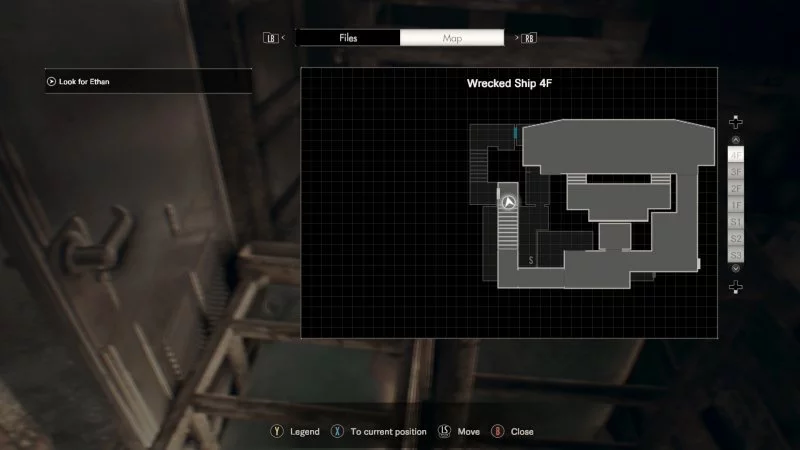
Wrecked Ship 4F
- Stairwell: At the end of the dead-end stairwell that should lead to 3F.
Wrecked Ship S2
- Hallway: As you head to Ethan, look to your right after the first hallway. It’s in the area with your first supply room.
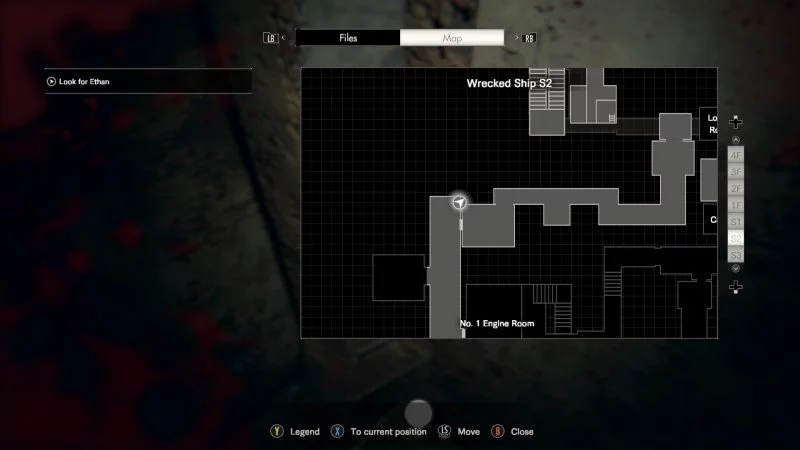
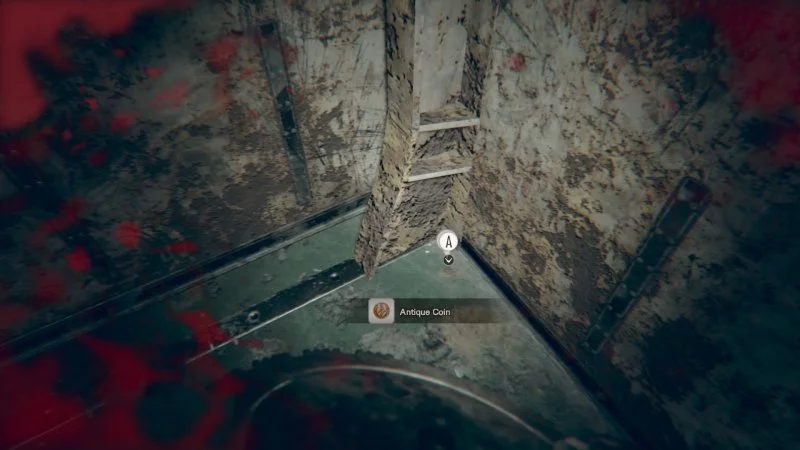
- Hallway: Inside a lockbox after No. 1 Engine Room. You’ll need Corrosive to access it.

Point of no return for this page: These last few are done as Ethan. Do them before venturing too far into the salt mine.
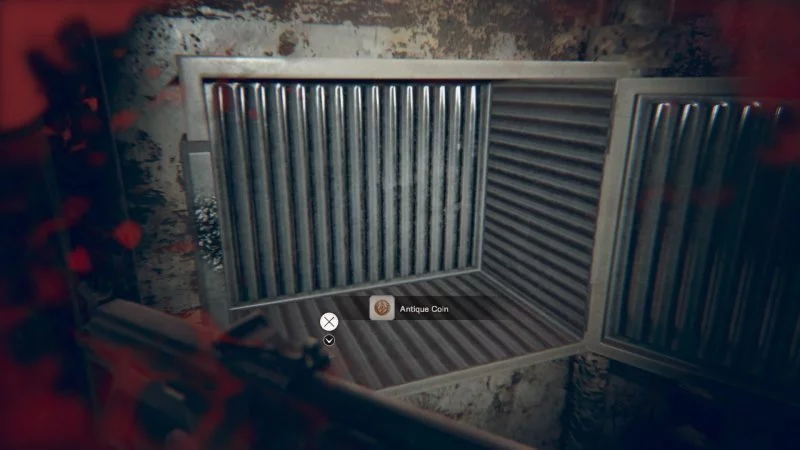
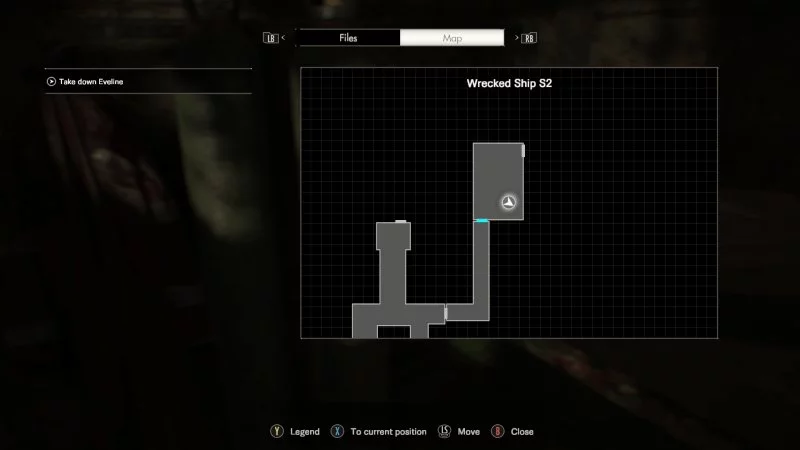
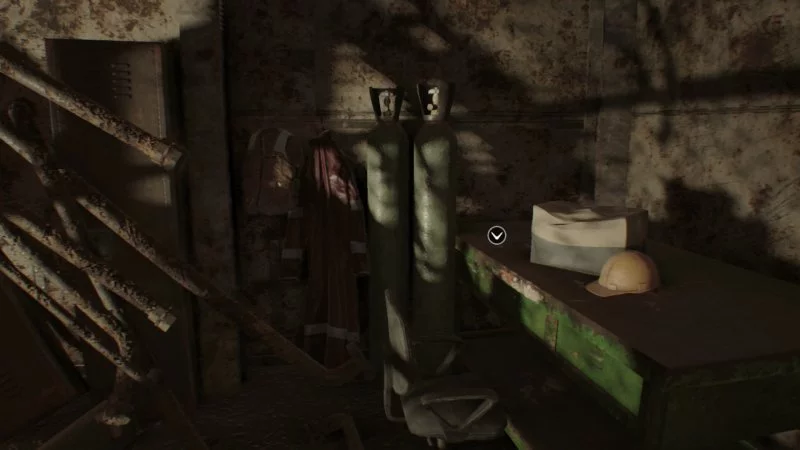
Wrecked Ship S2
- Last ship room: Before you exit the ship by crouching and walking through a broken grate, grab this coin.
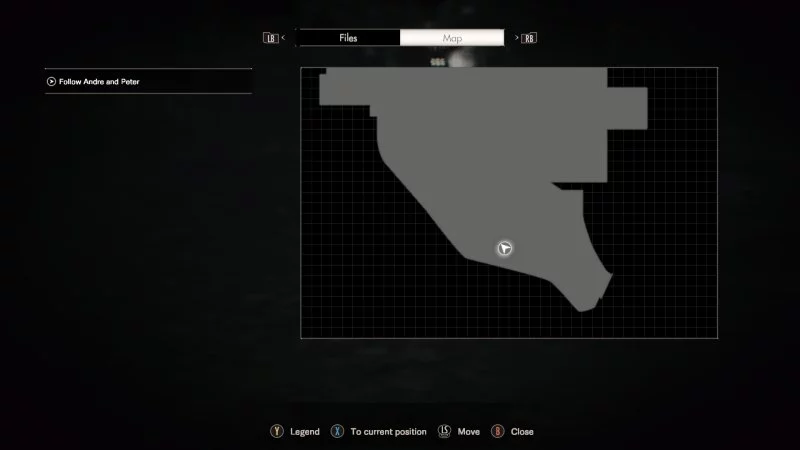
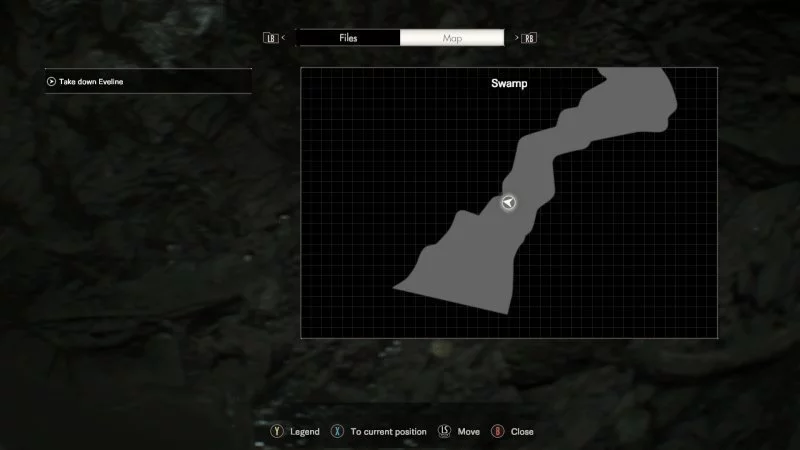
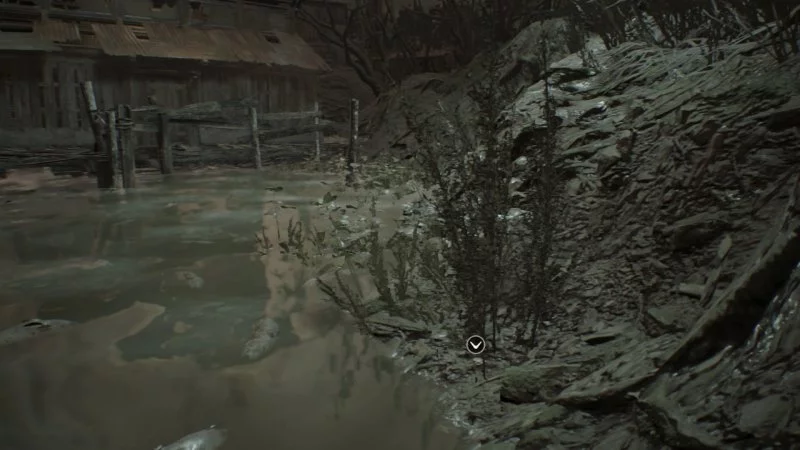
- Swamp: Hug the right bank after you jump over a fallen log. It’s before the last house before the salt mine itself — this also provides your last chance to spend the coins. Congratulations!
Resident Evil 7 guides: The definitive list
- Resident Evil 7: All file locations
- Resident Evil 7: All 20 Mr. Everywhere locations
- Resident Evil 7: All Easy/Normal mode Antique Coin locations
- Resident Evil 7: All Madhouse mode Antique Coin locations
- Resident Evil 7: All Treasure Photos and Treasure locations
- Resident Evil 7: All end game unlocks
- Resident Evil 7: All franchise easter eggs
- Resident Evil 7: Hidden puzzle and Stabilizer guide
- Resident Evil 7: M21 shotgun guide
- Resident Evil 7: M19 handgun guide
This article may contain affiliate links, meaning we could earn a small commission if you click-through and make a purchase. Stevivor is an independent outlet and our journalism is in no way influenced by any advertiser or commercial initiative.